Truck Camping Gear & Accessories: The Complete 2026 Guide
I bought my first truck camper with exactly the wrong priorities. I spent a week researching which camp chairs to buy and about four minutes thinking about how the camper would actually stay attached to my truck. By mile 300 of the first trip, my priorities had rearranged themselves — violently, over a set of railroad crossings, while I watched the camper rock side to side in my mirrors.
That is the real subject of this guide. Truck camping gear and accessories are not camping gear that happens to be in a truck. They are the difference between a rig that feels like one solid vehicle and one that feels like a camper politely tolerating your truck. After years of owning, upgrading, and breaking things — and after listening to thousands of owners argue it out on forums, in YouTube comments, and on Facebook — here is the truck camping gear and accessories setup that is actually worth your money in 2026, organized by what keeps you safe first and comfortable second.
Tie-Downs and Turnbuckles: The Gear That Holds Everything Together
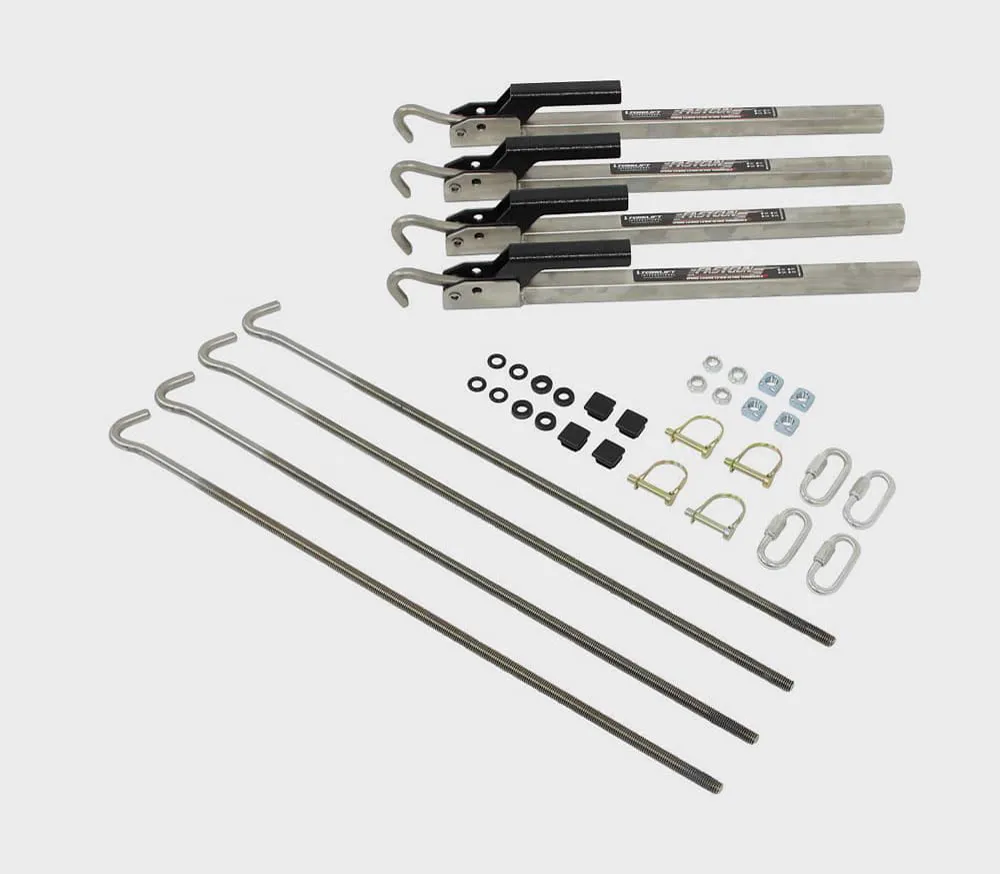
Nothing else on this list matters if the camper is not properly attached. A truck camper is a three-thousand-pound sail riding loose in your bed, and the four tie-down points are the only thing converting your truck and camper into a single vehicle.
Here is the problem owners run into most: the instinct to crank turnbuckles as tight as physically possible. It feels like safety. It is actually one of the most expensive mistakes in truck camping — overtightened turnbuckles can yank anchor bolts and mounting plates clean out of the camper’s wings, leaving you with a structural repair bill and a camper that is no longer safe to carry. The fix that experienced owners keep recommending is spring-loaded turnbuckles with a built-in tension indicator, which act as shock absorbers over potholes and rough roads instead of transferring every hit straight into the camper’s frame.
The gold standard in 2026 is the Torklift FastGun. They are precision-made from powder-coated stainless steel, they connect and disconnect in seconds with a quick-release handle (no wrenches at camp), and the built-in tension indicator takes the guesswork out: you position the rubber O-ring against the bottom of the housing before locking the lever, and a gap of about a quarter inch tells you the tension is right. A pair runs around $440, and you need two pairs — one per side of the truck, four anchor points total — so budget roughly $880 for the full set, backed by a lifetime warranty.
One more thing people learn the hard way: frame-mounted tie-downs beat bed-mounted ones for heavy campers, because they spread the load into the truck’s frame instead of the bed walls. And when you unload the camper at a site for a few days, lock the turnbuckles. Unsecured turnbuckles have a way of wandering off.
Power Done Right: Lithium, Solar, and the Half-Done Upgrade Problem
Walk through any truck camper group online and you will find a recurring complaint: owners who switched to lithium batteries and somehow ended up with worse power than before. The batteries get the blame, but RV techs on social media put it better: the issue is rarely the battery — it is the half-done installation around it.
LiFePO4 batteries charge on a different profile than lead-acid. Drop a lithium battery into a rig whose converter/charger, wiring, and fusing were built for AGM, and you get chronic undercharging, voltage weirdness, and a battery that dies young while the owner curses the lithium. The community-tested fix is to do the full job: a converter or inverter-charger with a lithium charging profile, wiring sized for the higher current lithium can pull, proper fusing, and — if you charge from the truck’s alternator while driving — a DC-DC charger like the Victron Orion-Tr Smart or the Renogy DCC12 to isolate the two systems.
Done right, lithium is transformative for truck campers, and 2026 is the year the prices finally match the hype. Battle Born’s 100Ah 12V LiFePO4 batteries carry an MSRP of about $999 with a 10-year warranty, and solid budget options like Power Queen’s 100Ah low-temp model land around $379. Either way, budget for two batteries if you actually camp off-grid for weekends — owners consistently report that a single 100Ah battery is not enough once the furnace, lights, fridge controls, and phone charging all run together.
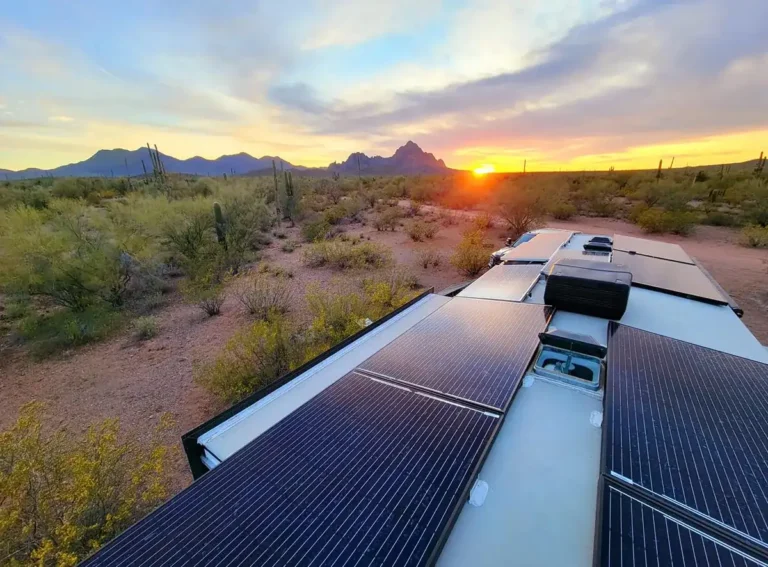
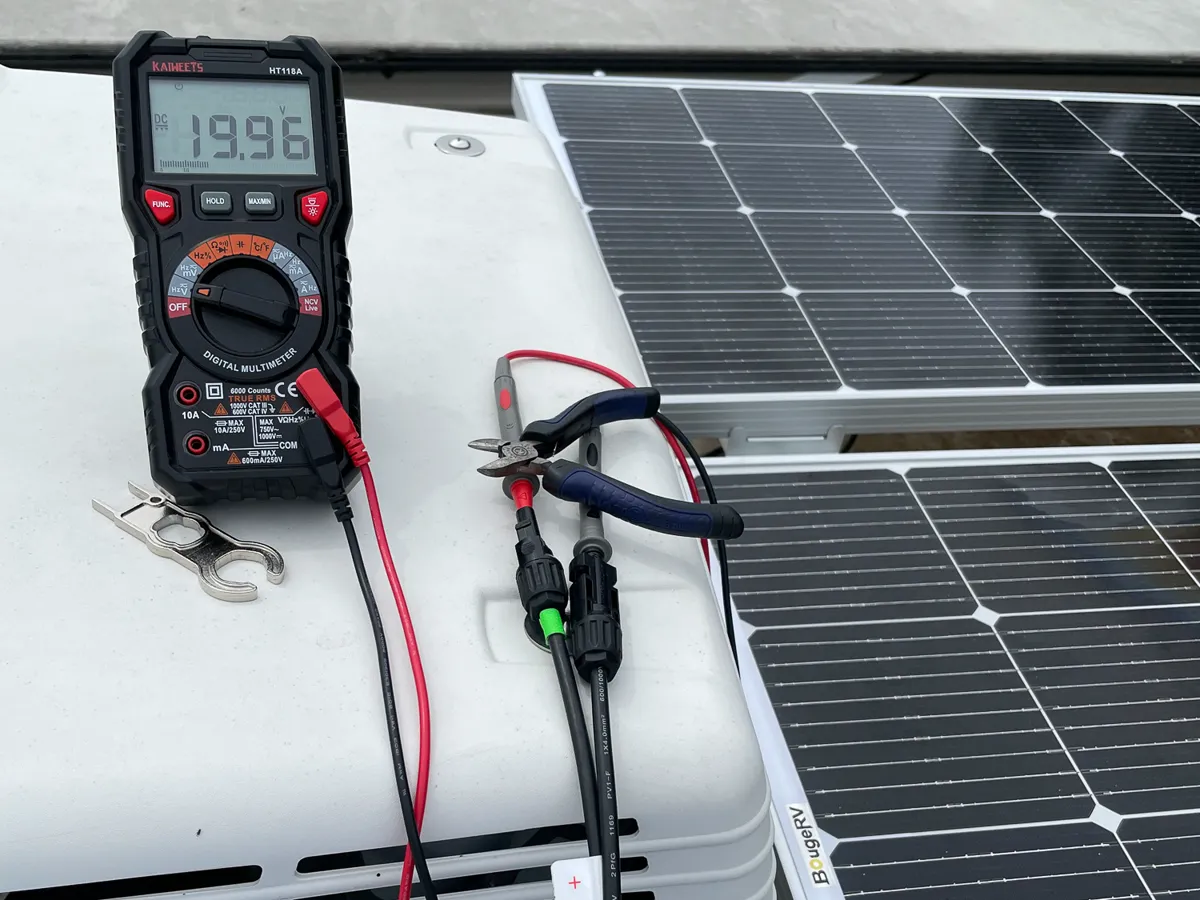
For solar, the setup that keeps working for real boondockers is 400 to 600 watts on the roof plus a portable panel you can deploy when you are parked in tree cover. Fixed roof panels do nothing in the shade, which is exactly where you want to park in summer. A quality MPPT solar controller (Victron’s SmartSolar line is the community favorite) and a battery monitor so you actually know your state of charge round out the system. The monitor is the part everyone skips and everyone regrets skipping.
Suspension Helpers: Fix the Problem You Have, Not the One You Fear
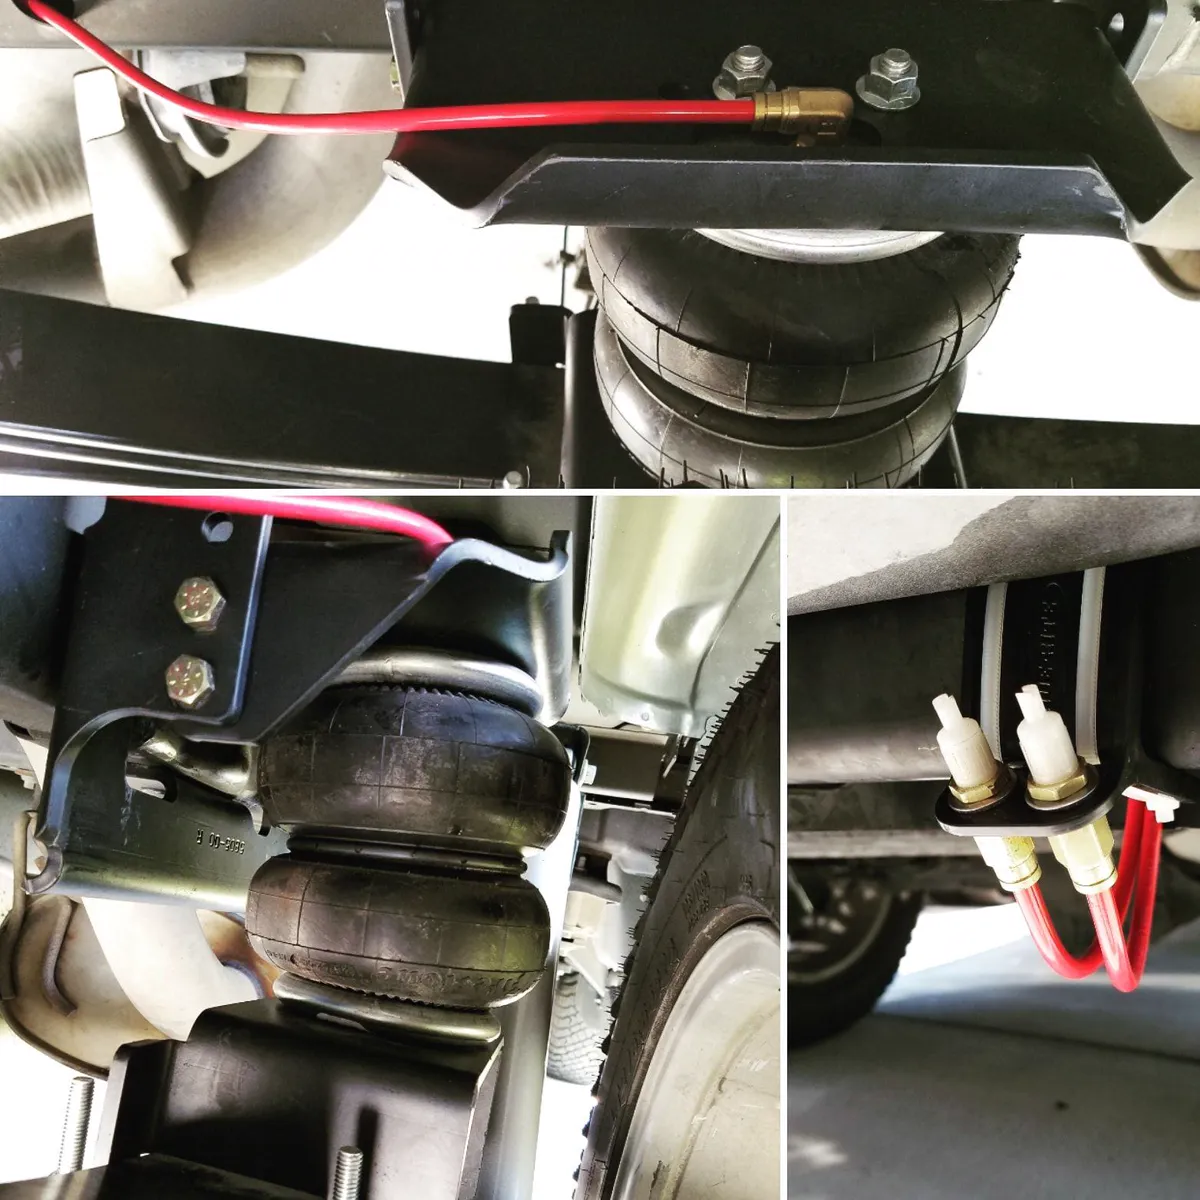
Few topics generate more heated forum debates than suspension. Airbags, Timbrens, StableLoads, sway bars, new shocks — every owner has a strong opinion, and many of them bought the wrong one first.
Here is the insight worth stealing: do not buy suspension upgrades before you have driven the truck with the camper on it. This is one of the most common rookie errors in truck camping — spending hundreds on airbags before knowing whether the truck even squats. Load the camper, take a real trip with water and gear aboard, and diagnose the actual symptom. Porpoising over dips? Rear-end sag? Body roll in corners? Each one has a specific fix.
For side-to-side sway, a heavy-duty rear sway bar is the single most effective upgrade for most rigs. For sag, owners on forums like iRV2 report good results from Timbren-style rubber spring helpers and Torklift StableLoads, which engage the factory overload springs sooner rather than adding a separate system. Airbags work, but experienced owners warn they need to be used carefully — set up wrong, they can unload the factory suspension and introduce handling problems they were supposed to fix.
And nothing you bolt on changes the number on your door jamb. Helper springs, airbags, and bigger tires improve handling and support, but they do not raise your truck’s certified payload rating. Before you buy any of this, run your actual loaded weight against your truck’s real payload. Our free compatibility checker on the homepage matches campers to your exact truck in about a minute — use it before you shop for campers or suspension.
For more on how much truck you actually need, see our guide to the best lightweight truck campers and the payload math behind them.
The Bed Mat: A $100 Fix for a $3,000 Problem
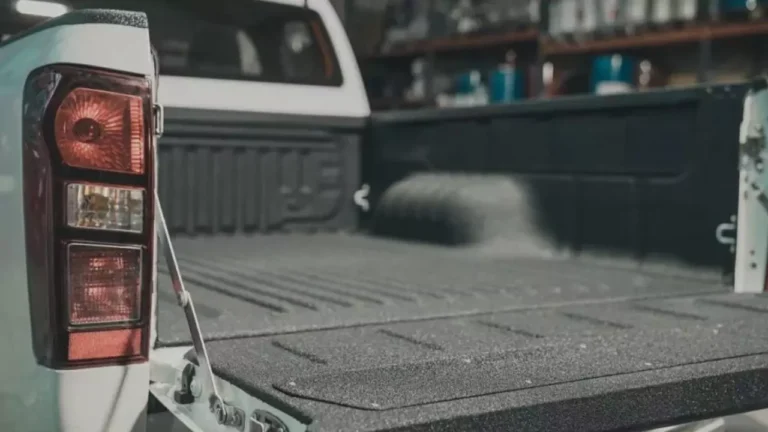
This is the cheapest piece of gear on this list and one of the most skipped. A rubber bed mat under your camper does two things: it protects your bed (or your spray-on liner) from being gouged by the camper’s underside, and it stops the camper from sliding around in the bed while you drive.
The Dee Zee custom-fit bed mats are the ones that come up most often in owner discussions — they are molded for your specific truck so they drop in and stay put, no trimming, no bunching. Some owners piece together horse stall mats for a fraction of the price, which works fine if you do not mind cutting and fitting. Either way, skip the mat and your camper will shift. A camper that shifts in the bed is a camper beating up your truck and your tie-downs with every mile.
Leveling Gear: Sleep Flat, Cook Straight
Truck campers magnify every slope. A site that feels level to your boots can have your fridge complaining and your eggs sliding to one side of the pan. Absorption fridges in particular need to be reasonably level to run safely and efficiently, and sleeping with your head downhill gets old fast.
The modern owner setup is two parts: Andersen-style curved leveling ramps (drive up until you are level, chock, done — no stacking blocks and guessing) and a Bluetooth level monitor like the LevelMatePRO that shows you exactly how many inches each corner needs before you even unbuckle. The combination turns a five-minute guessing game into a thirty-second job, which matters a lot more at 9 p.m. in the rain than it sounds in a store aisle.
Pro tip from the forums: level side-to-side first, then front-to-back, and do it with the camper still loaded the way you will sleep. Unloading gear afterward changes almost nothing, but unloading the camper off the truck changes everything.
Sleeping Comfort: The Condensation Problem Nobody Warns You About
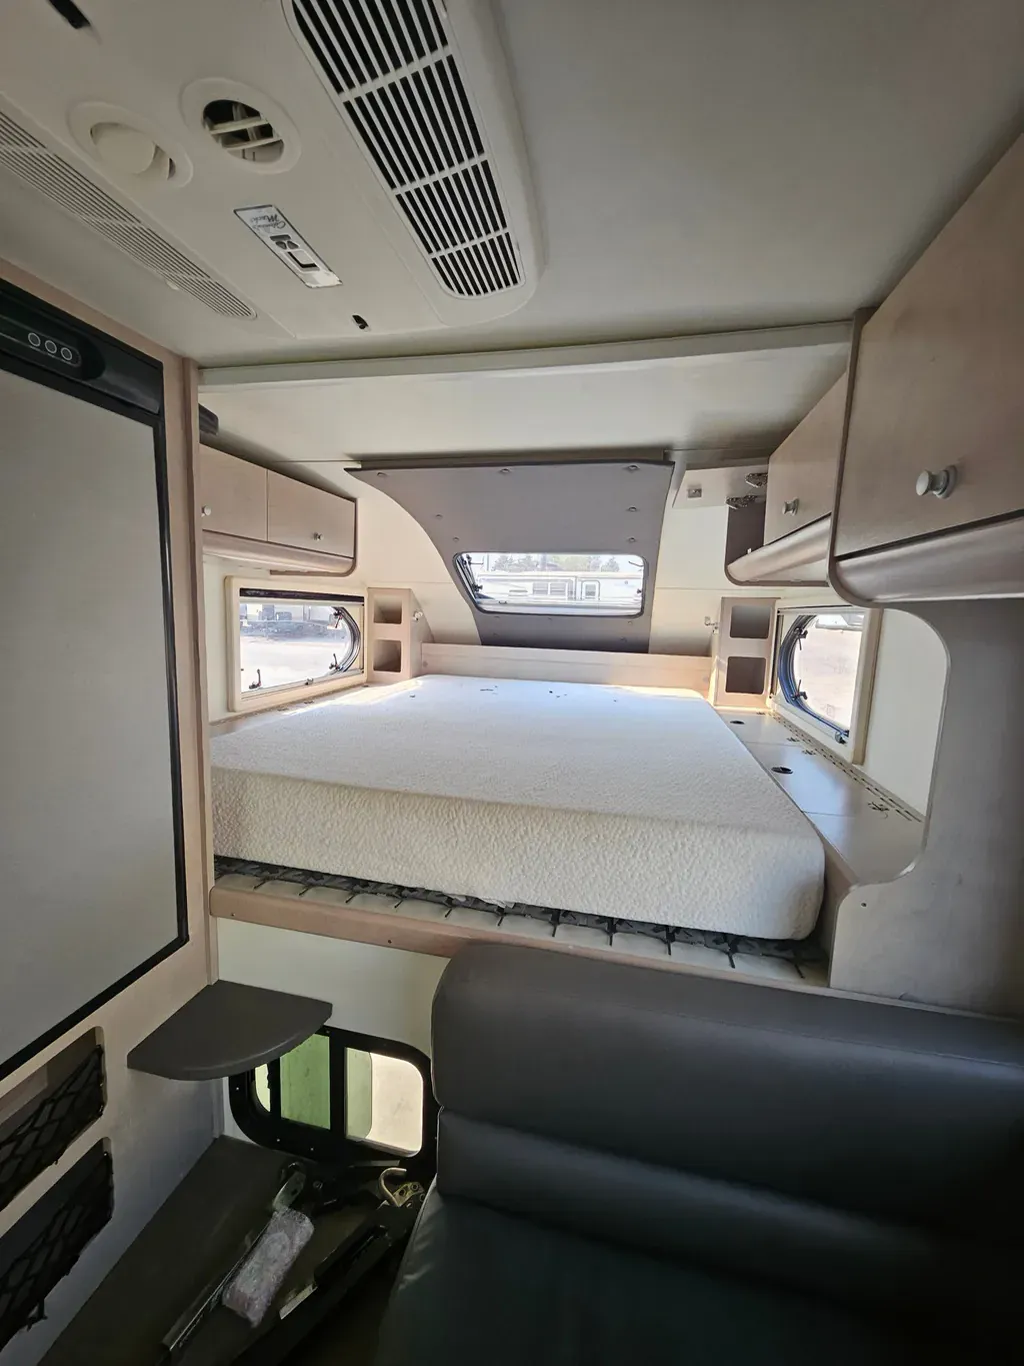
Ask owners what surprised them most about truck camping, and condensation ranks near the top. The cabover mattress sits directly on a cold platform. You sleep warm and damp; the platform stays cold. Moisture condenses underneath the mattress where you never see it — until the stains, the smell, and eventually the mildew show up.
This is a problem the owner community has genuinely solved, and the fixes are cheap. The classic solution is HyperVent condensation-prevention matting: a 3/4-inch woven polymer mesh that goes under the mattress, holds it off the platform, and lets air circulate so moisture evaporates instead of pooling. It costs about $13 a foot, cuts with scissors, weighs almost nothing, and reviewers confirm it works in campers exactly like ours. The premium alternative is a Froli spring system, which adds real suspension under the mattress (a noticeable comfort upgrade on thin camper mattresses) plus the same airflow benefit.
Whatever you choose, add one habit: lift the mattress and air it out whenever you can, especially after cold nights. And if you winter camp, our winter camping guide covers insulation, heating, and moisture control in more depth.
If you are still choosing between camper styles, pop-up models breathe better and condense less than hard-sides — one more factor to weigh in our pop-up truck camper buying guide.
Water, Sewer, and the Unglamorous Essentials
Nobody writes love letters to their sewer hose, but the boring gear is what keeps trips running. Your kit should include:
- A drinking-water-safe hose (white, not garden green) plus a pressure regulator — campground spigots can run far hotter pressure than your camper’s plumbing likes.
- A quality sewer kit with a clear elbow so you can see when the tank runs clean. Cheap hoses crack; a mid-range RhinoFLEX-style kit lasts years.
- Leveling blocks for the dump station approach and disposable gloves. Keep a dedicated bin for all of it so the “dirty” gear never migrates into the clean storage.
- A water filter — either an inline canister or a pitcher-style system inside. Tank water tastes like tank water; filtering fixes it.
Fill your fresh tank before remote stretches. A full water tank is heavy (about 8.3 pounds per gallon), so this is another line item in your real payload math — our truck bed camping setup guide walks through weight distribution basics if you are starting from a bare truck.
Entry Steps and Jack Pads: Your Knees Will Thank You
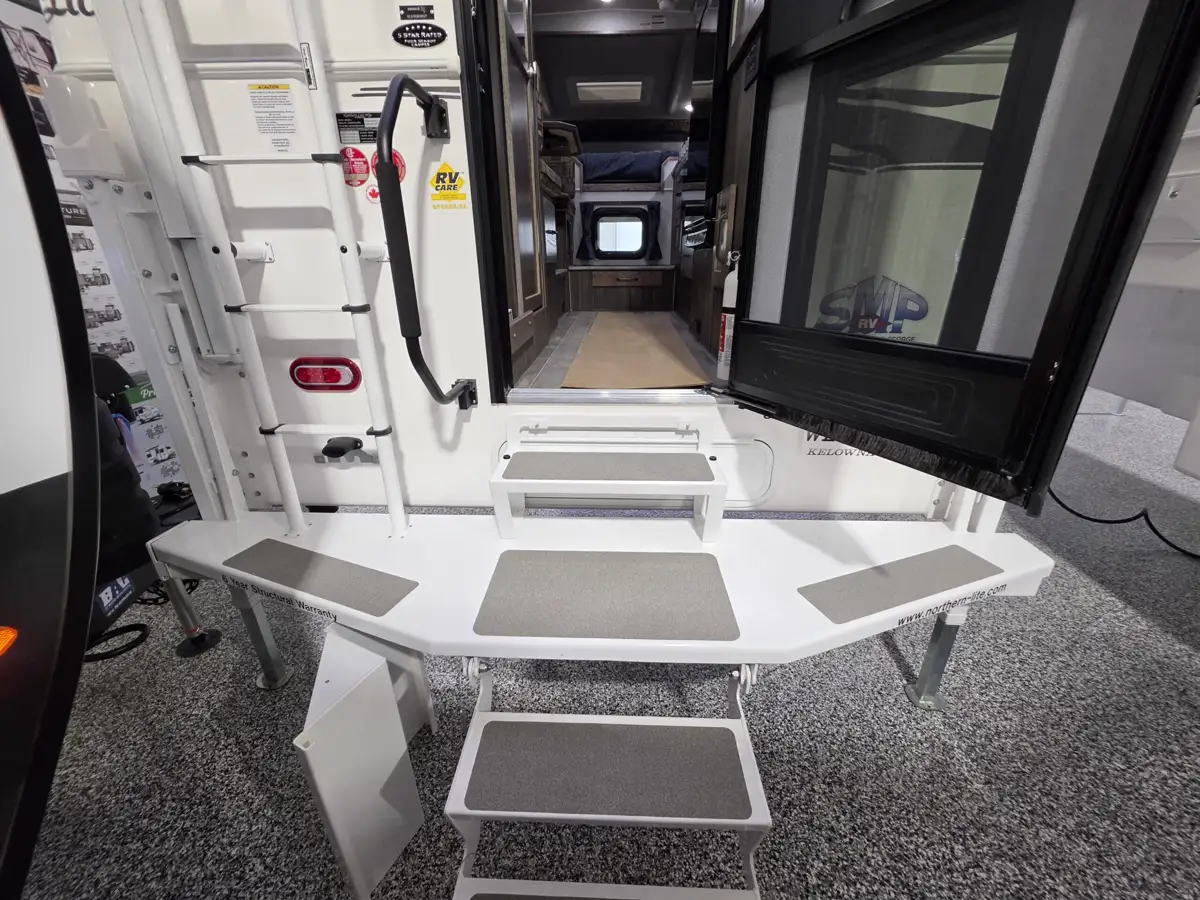
The stock camper steps that come with many truck campers are steep, narrow, and miserable in the dark. Torklift’s GlowStep system is the upgrade owners recommend most: it mounts to the camper, stores flat against the bumper so it does not drag dirt inside, and the all-terrain landing gear feet adjust to uneven ground so the steps do not wobble. Add-ons like the GlowGuide handrail make a real difference for older campers and kids.
If your camper has 5.5-inch round jack feet, SnapPad jack pads press on permanently and give each jack a wider, grippier footprint — less sinking into soft ground, less scuffing on pavement, and no more crawling around placing pads every time you unload. Small money, daily payoff.
Safety Gear That Is Not Optional

Truck campers concentrate a lot of risk into a small box: propane, high center of gravity, heavy loads on tires. The safety gear is not exciting, which is exactly why people skip it.
- A TPMS (tire pressure monitoring system) for truck and camper tires. A blowout under a loaded camper is the scenario you never want to experience. A TPMS gives you the warning your mirrors cannot.
- Working propane and carbon monoxide detectors. Propane suppliers add mercaptan for that rotten-egg smell, but detectors catch what your nose misses — especially overnight. Test them before every season.
- A fire extinguisher you can reach from the bed exit, not buried in an outside compartment.
- Know your total height. Measure it yourself with a tape measure, including the AC unit, vent covers, and solar panels. The manufacturer’s published number is not the number that hits the bridge. Write it on a card on the dashboard.
On propane specifically: U.S. Department of Transportation rules require RV propane cylinders to be recertified every 12 years, and plenty of owners discover this at the refill station when they get turned away. Check the date stamped on your tanks before the trip, not during it.
Truck Camping Gear and Accessories Owners Regret Buying
The most useful buying advice is negative. A recent video from an RV owner who wasted over $2,200 on the wrong gear nailed the pattern: the products were not bad, they were wrong for how he actually camped. The same lessons apply to truck camping gear and accessories:
- Oversized power stations bought before an energy audit. A 2kWh portable power station is dead weight if your actual daily use is 400Wh. Measure first (that battery monitor again), then size.
- Cellular boosters as a first purchase. A booster cannot create signal where there is none. Campground Wi-Fi and offline maps solve more problems for less money.
- Every gadget version of something you already own. Duplicate tools, duplicate kitchen gear, duplicate lighting. Every pound counts against payload, and truck campers punish packrats.
- Cheap no-name lithium batteries. The price is tempting, the BMS protection is a mystery, and a battery fire in a camper is a nightmare scenario. Buy from established brands with real warranties.
The one question that prevents all of these: “What problem does this solve on the trips I actually take?” If you cannot answer it specifically, do not buy it yet.
Frequently Asked Questions
What is the most important truck camping gear for a beginner? Proper tie-downs and turnbuckles, a bed mat, and a real understanding of your truck’s payload. Everything else is comfort. Get the camper attached safely and the weight legal first, then build out power, leveling, and kitchen gear over your first few trips.
How much should I budget for truck camper accessories? For the essentials — quality turnbuckles (~$880 for two pairs of Torklift FastGuns), a bed mat (~$100), leveling ramps and a level monitor (~$200 combined), HyperVent matting (~$50), and basic water/sewer gear (~$150) — plan on $1,300 to $1,600.
Can I just drop lithium batteries into my truck camper? Physically, yes. Electrically, not without changes. Owners who do the drop-in-and-done approach are the ones posting about dead batteries six months later. At minimum, your converter/charger needs a lithium charging profile, wiring must be sized for lithium’s higher current draw, and you need proper fusing. If you charge from the alternator, add a DC-DC charger to protect both systems.
Do I need suspension upgrades for a truck camper? Maybe, maybe not — drive it loaded first. Many owners buy airbags or helpers before their first trip and later realize the stock truck handled the camper fine, or that they fixed the wrong symptom. Diagnose the real issue (sag, sway, or porpoising) and target it specifically. Nothing you install raises your legal payload rating.
How do I stop condensation under my camper mattress? Put airflow between the mattress and the cold platform: HyperVent matting or a Froli spring system under the mattress, lift and air the mattress regularly, and ventilate the sleeping area (a cracked roof vent plus a small fan works wonders). This is the single most common comfort fix in the truck camper community.
What should I check before buying a truck camper? Your truck’s payload sticker on the driver’s door jamb, the camper’s wet weight (dry weight plus water, propane, batteries, and gear — typically 800 to 1,200 pounds over dry), and bed length compatibility. Run the numbers through our free compatibility checker before you fall in love with a floor plan — it takes about a minute and saves expensive mistakes.