Diesel Heater Install in a Truck Camper – The Complete Walkthrough
I did my first diesel heater install in a truck camper on a cold driveway in late November, headlamp on, hole saw in hand, dreading the hole I was about to cut in the floor of something I sleep in. This diesel heater install truck camper guide is everything I wish I had known that day. The heater itself was the easy part. The decisions around it — where it lives, where the exhaust goes, how the fuel gets there, and how much battery it eats at 2 a.m. — make or break the job. Get those right and you get dry, quiet, cheap heat all winter.
I am assuming you have already decided diesel is the right heat source. If you are still weighing diesel against propane and electric, read our winter heating guide first — it covers the buy decision, and this article will not re-argue it.
Before You Buy: 2kW vs 5kW, and Budget vs Premium
Most truck campers need a 2kW heater. A camper is a tiny, insulated box — often 60 to 90 square feet of floor — and a 2kW unit running in the middle of its range will hold it warm well below freezing. Webasto rates its Air Top 2000 STC at 0.9 to 2.0 kW, burning 0.12 to 0.24 litres of diesel per hour. That is roughly a gallon of fuel for a full day of heat, and around 8 to 20 amp-hours a night. Full specs are on Webasto’s official Air Top 2000 STC page.
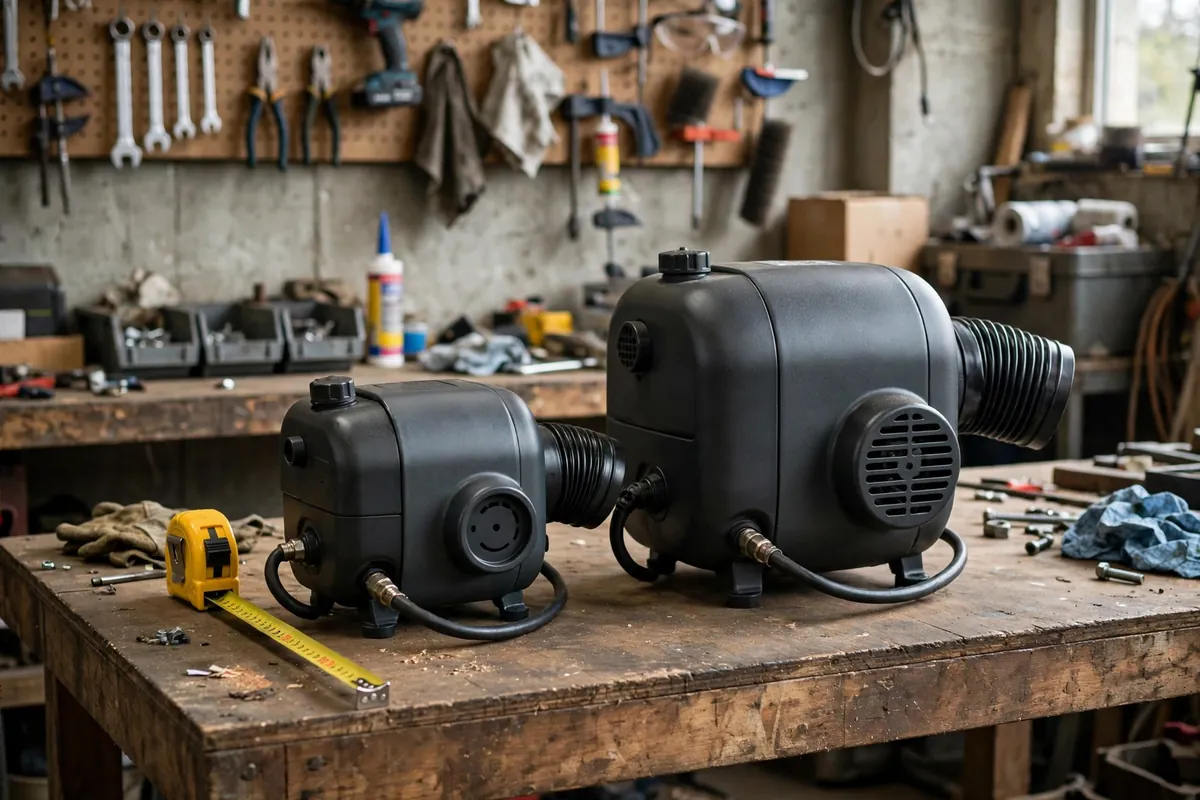
A 5kW heater makes sense in three cases: a big hard-side camper with a slide-out, a pop-up with a lot of canvas, or regular camping well below zero. Otherwise, oversizing hurts you. Owners report the same pattern: a 5kW unit in a small camper hits the thermostat in ten minutes, then idles on its lowest setting for hours, where combustion never gets hot enough to burn clean — so it soots up and throws an error code on the first genuinely cold night. Size for your worst realistic night, not your average one.
Then there is budget versus premium. A Chinese kit — Vevor and the lookalikes — costs a fraction of a Webasto or Espar/Eberspacher, and plenty of owners run them for years. The trade-offs are real: quality control is a lottery, the manuals are often poor, and most budget units have no altitude compensation, so they soot up above roughly 5,000 feet. Premium heaters cost north of $1,300 with the install kit, but bring altitude compensation, certification, and parts support. Note too that Webasto has ended production of the Air Top 2000 STC; its successor is the Air Top Pro 25, a 0.7 to 2.5 kW unit with automatic altitude adjustment to 5,500 metres. My take: forever camper plus high camping means buy premium; tight budget means a budget kit is fine, installed as carefully as a premium one and bench-tested hard in the first week while you can still return it.
Tools, Parts, and the Bench Test Nobody Should Skip
A typical kit ships with the heater, controller, fuel pump, 10-litre tank, fuel line, filter, exhaust and silencer, intake pipe, ducting, mounting plate, and harness. Before any of it goes near your camper, lay it out and check it — the most repeated advice from owners who have lived through a bad install.
Budget kits in particular arrive with loose glow plugs, soft fuel line that kinks, cheap clamps, and — the classic failure — a controller set for the wrong heater size. One teardown circulating among owners found 2kW heaters shipped with controllers programmed for 5kW fuel delivery, so the unit over-fuels from the first start. Check the glow plug is snug, check every clamp, confirm the fuel pump part number matches your heater size, and read your manual cover to cover — it is the authority for your unit, not this article. Then bench-test: wire the heater to a battery on a tailgate, prime the fuel line, and run it for an hour, finishing on high for ten minutes. Find a dead glow plug in your driveway, not at 9,000 feet in January. You will also want a turret plate, CO and smoke alarms, a 2 kg fire extinguisher, heat-resistant sealant, rust treatment, and grommets.
Step 1: Pick the Mounting Location
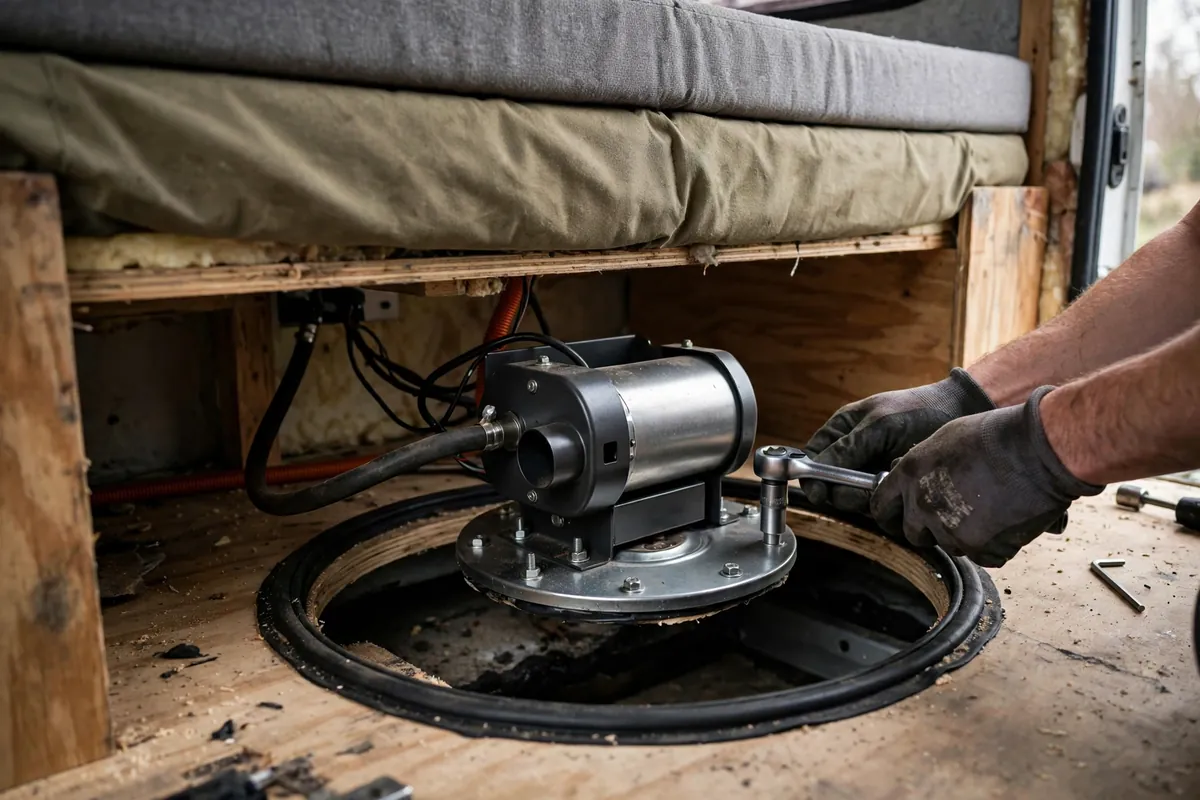
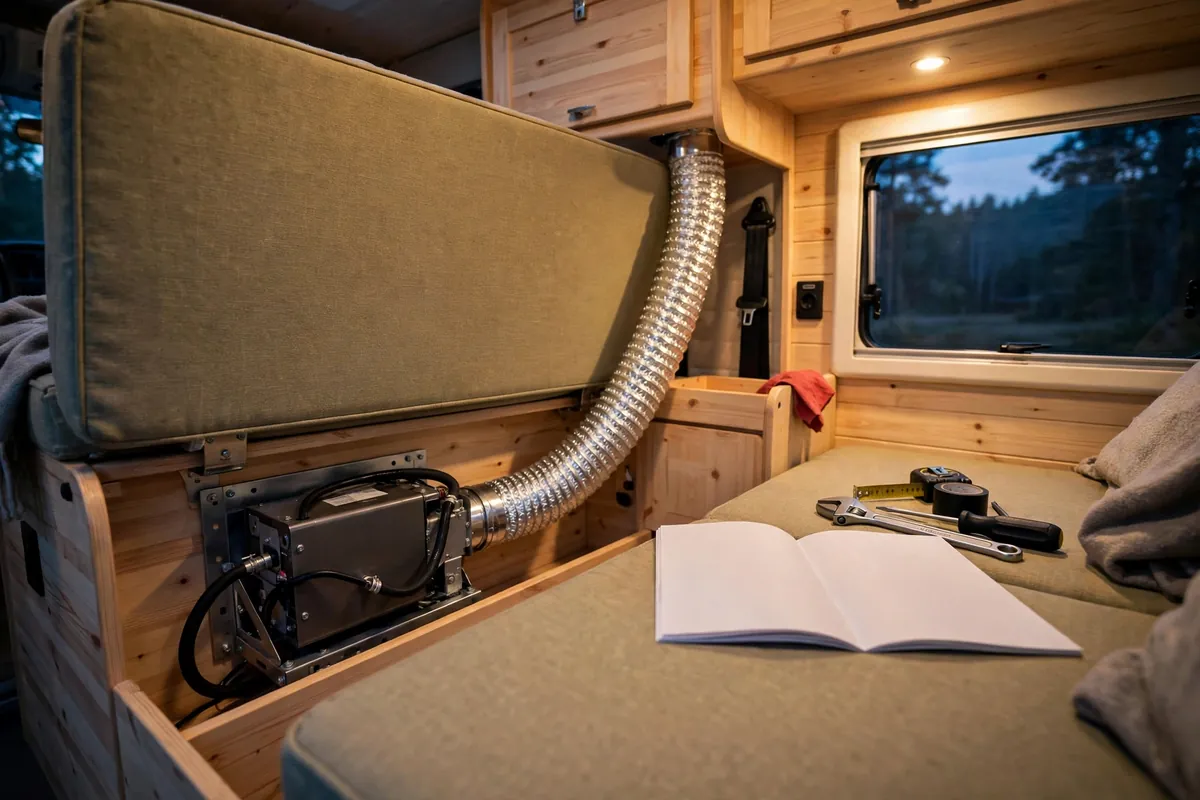
Three locations work in a truck camper: under a bench or dinette seat, under the bed base, or in a lower cabinet near the floor. Under-seat mounting is the most common — the heater stays inside, protected from weather and theft, with short runs to the battery, fuel tank, and duct outlets.
Before you drill anything, check four things: clear space underneath for the exhaust and intake to exit through the floor — get under the camper with a torch and look for frame rails, tanks, gas lines, and wiring; room around the heater for its cabin-air intake; a short duct run with gentle bends, since long or crushed ducting kills airflow and trips the overheat sensor; and distance from anything heat-sensitive, including bedding or curtains near the hot-air outlet. Install it flat on the floor with the exhaust outlet at the bottom — most manuals allow about 30 degrees of tilt, but flat is the position the clearances assume.
Step 2: Cut the Floor and Mount the Heater
A turret plate turns a messy multi-hole job into one clean cut, and I recommend one even if your kit did not include it. It compensates for uneven floors, gives a flat sealing surface, and — on the better designs — leaves the exhaust, intake, and fuel-line clamps accessible without pulling the heater out.
Mark the cutout from underneath as well as above. Cut with a hole saw or jigsaw, treat bare metal edges against rust, and seal the plate with the supplied gasket plus heat-resistant sealant. Check that seal every season — gaskets harden and crack. Bolt the heater down firmly without over-torquing the casing, and connect the ducting before it gets buried behind cabinetry. For a 2kW heater, 60 mm ducting is standard; 5kW units generally use 75 mm. Keep runs short and point outlets low, with one toward the cabover bed — the coldest corner of a truck camper.
Step 3: Exhaust and Combustion Intake — the Safety-Critical Part
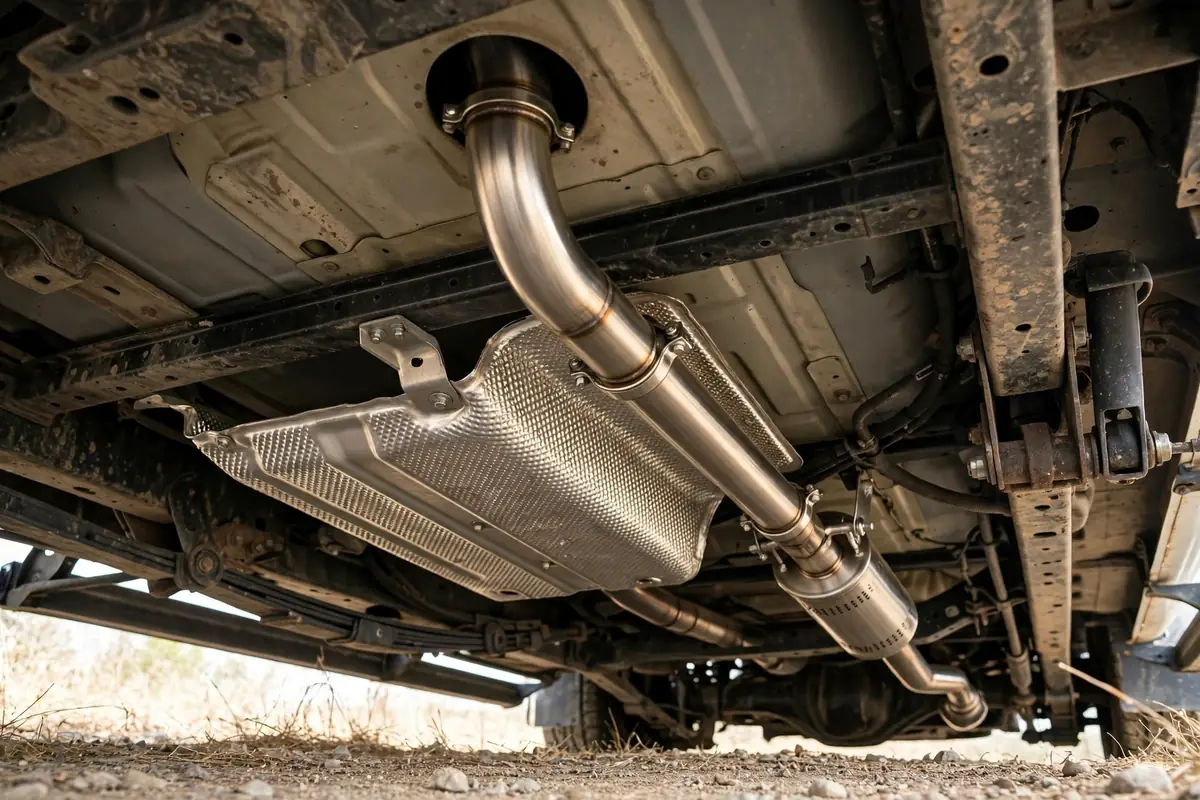
A diesel heater burns fuel in a sealed chamber and blows cabin air over a heat exchanger, so exhaust never mixes with the air you breathe. This is the part of a diesel heater install truck camper owners most often get wrong, and the part where a mistake can genuinely hurt you. Diesel exhaust contains carbon monoxide, which you cannot see or smell — in a correct install, that gas never enters your living space. Installer guidance from Butler Technik’s diesel heater installation guide backs every rule in this section.
Route the stainless exhaust straight down through the floor and out underneath the camper, angled slightly downward so condensation drains out instead of pooling and corroding the pipe. Fit the silencer and keep the pipe clear of fuel lines, tanks, wiring, and anything flammable — installers cite around 400°C at the outlet, so use heat shields or wrap where it passes anything vulnerable. Point the tip toward the rear, away from doors, windows, roof vents, and your awning side, and never where snow can bury it.
The combustion intake also comes from outside — never from inside the cabin — and must sit where it cannot suck in exhaust. Leave roughly 8 inches of clear space around the cabin-air intake, and fit a working CO alarm near your sleeping area before the first overnight run. The alarm is your backup, not your ventilation — correct exhaust routing is what keeps the air clean. Test it monthly, same as your smoke alarm.
Step 4: Fuel Tank Routing
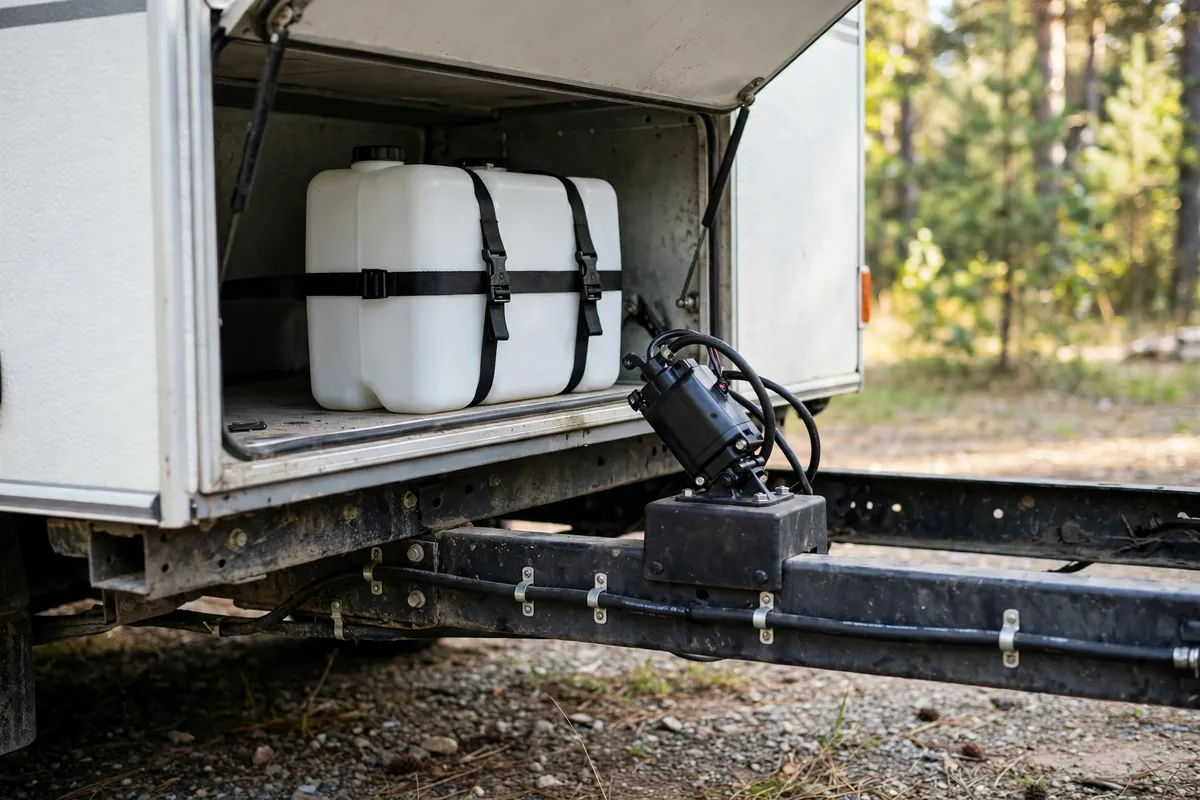
Most truck campers use a separate day tank rather than tapping the truck fuel tank. A separate 10-litre tank is simple, keeps driving fuel and heating fuel independent, and avoids dropping a truck fuel tank to fit a standpipe. A full tank covers a long weekend of evenings — roughly 40 to 80 hours.
Mount the tank outside the living space, ideally on the same side as your truck fuel filler. Owners who learned this the hard way are blunt: do not put a diesel tank inside the camper — one leak or spill and you will smell it for weeks. Shield a plastic tank from UV, strap it down, and keep the filler cap outside any enclosed compartment.
Run the fuel line along the chassis, clipped firmly with P-clamps, away from the exhaust pipe, sharp edges, and anything that can rub through it. Cut the supplied hard nylon microline with a sharp knife rather than scissors, and fit an inline fuel filter with the flow direction correct — fuel should enter the mesh basket side.
Mount the metering pump close to the tank, protected from heat and impact, at a 15 to 35 degree angle with the outlet facing up so air bubbles can escape. That angle is in nearly every manual and one of the most commonly skipped steps; a pump mounted flat traps air, and trapped air is a failed start at midnight. Then the noise: the pump clicks. Owners on forums and YouTube report the same fix — mount it on a rubber isolation block, never bolted directly to a resonant panel.
Step 5: 12V Wiring and Fusing — Where Most Failed Starts Are Born
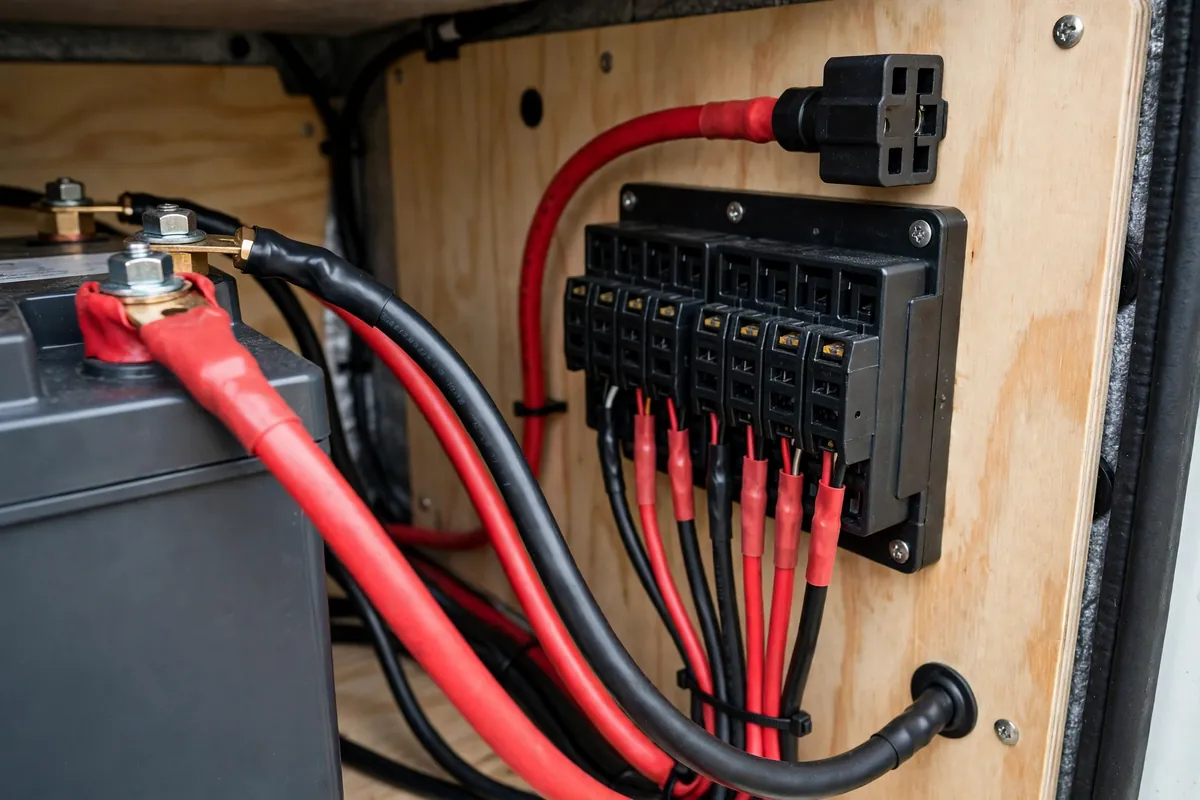
Ask a dozen owners why their heater would not start, and the most common answer is not the heater at all — it is voltage. Poor supply is the number one cause of failed starts and lock-outs: thin kit wiring, long runs, and corroded terminals starving the glow plug.
A diesel heater draws 8 to 12 amps during startup, when the glow plug is heating, for one to three minutes, then settles to roughly 1 to 3 amps. Shutoff draws current again — the glow plug fires to burn off residue, pulling up to 10 amps for a minute or two. So leaving the heater running on low overnight is usually cheaper on battery than switching it off and on.
Wire the heater on a dedicated fused feed straight from your house battery — never from the truck starter battery or a shared lighting circuit. Use a 15-amp fuse as a starting point and follow your manual fuse rating exactly. Size the cable for the run: 2.5 to 4 mm² is typical, but long runs need thicker cable to keep voltage drop under about 3%. Keep terminals clean and tight, and grommet any wire passing through metal. If your battery is a long way from the heater, the fix is thicker cable, not a bigger fuse — a bigger fuse on thin wire is how wires melt.
If you are still on a lead-acid house battery, think about capacity: a lithium upgrade and the solar to recharge it changes the whole winter-camping equation — see our solar and lithium sizing guide and our DC-DC charger install guide.
Step 6: Thermostat, Ducting, and Airflow
Fit the controller where you can reach it from bed. The temperature sensor must sit in the area you are warming, at the height you want to measure, out of direct hot-air flow and sunlight: a sensor in the blast of a duct outlet will read warm while your feet are freezing.
Keep duct runs short and smooth, with gentle bends and no crushed sections, and use closeable vents to balance the flow. Never point a hot outlet directly at skin or bedding, and never block an outlet with stored gear: a blocked outlet overheats the heater and trips the shutdown. The heater also needs a return path for cabin air, so leave a vent or gap in its cabinet, or it will starve and short-cycle.
Step 7: First Fire — Priming, Testing, and the First Night
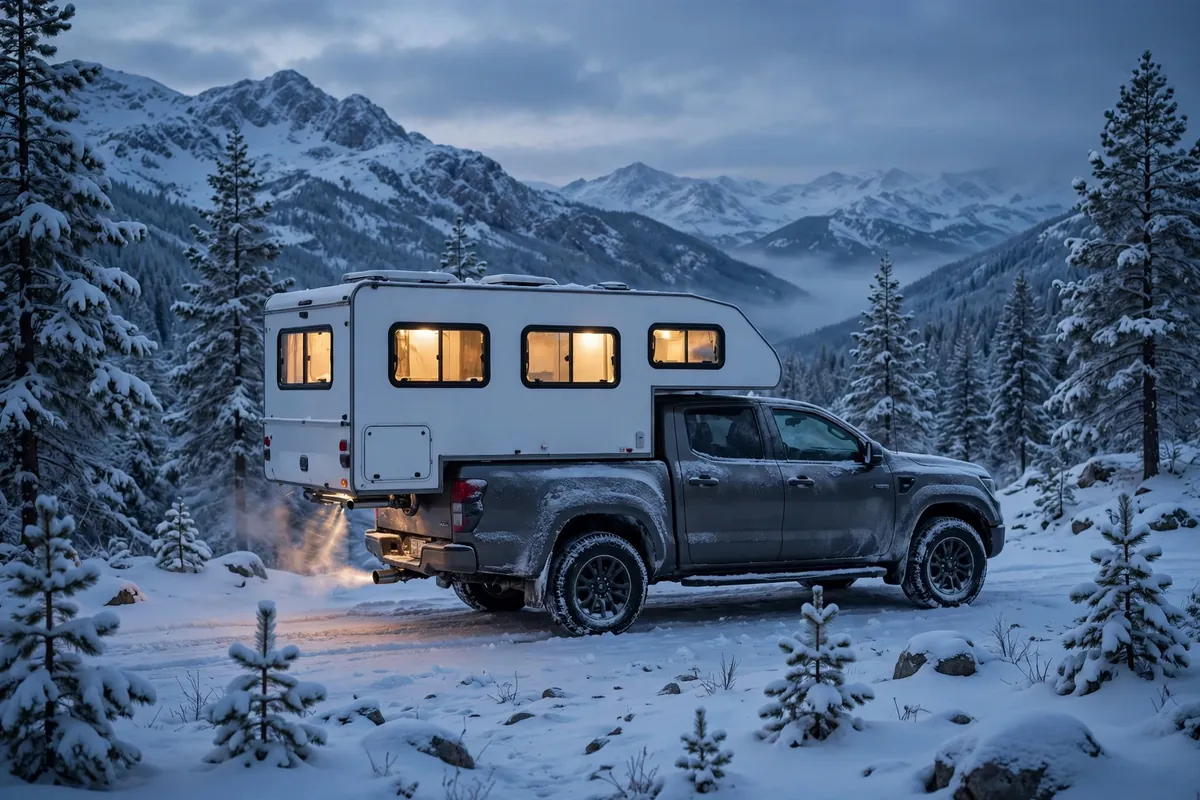
Priming takes patience. The fuel line is empty, and the metering pump moves a tiny amount per click, so expect several start attempts before fuel reaches the burn chamber — that is normal. If it still will not light, check the pump angle, the fuel line for kinks, and the filter direction.
On first fire, run it outside or with the camper well ventilated. Expect some smell and light smoke on the very first burn as manufacturing oils burn off — that should clear within minutes and never return. If you smell diesel inside after that, stop the heater and find the leak: check exhaust joints, reseat clamps, and confirm the exhaust slope. A diesel smell inside is never normal. Run the heater on high for at least half an hour and confirm three things: the exhaust tip is hot and blowing clean, the duct outlets are pushing strong warm air, and the CO alarm stays silent. Then let it settle to its thermostat setting. Check battery voltage after the first night; if it sagged badly, see our electrical troubleshooting guide.
Diesel Heater Install Truck Camper Mistakes Owners Keep Making
The same failures show up in thread after thread about diesel heater install truck camper jobs, and nearly all trace back to the install, not the heater.
Wrong pump or controller for the heater size. Budget kits are notorious for this: a pump listed as fitting 2, 5, and 8 kW units, or a controller programmed for 5 kW fuel delivery on a 2 kW heater. The symptom is a heater that will not start, runs rich, and soots up within days. Verify the pump part number and controller settings against your heater size before install.
Oversizing. A 5kW heater idling on low in a small camper soots up faster than a 2kW heater working properly. Owners on Overland Bound and van-life forums report the same cure — run the heater on full power for 10 to 15 minutes regularly to burn the chamber clean — and if the problem keeps coming back, the heater is too big.
Low voltage. Thin kit wiring and long cable runs are the most common cause of failed starts, full stop. Owners who upgraded to thicker cable report heaters that suddenly start first time, every time. If your heater clicks, tries, and locks out, check voltage at the heater terminals under load before you blame the glow plug.
Altitude sooting. Above roughly 1,500 metres, thin air makes the fuel-air mixture rich, and budget heaters without compensation soot up and fail to start. Premium heaters handle this automatically; older Espar units need a separate altitude kit. If you camp above 5,000 feet regularly, buy altitude compensation.
Skipping the CO alarm. The cheapest life-safety device in the whole project: fit one, test it, and replace it when it expires.
The Bottom Line
A diesel heater install in a truck camper is a weekend job: size it right, bench-test it, mount it flat, route the exhaust down and to the rear, keep the tank outside, fuse the feed properly, and fit a CO alarm.
Frequently Asked Questions
Is 2kW or 5kW better for a truck camper?
For most truck campers, 2kW. It covers a well-insulated hard-side or pop-up camper down to well below freezing and sips fuel at 0.12 to 0.24 litres per hour. Choose 5kW only for a large slide-out camper, a lot of canvas, or regular sub-zero camping.
How much battery does a diesel heater use overnight?
Roughly 8 to 20 amp-hours over an eight-hour night for a 2kW unit. Startup is the expensive part: the glow plug draws 8 to 12 amps for one to three minutes, and shutdown draws up to 10 amps.
Can I install a diesel heater myself, or do I need a professional?
A confident DIYer can do it in a day or a weekend. The non-negotiable parts are reading your manual, routing the exhaust correctly, fusing the 12V feed properly, and fitting a CO alarm. If you are not comfortable cutting the floor, working with fuel, or doing 12V wiring, hire a professional.
Is it safe to run a diesel heater overnight while sleeping?
Yes, when it is correctly installed with sealed combustion, a properly routed exhaust, and a working CO alarm. The combustion chamber is sealed from cabin air, so the heat you feel is dry air blown over a heat exchanger, not exhaust. Never run a heater with a known exhaust leak, a blocked exhaust, or no CO alarm.