How to Build a Homemade DIY Truck Camper: Materials, Tools & Step-by-Step
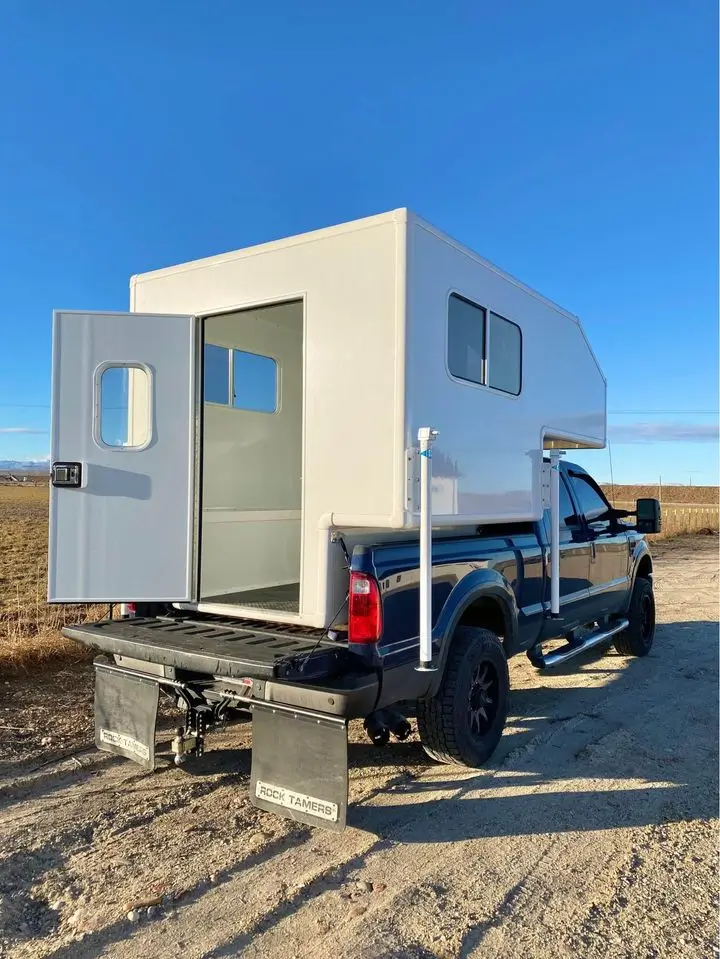
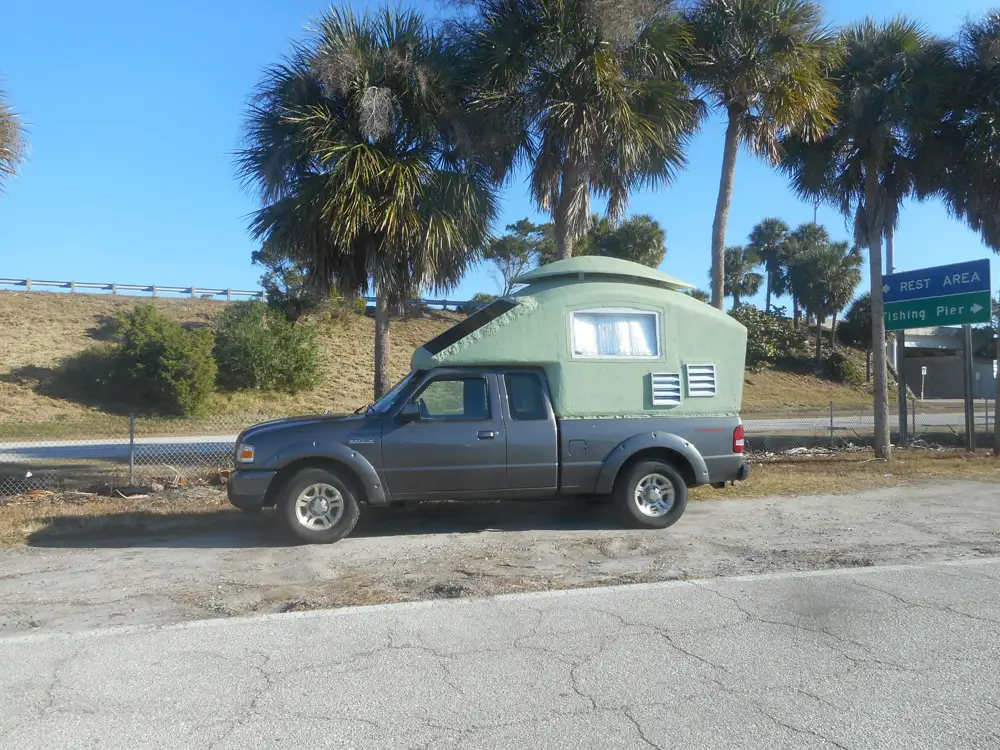
I will be straight with you: a real homemade DIY truck camper build is not a weekend project. Plenty of guides show someone dropping a drawer platform into a store-bought shell — but somebody else built that camper. This guide is about building the whole thing yourself: framing walls, skinning them, wiring 12V power, and ending up with a weatherproof box that fits your truck and your budget.
Plan on four to eight weekends. That sounds like a lot until you price factory campers — low five figures to well past $60,000 (see our best lightweight truck campers roundup). You will know every screw in your build when something needs fixing on a dirt road.
Is a Homemade DIY Truck Camper Build Right for You?
Three honest questions before you buy plywood.
Do you have the time? This is a multi-weekend commitment. Builders who finish put a trip on the calendar as a deadline — projects without one stall in garages for years. If you need a camper in three weeks, buy used.
Can you do the basics? If you can rip a straight line with a circular saw, drive screws without stripping them, and follow a wiring diagram, you can build a camper. Campers are boxes — square, sealed, strong boxes.
Does your truck have the payload? This kills more DIY builds than bad carpentry. Check the yellow tire-and-loading sticker on the driver door jamb — that number, minus passengers, gear, and water, is what your camper may weigh. If the math does not work, no framing trick fixes it.
If a full build sounds like too much, a simpler truck bed camping setup gets you camping this month while you plan.
Plan First: Measurements, Weight Budget, and the Legal Stuff
Every failed build I have read about skipped this step. Layout, materials, wiring, and weight all work together — decide them together.
Measure your actual truck. Bed length, width between the wheel wells (roughly 48 to 51 inches on most full-size trucks), rail height, and cab roof height for a cabover. Draw the full layout on paper — battery, water, bed, cabinets. Wiring runs are ten times easier to plan now than after the walls close up.
Build a weight budget on day one. List everything — plywood, lumber, battery, water, fridge, passengers — and add it up. Water weighs 8.3 pounds per gallon, so a 10-gallon tank adds 83 pounds. A 100Ah lithium battery is about 31 pounds; one owner’s 330W solar panel weighed 45. Forum owners warn the weight adds up fast, and nearly everyone underestimates it.
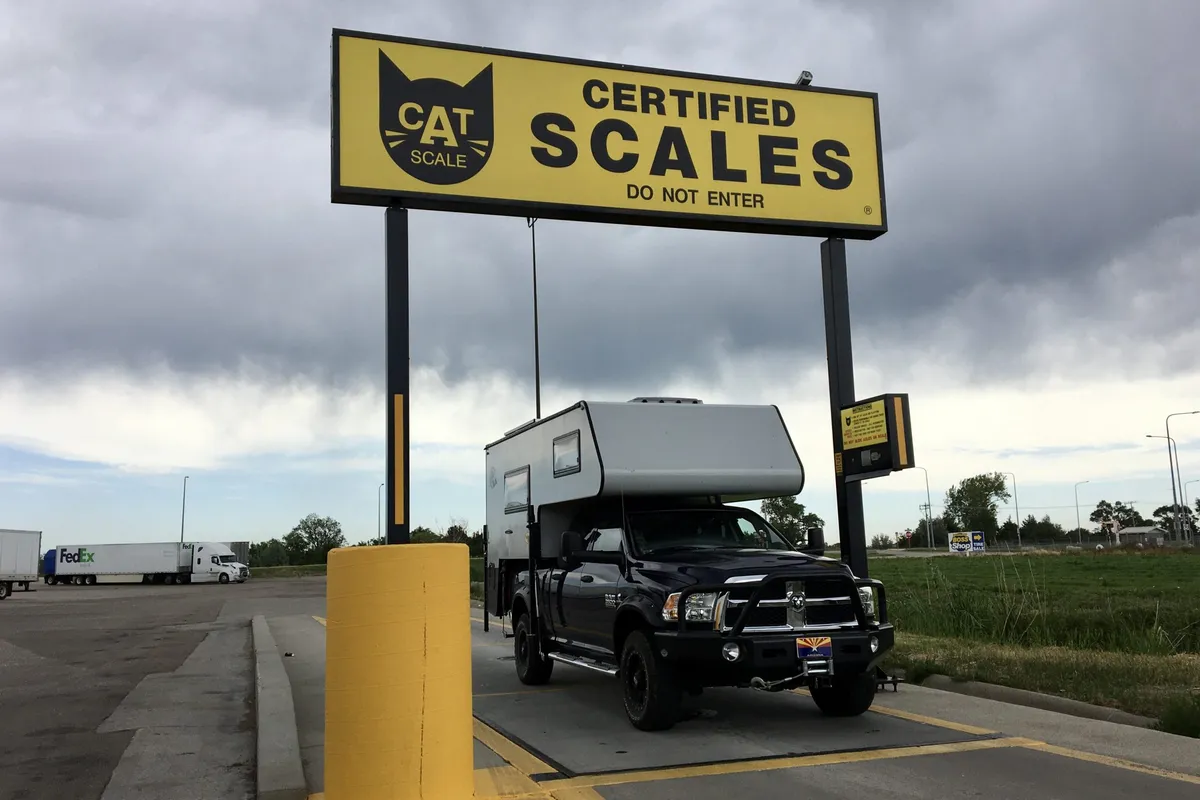
Two rules from experienced owners: keep the camper’s center of gravity ahead of the rear axle, and when the build is done, take the loaded rig to a CAT scale and weigh the front and rear axles separately. Brochure numbers lie; the scale does not.
Check the legal side before you build. Most states treat slide-in campers as cargo, but about nine states (including Idaho, Ohio, Oregon, Utah, and Washington) require registration, and several require a title — Washington requires both, via the WA Department of Licensing. Keep every receipt plus a photo build log as proof of ownership, and call your insurer: your truck policy may not cover the camper.
Materials for Your Homemade DIY Truck Camper Build
Full list for a hard-side plywood camper on a full-size short bed. Buy 10 percent extra for the cuts you will regret.
Lumber and sheet goods
- 10 to 12 sheets of 3/4-inch (23/32) CDX plywood for floor, walls, and roof — roughly $30 to $50 per 4×8 sheet in 2026 listings, varying by region.
- 4 to 6 sheets of 1/2-inch plywood for cabinets, bed platform, and partitions. Weight-saving tip from experienced builders: many use 12 to 15mm plywood for interiors and call anything thicker overkill. Thin plywood flexes but is remarkably durable — do not build furniture from 3/4-inch out of habit.
- 2×2 and 2×3 framing lumber for studs, joists, and beams — skip pressure-treated inside the living space.
Skin and waterproofing
Water intrusion is the number one killer of wooden campers, and it rarely comes through the middle of a wall — it wicks up through raw plywood edges at the floor and creeps in around windows. Owners who rebuilt rotted floors all say the same thing: seal every cut edge with epoxy before assembly. One forum member traced his floor rot to moisture wicking up from the wooden riser beneath it.
Your skin options:
- Poor Man’s Fiberglass (PMF): canvas drop cloth bedded in Titebond III, cured 72 hours, then painted with exterior latex. Forum builders report 10-plus years of watertight service. Use Titebond III over II — waterproof (ANSI/HPVA Type I) rated with longer working time. Plan on two to three gallons.
- Aluminum sheet over plywood: tougher against branches, but pricier and harder to work.
- Butyl tape under every window, vent, door, and trim piece — non-negotiable. Caulk alone eventually fails. Add RV lap sealant for roof seams.
Insulation
- 1 to 1.5-inch XPS rigid foam board between the studs, gaps filled with spray foam or foil tape. It beats reflectix-style bubble wrap by a wide margin.
Windows, door, and vent
- Two RV windows with screens (salvage yards are the budget move) and a powered roof vent — the best comfort upgrade in a small camper. Run it on low overnight and most condensation problems never start.
- An RV entry door, or build your own with a hinge that overhangs the opening so water sheds off. The door and hatch area is the most common leak point on DIY builds.
Electrical — keep it simple first
Start with a simple, reliable 12V system and add gadgets later — overcomplicated electrical is the most repeated build-killer in owner communities.
- One 100Ah LiFePO4 house battery: budget options run around $379 in 2026; a Battle Born 100Ah lists at $999 MSRP, dealers around $800–$950 (dealer listing).
- A DC-DC charger so the alternator charges the house battery while driving.
- 200W solar panel with MPPT controller for parked days.
- Marine fuse block, marine-grade wire, LED lights, 12V outlets, USB ports. Fuse every positive wire near the battery.
- Skip the big inverter unless you have a specific 120V need — phones, laptops, lights, fans, and a 12V fridge all run on 12V.
Tie-down hardware
- Through-bolted steel anchor plates at the four corners of the floor frame. These are structural, not trim: one builder documenting an anchor repair found a small leak had turned the surrounding wood to mush.
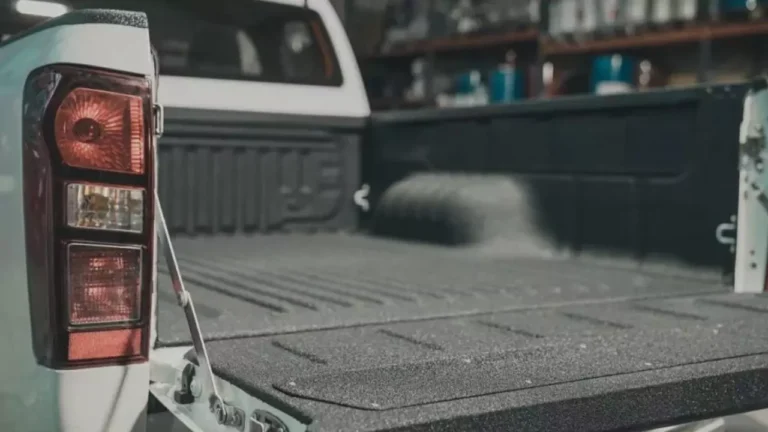
- Frame-mounted tie-downs for the truck, such as Torklift’s ApexAnchors (2,000 lbs per anchor), plus four spring-loaded turnbuckles. Bed-mounted tie-downs have torn up truck beds — and do not trust factory cargo hooks unless your truck’s maker rates them for a camper.
Tools You Will Need
Circular saw with a straightedge guide (plus a friend for full sheets), jigsaw for cutouts, drill/driver and bits, more clamps than you think, speed square, 4-foot level, two tape measures, caulk gun, 9-inch paint rollers for the PMF glue, and a random-orbit sander.
Safety gear is not optional: glasses, hearing protection, and a respirator every time you cut or sand. Tie back hair, skip loose sleeves near blades, and keep a fire extinguisher in the shop.
Step-by-Step Assembly for a Homemade DIY Truck Camper Build
Step 1 — Finalize the plan. Floor plan, wiring diagram, weight budget. Decide hard-side vs. pop-up now — it changes the whole framing plan (see our hard-side vs. soft-side comparison).
Step 2 — Build the floor pack. Sandwich flat 2x3s between two layers of 1/2-inch plywood, glued and screwed, shaped to clear wheel wells and lights. Seal every edge with epoxy before assembly and paint the underside — the floor is the part you never want to rebuild.
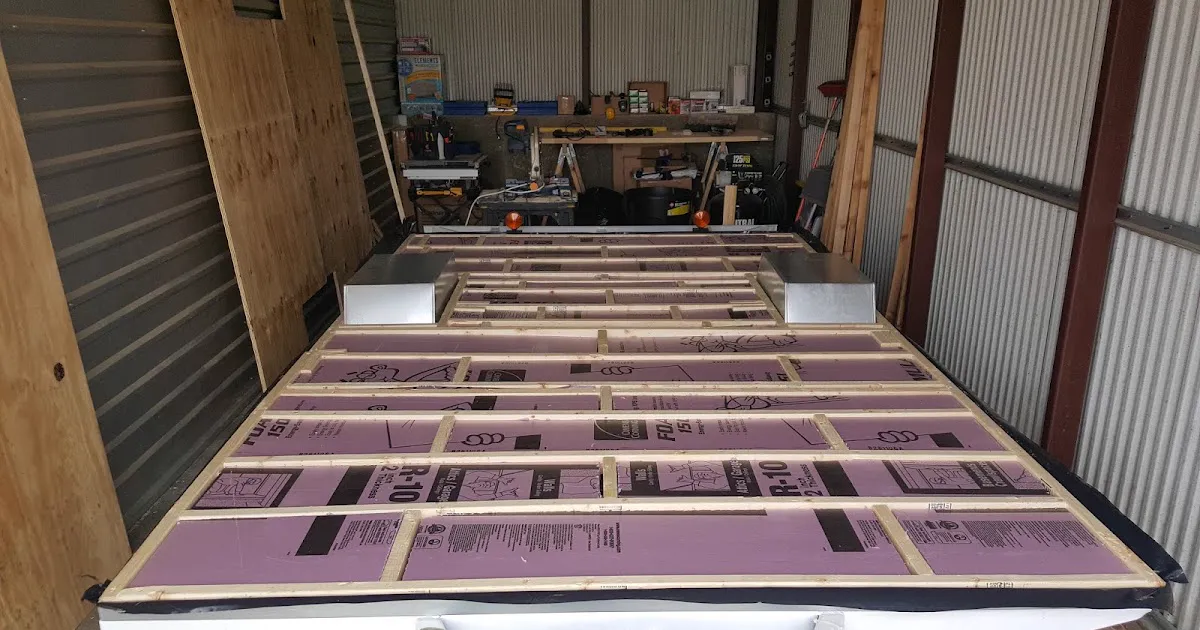
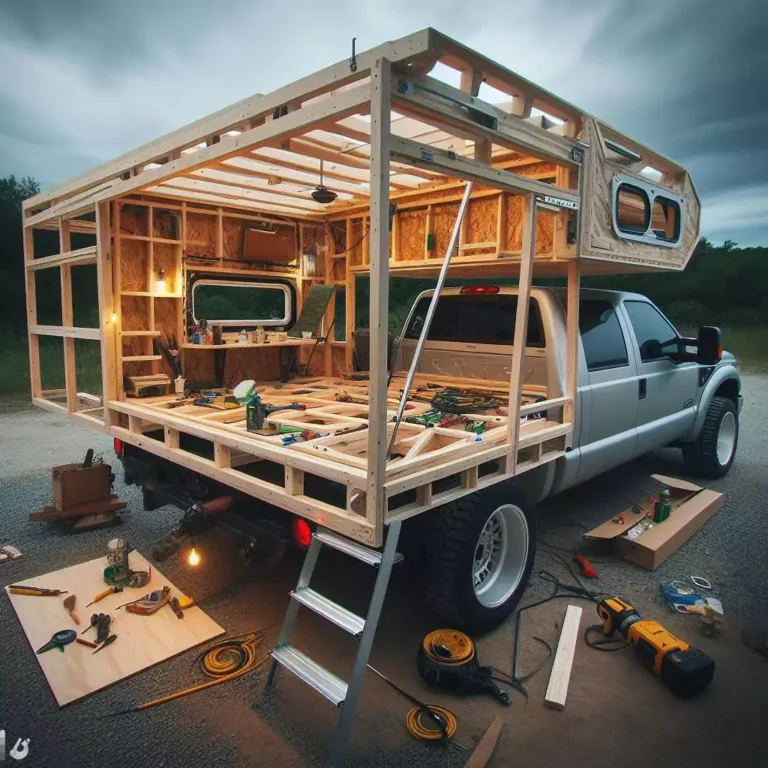
Step 3 — Frame the walls flat. Build each wall on sawhorses: 2×2 studs on 16-inch centers with plywood sheathing. Frame window, door, and vent openings now — cutting them later is miserable. Check square with diagonal measurements.
Step 4 — Stand the walls. Screw them to the floor pack, brace plumb, tie corners together, and add gussets and diagonal bracing — triangles keep a box from racking on rough roads.
Step 5 — Frame and skin the roof. Give it a slight crown so water runs off; a dead-flat roof is a future leak. Plan vent and solar mounting points before the skin goes on.
Step 6 — Cut openings and dry-fit. Windows, door, roof vent, wiring pass-throughs. Final-install each one bedded in butyl tape — compress it, do not just caulk around it.
Step 7 — Run the 12V wiring before insulation. Route marine-grade wire through conduit or behind future cabinets, mount the fuse block near the battery, fuse every positive run, and label every circuit.
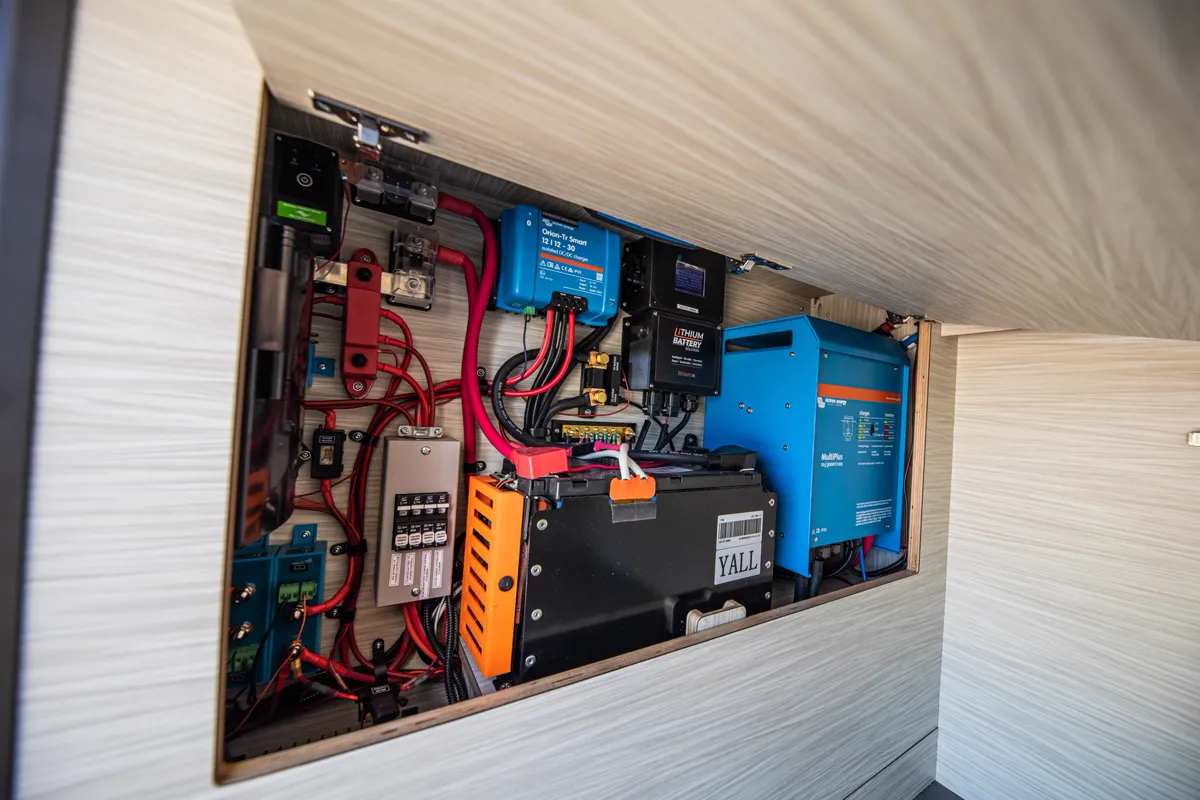
Step 8 — Insulate. Cut XPS foam to fit between studs; fill gaps with spray foam or foil tape. Experienced winter campers rank ventilation above insulation for comfort — trapped moisture defeats warm walls (see our winter truck camping guide).
Step 9 — Skin the exterior (PMF). Roll Titebond III onto the plywood in sections, lay the canvas, and press it in with gloved hands, working out wrinkles. Cure a full 72 hours, then two to three coats of exterior latex. Do not rush the cure — this is your weatherproofing.
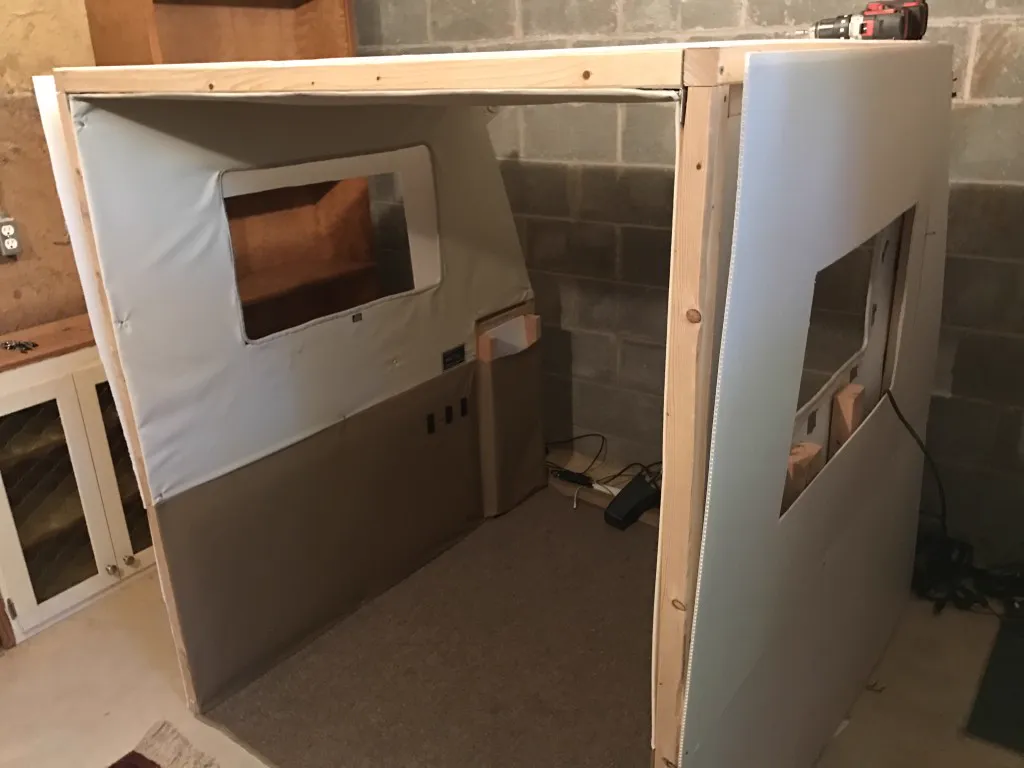
Step 10 — Mount the tie-down anchors. Through-bolt steel plates to the floor frame at all four corners, tied into solid structure — this connection holds your camper to the truck at highway speed.
Step 11 — Build the interior. Bed platform, cabinet boxes, galley. And the detail most first-timers miss: leave an air gap under the mattress. A mattress on cold plywood is a notorious condensation trap. Owners fix it with plastic spring grids, dimpled drain mats, or coarse furnace-filter pads (an old boating trick) — three-quarters of an inch of airflow is the difference between a fresh mattress and a mold farm.
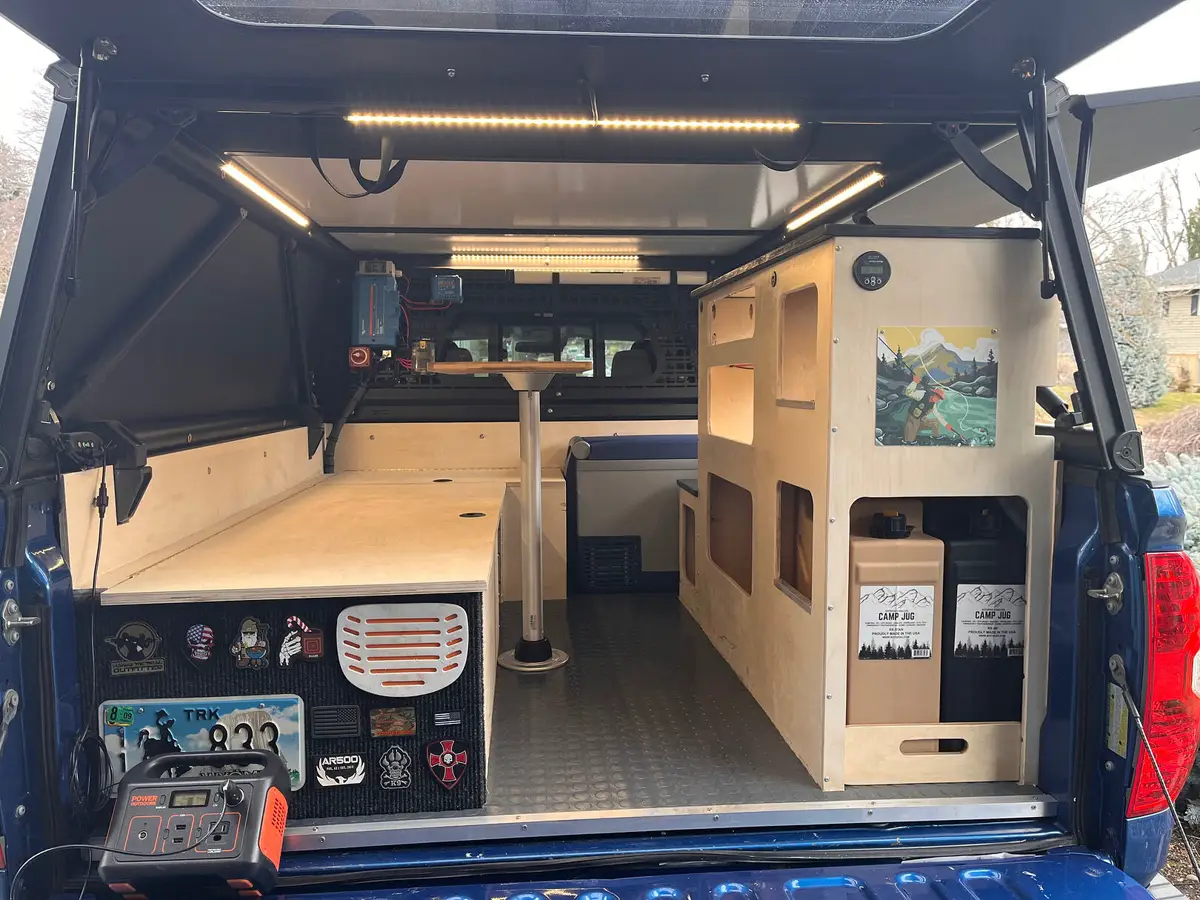
Step 12 — Ventilate, then load. Install the powered roof vent and crack a window for cross-flow — even on low, that clears overnight moisture. When loading, lower the camper onto a bed mat; if it walks on a slick spray-in liner (a common complaint), shim it snug against the wheel wells. Connect frame-mounted tie-downs with spring-loaded turnbuckles — fronts pulling forward, rears pulling rearward — and re-check tension after the first 50 miles.
Keep Your Build Under Your Payload Limit
Weigh as you go. Keep a running list from the first sheet of plywood and weigh big components on a bathroom scale.
Know the heavy hitters. A 4×8 sheet of 3/4-inch CDX weighs around 60 pounds — a dozen sheets is 700-plus pounds before you cut a thing. That is why experienced builders push 2x2s, thinner interior ply, and foam cores.
Do the CAT scale test. Load the camper the way you will travel — full water, fridge, passengers, gear — and weigh the front and rear axles separately. Compare each axle to its GAWR on the door sticker, not just the total against GVWR.
Suspension upgrades do not raise your rating. Airbags and helper springs improve ride and handling, but they do not increase legal payload or axle ratings. Do not let a level stance convince you an overloaded rig is fine.
Load heavy things low and forward. Batteries, water, and tools belong low and near the cab, ahead of the rear axle. Roof weight is the enemy of handling — keep it light.
For more on shaving pounds without losing strength, see our lightweight truck camper shell guide.
What a Homemade DIY Truck Camper Build Costs in 2026
Verified 2026 prices where I could confirm them; the rest are rough estimates — check local stores before budgeting, since lumber and battery prices move by region.
| Item | Realistic cost |
|---|---|
| 3/4-inch CDX plywood, 10–12 sheets | $300–$600 (about $30–$50/sheet in 2026 listings) |
| 1/2-inch plywood, 4–6 sheets | $120–$240 (rough estimate) |
| 2×2 and 2×3 framing lumber | $100–$200 (rough estimate) |
| Titebond III, 2–3 gallons | $90–$140 (rough estimate) |
| Canvas drop cloths | $30–$60 |
| XPS foam insulation, 4–6 sheets | $150–$300 (rough estimate) |
| RV windows x2 + entry door | $300–$800 (rough estimate; salvage yards are far cheaper) |
| Butyl tape, screws, sealants, paint | $150–$250 (rough estimate) |
| Powered roof vent | $150–$300 (rough estimate) |
| 100Ah LiFePO4 battery | $379 (budget) to $999 (Battle Born MSRP) |
| 200W solar + MPPT controller | $200–$350 (rough estimate) |
| DC-DC charger, fuse block, wire, LEDs | $200–$400 (rough estimate) |
| Frame-mounted tie-downs (front + rear) | ~$465 + ~$388 (Torklift list) + turnbuckles |
| Realistic total | $3,000–$7,000 |
The spread is mostly electrical and tie-downs: a basic 12V setup with salvaged windows lands near the bottom; a premium battery bank, full solar, and frame-mounted tie-downs push the top.
Mistakes DIY Builders Keep Making (and the Fixes That Actually Work)
These come from owner forums and builder communities — real problems, and the fixes that held.
Sealing the outside but not the wood edges. Water wicks up through raw plywood edges at the floor and creeps in around flanges. Fix: seal every cut edge with epoxy before assembly, bed every penetration in butyl tape, inspect roof seams yearly.
No airflow under the mattress. The underside of a mattress on cold plywood grows mold. Fix: a 1/2 to 3/4-inch air gap — plastic spring grids, dimpled drain mats, or coarse furnace-filter pads — plus the roof vent on low overnight.
The camper walks around in the bed. On slick spray-in liners, campers migrate sideways over a long driving day. Fix: shim the camper snug against the wheel wells, on top of proper turnbuckle tension.
Tie-down anchors screwed into plain plywood. A small leak rots the wood; turnbuckle tension does the rest. Fix: through-bolted steel plates tied into the floor frame, inspected yearly.
Overcomplicated electrical on day one. Big inverter, mystery drains, dead batteries, stalled project. Fix: battery, DC-DC charger, fuse block, LEDs, fan — working and simple — then expand.
Building heavy because stronger feels safer. Doubled framing and 3/4-inch everything. Fix: 2x2s, thinner interior ply, foam cores, and a running weight log. Nearly every overloaded DIY rig got there a hundred pounds at a time.
Safety Disclaimers — Read These Before You Start
- Power tools: eye, ear, and lung protection every time you cut or sand. Clamp your work, keep blades sharp, disconnect power when changing blades.
- Electrical: fuse every positive wire near the battery. LiFePO4 needs a lithium charge profile — never an old lead-acid profile — with a DC-DC charger between alternator and house battery. If this is unfamiliar, have an electrician check your work before connecting the battery. A wiring mistake in a wooden box is a fire.
- Weight and driving: never exceed door-sticker payload or axle ratings. Re-torque turnbuckles after the first 50 miles and check them at fuel stops. Know your total height — DIY campers clear fewer bridges than you think.
- Propane and carbon monoxide: never sleep with an unvented propane heater running — they consume oxygen and produce carbon monoxide and water vapor. Install CO and smoke detectors before your first night, and ventilate whenever cooking inside.
- Legal: confirm your state’s DMV registration and titling rules before the first trip, carry proof of ownership, and verify insurance coverage for the camper.
FAQ
How long does a homemade DIY truck camper build take? Four to eight weekends for most people. Simpler builds go faster; finished interiors take longer. Put a trip on the calendar — builds without a deadline tend to stall in the garage.
How much will my DIY truck camper weigh? A plywood hard-side build typically lands between 600 and 1,200 pounds dry. Add water, battery, gear, and passengers on top. The only number that matters is your truck’s door-sticker payload — do the math before you build.
Do I need to register or title a homemade truck camper? It depends on your state. Most treat slide-in campers as cargo, but around nine states require registration and several require a title — Washington requires both. Check your DMV before your first trip, and keep receipts plus a photo build log as proof of ownership.
What is the cheapest reliable way to waterproof a plywood camper? Poor Man’s Fiberglass: canvas drop cloth bedded in Titebond III, cured 72 hours, then two to three coats of exterior latex — forums report a decade-plus of watertight service. Seal plywood edges with epoxy first; bed every penetration in butyl tape.
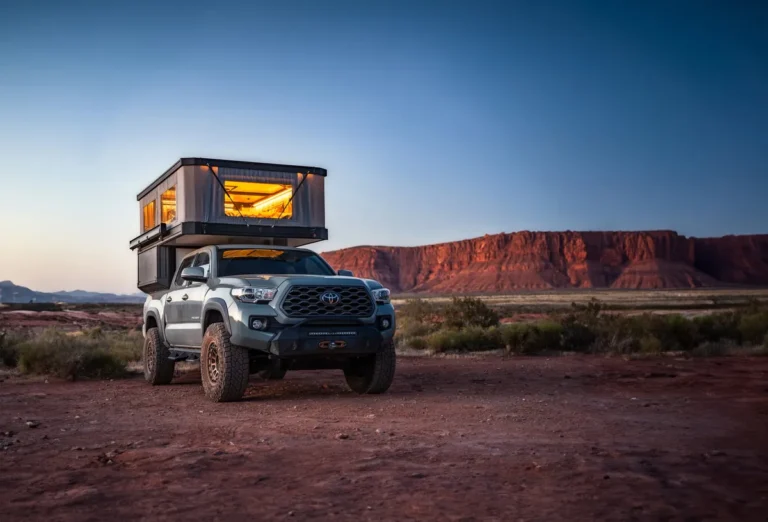
Can I build a pop-up roof instead of a hard side? Yes — it saves weight and drag. Size gas struts to the actual roof weight including solar and vents; makers cap struts around 40 pounds each and recommend keeping roof gear near 100 pounds so the roof stays liftable.