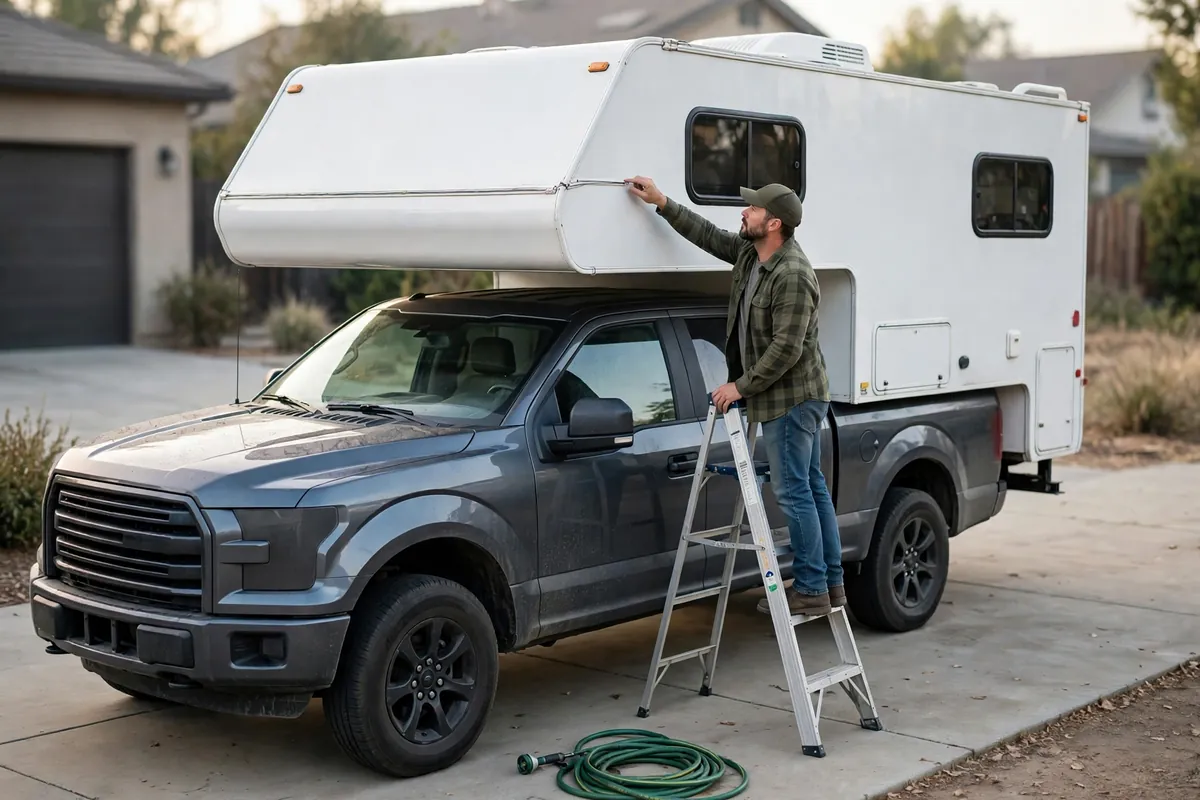
Truck Camper Roof Leaks: How to Find Them Before They Rot Your Camper
The first sign of my truck camper roof leak was not a drip. It was a smell. I opened the camper after two wet weeks in storage, got that stale, wet-cardboard whiff, and found one cabover corner a little darker than the other. No puddle, no drama. Just enough to make me press my thumb into the ceiling — and feel it give.
That is how these leaks work. By the time water drips on your pillow, it has been traveling inside a wall for weeks. A truck camper flexes down washboard roads, bakes, freezes, and takes highway rain at 65 mph. Your job is to find the entry point early, seal it right, and know where a tube of sealant stops being the answer.
Safety note: Work from a stable ladder on level ground when you can, never alone in wet or windy weather, and do not walk on a roof that feels soft — that softness can mean failed decking underneath. If you are unsure about heights or structure, stay off it and get a qualified RV technician to inspect it.
The Leak-Point Map: Where Water Actually Gets In
Forget the middle of the roof. Intact membrane, fiberglass, or aluminum rarely fails first — water gets in at edges, holes, and joints.
Hard-side campers: the cabover front corners
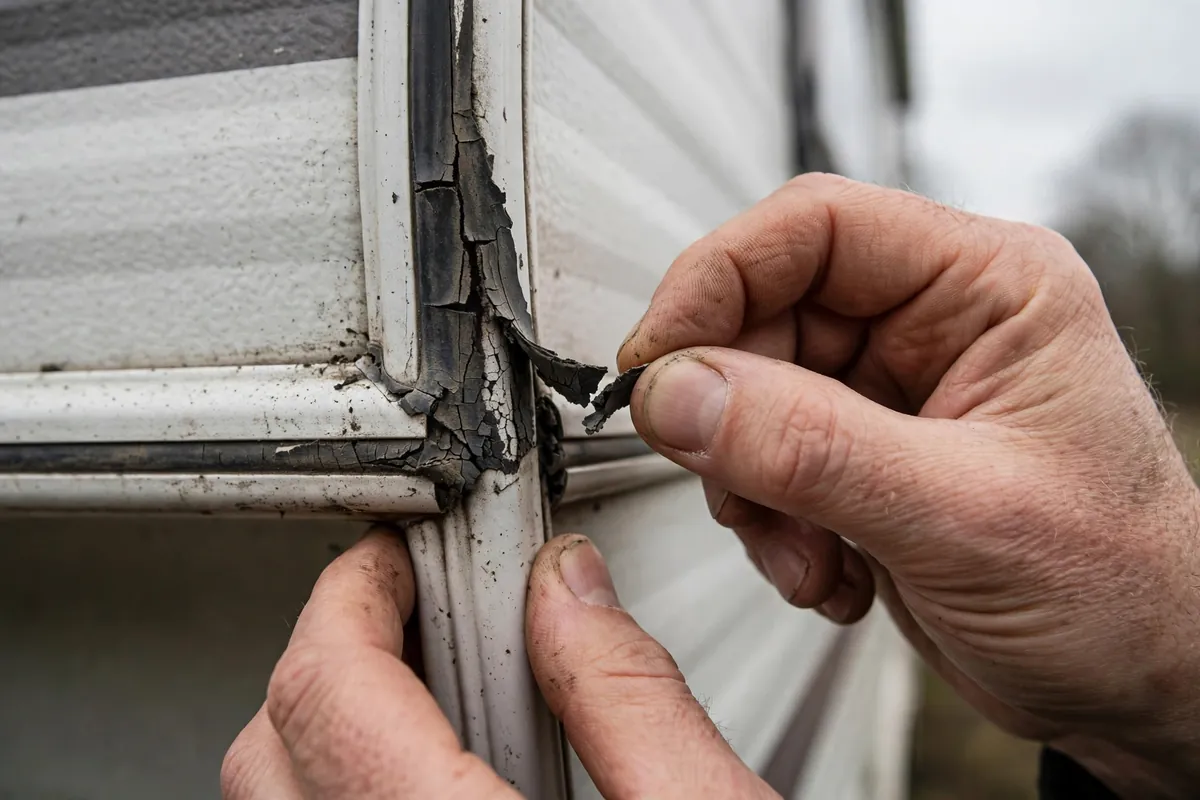
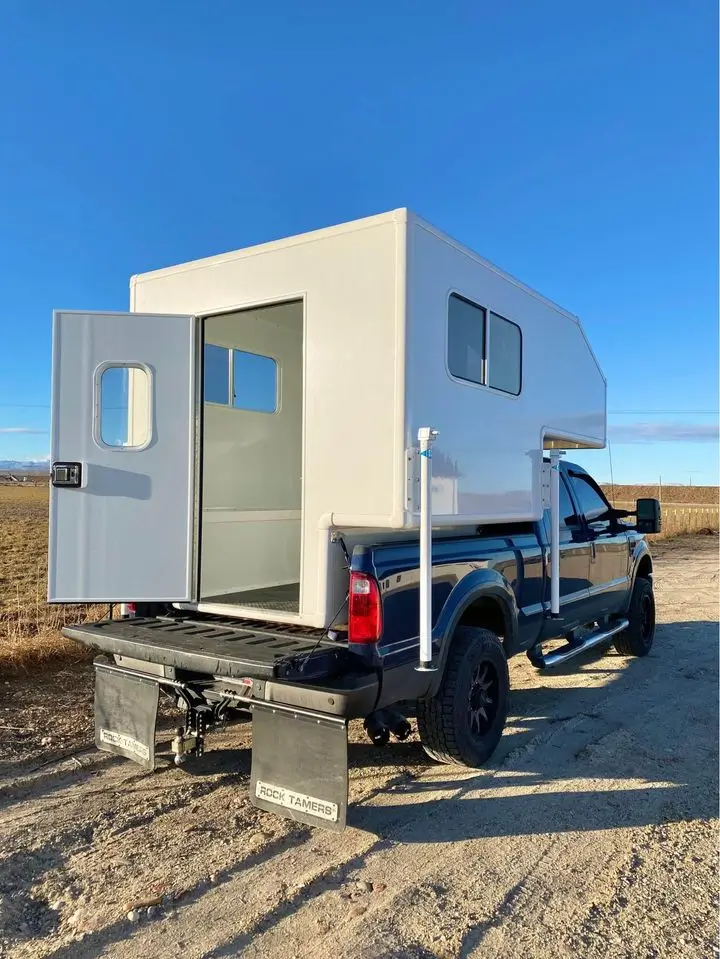
On a hard-side, the cabover nose takes weather like the bow of a boat — at highway speed, rain is driven up into it. The front corners where roof, front wall, and sidewalls meet flex every mile and fail first.
Check the sealant along the front roof-to-nose seam, corner moldings, and every screw head in that trim. Look for sealant split in the middle, pulled away at an edge, or gone chalky. Good sealant still feels pliable. Dead sealant crumbles or lifts.
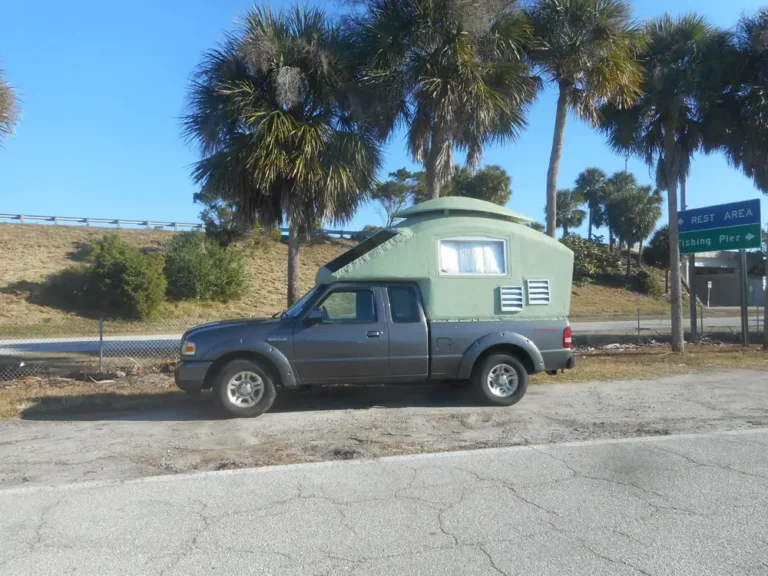
Pop-ups: the roof-trim seam, all the way around
If you own a pop-up, suspect the seam where the roof sheet meets the aluminum trim around its edge first. Owners on Wander The West report the same story repeatedly: a leak in a rear corner or by the cabover that traced back not to a hole, but to that perimeter trim joint. When they peeled the old sealant out, they found dirt and green algae behind it — proof water had been slipping past while the surface still looked sealed.
Two more lessons from those threads: check the trim screws — several owners found screws that spun and would not tighten right at the leak spot, because the material behind them had softened. A screw that will not bite is a clue. And do not trust old silicone because it is still white; owners describe pushing aged sealant away from the metal with a hooked tool, dirty edges showing where water got by. Parking angle matters too: some leaks only happen parked, when water pools in a fold of the soft wall and works in through stitching.
Clearance lights: the tiny leak that fills a wall
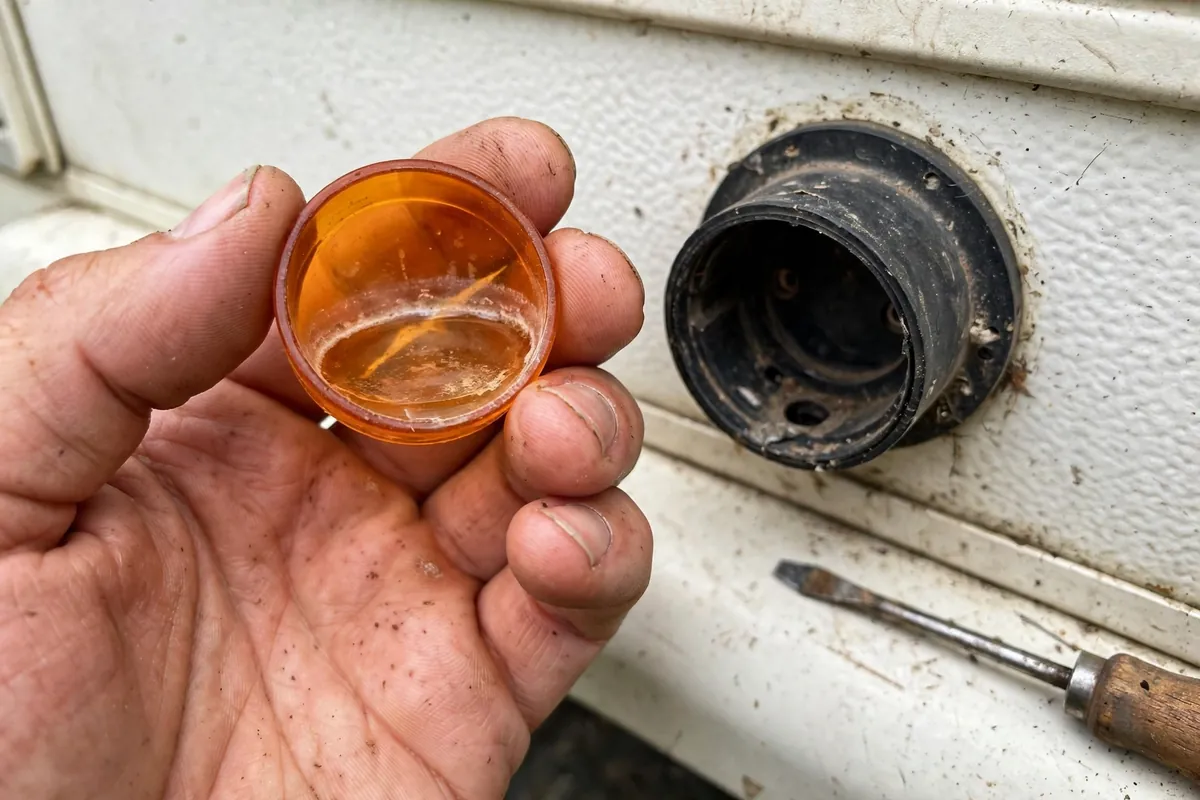
Clearance lights are small, cheap, and mounted with a hole through your wall for the wiring. That wiring hole is the whole problem.
Owners on Forest River Forums and the Good Sam community report a sneaky version: water gets inside the lens, the lens slowly fills, and once it reaches the wiring hole in the base, it drains inward, into the wall. Often the cause was simple — the lens base has a small drain notch that should face down, and owners found it installed facing up or sideways, so the light could never drain. Others found bases caulked only on top and sides, useless against highway rain forced upward.
Pop each front lens, look for a waterline stain inside it, confirm the notch faces down, and inspect the gasket behind the base. If it is shriveled or flat, replace it and reseal the base, with a dab of sealant in each screw hole. Do not overtighten and crack the lens.
Vents, skylights, racks, and window frames
Every penetration is a promise you have to keep re-making: roof vents, bathroom fan, skylights, plumbing vents, antenna and solar mounts, air conditioner, and roof rack tracks.
Rack tracks deserve special attention. Wander The West owners with rear-corner leaks have pointed at their tracks after heavy rain, reasoning that the tracks sat full of water for a day while parked nose-high, with only aged caulk around each screw holding it back. The fix owners land on is to lift the track, bed it on fresh butyl tape, put sealant in each screw hole, and reseat it.
For vents and skylights, check flange sealant for cracks and the plastic itself — old lids hairline-crack where you can barely see it. Inside, pull the vent trim ring and look at the cut edge of the opening; staining there means water passed the flange. Also check window frame top edges and clogged weep holes — when weeps clog, water backs up inside. If damp tracks cold nights rather than rain, read our guide on how to stop condensation in a truck camper before resealing anything.
First, Prove It Is a Leak — and Not Condensation
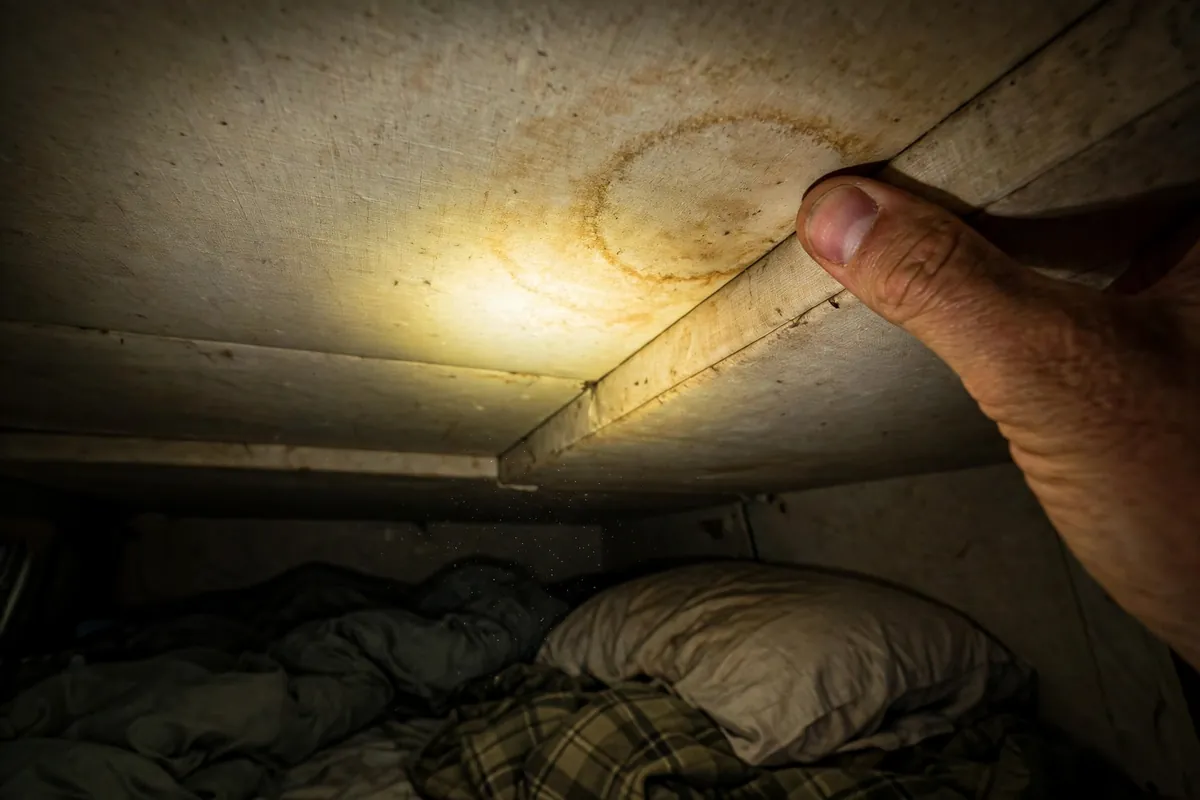
Truck campers condense like crazy. Two people in a tiny, cold-walled box will wet the cabover corners on a frosty night with zero leak involved. Forum threads are full of owners who chased a leak for a month before realizing the moisture tracked cold nights, not rain.
Use timing: damp after rain while the camper sits empty points to a leak. Damp after sleeping in it on a cold night, worst near your heads, drying fast with ventilation, points to condensation. Both patterns? You may have both.
Either way, do the interior survey the same way:
- Smell first. A musty smell strongest in one cabinet, corner, or the cabover is information. Follow your nose before your eyes.
- Thumb-press everything. Press firmly along ceiling corners, around vents and skylights, at the top of walls, and around window frames. Solid structure is hard. Wet structure feels spongy or slightly crunchy, and sometimes your thumbprint stays.
- Look for quiet signs. Brown rings, bubbling headliner, peeling veneer, rusty screw heads, and swollen shelves all count.
- Compare sides. The dry corner is your control sample. The difference makes the bad corner obvious.
Shopping used? Our used truck camper inspection checklist uses this same routine as a buy-or-walk-away test.
The Hose Test: How to Find a Truck Camper Roof Leak Without Guessing
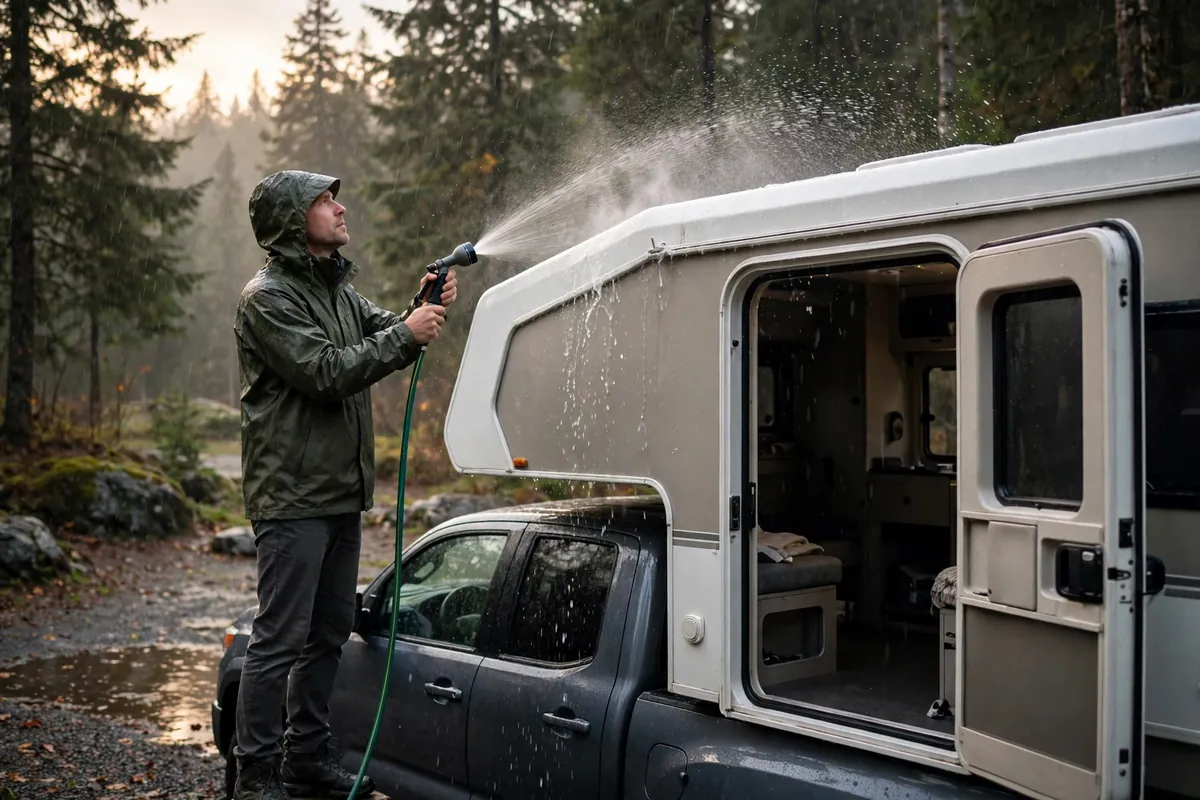
Sealing every seam because one leaks wastes a weekend and often still leaks. The hose test is slower and smarter. Owners describe versions of it on Forest River Forums, iRV2, and Wander The West: wet one small area at a time, low to high, while someone inside watches. You need two people, a hose on a gentle shower setting, paper towels, painter’s tape, and patience.
- Start dry. Do this on a dry day, after the interior has dried. Put dry paper towels at suspect corners inside. Your partner stays inside with a flashlight and a phone.
- Wet the lowest suspect area first. Run a gentle, rain-like flow over just that area — a window edge or clearance light — for several minutes. Never a pressure washer. Camping World’s guidance makes the same point: simulate rainfall, not a pressure washer, working section by section.
- Wait, then move up. If nothing shows, move to the next section up: trim, then one vent, then the rack track, then the cabover seam. Test one thing at a time or you learn nothing.
- Mark the winner. When your partner sees new moisture, stop and mark that section with painter’s tape. That is your repair zone.
- Respect a negative result. If nothing shows, reconsider condensation — or a leak that only opens when the camper flexes on the road. That is worth a professional pressure test: shops gently pressurize the camper and spray seams with soapy water, and bubbles betray the gaps. Owners on iRV2 describe finding leaks that way in door and compartment seals, not the roof at all.
One warning: never trust sealant-over-sealant. One owner account described a leak that survived fresh caulk because the old sealant underneath had failed and the new layer bonded to nothing solid. If the test fingers a seam, remove that old material completely.
Fixing a Truck Camper Roof Leak With the Right Sealant

Here is where most DIY repairs fail. Prep matters more than product, and the product has to match the surface — flat versus vertical is physics, not marketing.
Prep: the unglamorous 80 percent
Let the area dry fully. Scrape out all cracked or lifting sealant with a plastic scraper — new sealant over failed sealant inherits the failure. Clean the seam, wipe it down as the manufacturer directs, and let it dry again. Tape both sides, tool the bead, and pull the tape before it skins over. Owners who resealed pop-up trim seams this way are the ones reporting dry campers through the next rainy season.
Flat seams and flanges: self-leveling lap sealant
For horizontal surfaces — vent and skylight flanges, plumbing vents, screw heads, flat seams — use self-leveling lap sealant. It flows after you lay the bead, settles into pinholes and around fastener heads, and levels itself. Dicor states plainly that its self-leveling sealant is for horizontal surfaces and must not be used on vertical surfaces, for sealing around vents, pipes, and screw heads. Follow that literally. Check compatibility first: Dicor lists its lap sealants for EPDM, TPO, and PVC and for aluminum, fiberglass, and wood, but your manual and the tube label are the final word.
Vertical and sloped seams: non-sag sealant
For anything gravity can pull on — cabover seams, corner moldings, window frames, clearance light bases, the sloped nose — use non-sag, also sold as non-leveling, lap sealant. It holds the bead you tool instead of slumping overnight. Dicor describes its non-leveling lap sealant as the secondary seal for roof edges and termination rails, for vertical surfaces — exactly the trim seam and corner molding job.
Most campers need both tubes. A vent flange ten inches from a corner molding is two different jobs. Per Dicor’s directions, lap sealants skin over in minutes and are waterproof in hours, but full cure takes far longer — do not reseal the morning of a trip into a storm. And remember butyl tape is a seal, not a topcoat: use it under flanges, tracks, and light bases when you reseat a fitting, then finish the edge with lap sealant.
What NOT to use, and where
- Do not use household silicone on roof seams. The owner community is nearly unanimous here, across iRV2, Forest River Forums, and Wander The West: silicone peels from metal and membranes over time, and once it has been on a seam, almost nothing else will stick there until every trace is removed.
- Do not use self-leveling sealant on a vertical seam. It will sag, thin out, and leave the top of the joint exposed.
- Do not treat roof coating as a seam repair. Coatings have a place on an aging but sound membrane. They do not fix a split seam, loose flange, or soft decking, and coating over an active leak seals water in with the wood.
- Do not crank screws down into soft material. A bigger screw into rotted wood is still rotted wood. If fasteners will not bite anywhere along a seam, stop — you have left sealant territory.
The Inspection Rhythm Owners Actually Keep
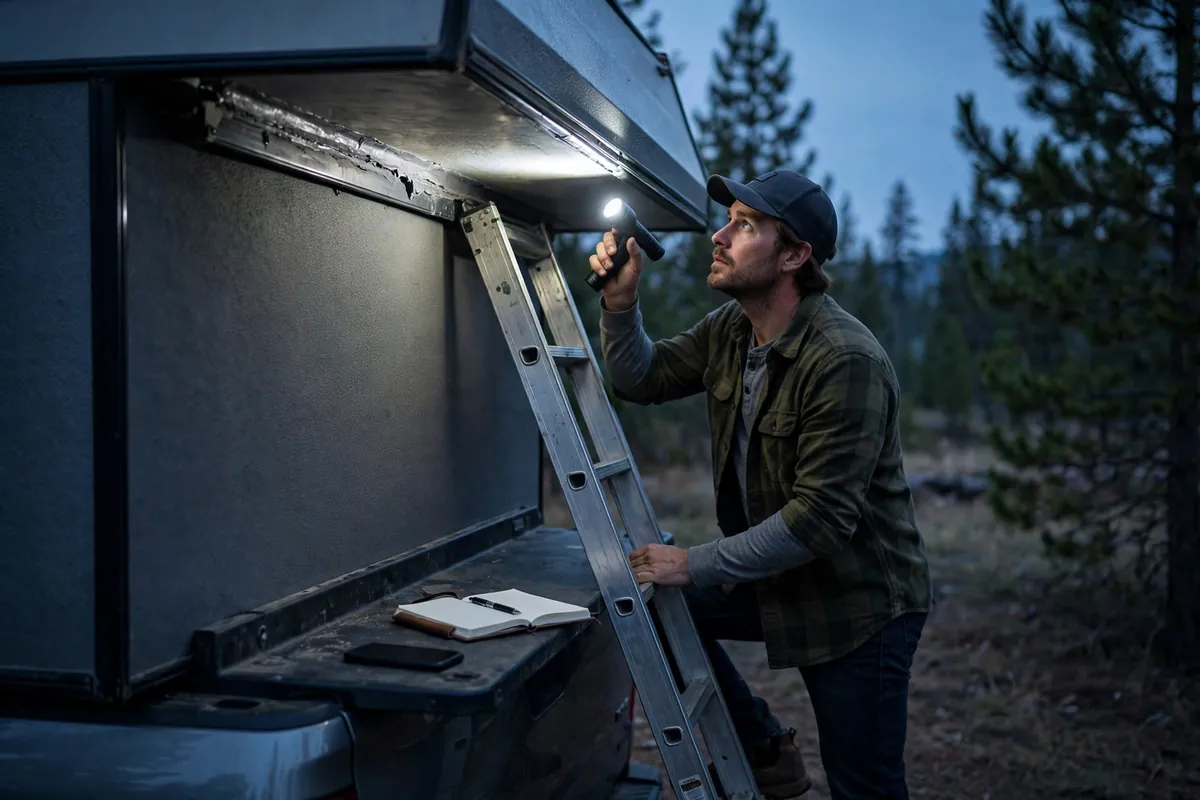
Nobody reseals their whole camper twice a year. Disciplined owners inspect often and reseal only what is failing. A Jayco manual excerpt shared on Jayco Owners calls for inspecting sealants at least every six months and resealing yearly; shop advice in YouTube roof-inspection walkthroughs often tightens inspection to roughly every 90 days. Here is the rhythm I actually follow:
- Every 3 months, and after any big storm or long rainy highway trip: walk the leak-point map with a ladder, fingertip, and flashlight. You are looking, not resealing — splits, lifted edges, cracked screw-head caps, shriveled light gaskets.
- Every 6 months: do the interior half — thumb-press cabover corners and around vents, open cabinets under the roofline, smell for musty, check under the mattress platform.
- Immediately, whenever you find a failure: remove and reseal that one spot properly while it is small.
- Before winter storage: add the roof check to your winter routine — our guide on how to winterize a truck camper puts it in sequence, because leak plus freeze-thaw is how cracks become delamination.
Date your tubes, photograph each seam when you reseal it, and keep a log — memory lies, photos do not. If you find a small leak far from home, say on a boondocking trip miles from a parts store, a dry temporary tape patch to get home beats a rushed repair on a wet roof. Book the real repair when you get back.
When It Is Rot, Not a Leak: The Pro Line
Sealant fixes entry points, not what water already did inside. Get a professional assessment for any of these:
- A soft or spongy area that is growing, or a spot your thumb can dent and leave a mark in.
- Screws that will not tighten in several places along a seam, not just one stripped hole — that pattern usually means the substrate behind the trim is soft.
- Delamination: wall skin that bubbles, ripples, or sounds hollow and drum-like over a wide area when tapped, versus a tight, sharp sound on a healthy section.
- Black mold, widespread staining, or a musty smell that survives thorough drying.
- A sagging roof, a cabover floor that flexes, or soft structure around corner jacks and tie-down points. That is the structure that carries the camper — a safety issue, not a cosmetic one.
- A leak you cannot find after a careful hose test, or the same leak returning after a properly prepped reseal.
Be honest about the economics. A pro opening a corner and replacing rotted wood is expensive — and still cheaper than the same job after another season doubles the rotten area. Owners who have opened walls warn that hidden damage is always larger than the visible stain.
Disclaimer: General maintenance information only, not a substitute for your manufacturer’s instructions or a professional inspection. Confirm sealant compatibility against your manual and the label, and hire a qualified technician for structural, mold, or electrical concerns.
Frequently Asked Questions
How do I know if my truck camper roof leak is serious?
Treat any soft spot as serious until proven otherwise. A fresh stain with hard structure behind it and a cracked seam above it is usually a small repair. A spot your thumb can dent, screws that will not tighten, bubbling skin, or a musty smell that will not dry out suggest damaged wood — that needs opening up, often by a pro.
Can I just put new sealant over the old sealant?
No. New sealant bonds to the failed, dirty layer underneath instead of to the roof, so it fails on the same schedule. Remove loose material, clean the seam, let it dry, then reseal.
How often should I inspect and reseal my truck camper roof?
Inspect every three months and after heavy storms, with a fuller interior check every six months. Reseal spots as soon as you find cracking or lifting — condition, not the calendar, should drive the work.
Why is my camper wet inside when it has not rained?
Usually condensation, not a leak. Sleeping and cooking load a tiny camper with moisture, and it collects on the coldest surfaces — cabover corners, window frames, under the mattress. If damp tracks cold nights instead of rain, work on ventilation first. If it tracks rain while the camper sits empty, run the hose test.
What is the most common truck camper roof leak location?
On hard-sides: cabover front seams, corner moldings, and front clearance lights. On pop-ups: the roof-trim seam around the roof edge, plus roof rack track fasteners. On both, check vent and skylight flanges. Edges and penetrations leak; the middle of the roof rarely does.
Will a roof coating stop my leak?
Not this kind of leak. A coating can refresh an aging but sound membrane, but it will not repair a split seam, loose flange, or soft decking — and coating over an active leak traps moisture inside. Fix the entry point first, let everything dry, then consider a coating.