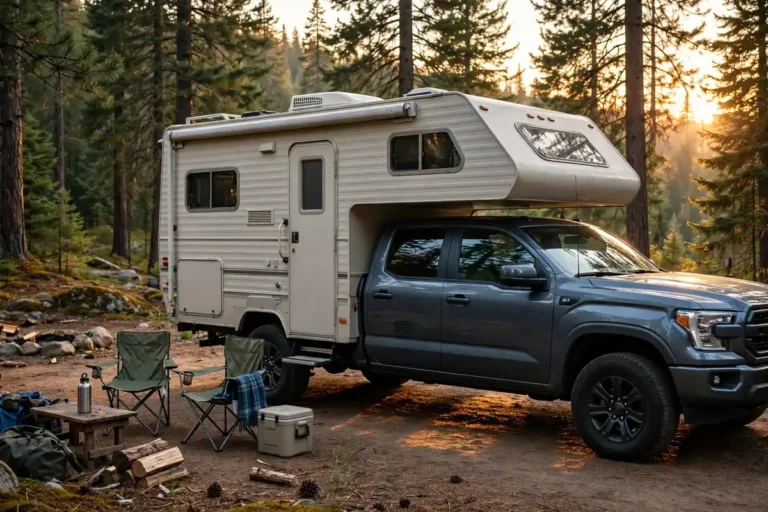
How to Winterize a Truck Camper (2026 Step-by-Step Guide)
The first year I owned a truck camper, I told myself I’d “get to it next weekend.” That weekend turned into a week of overnight lows in the teens, and I spent the following spring paying a mobile RV tech to cut out and replace a burst section of PEX under the dinette. Water expands roughly nine percent when it freezes, and that’s all it takes to split a fitting, crack a pump head, or ruin a water heater. A single hard freeze can turn a $60 jug of antifreeze into a $1,500 repair bill.
Learning how to winterize a truck camper yourself isn’t hard — it takes about an hour or two once you’ve done it once — but it does reward a little patience. This guide covers every step in order: draining the fresh-water system, choosing between the blow-out and antifreeze methods, pumping antifreeze through the lines, bypassing the water heater, handling toilets and tanks, storing your batteries, sealing the roof, and keeping moisture out all winter. At the end, you’ll find a spring de-winterizing checklist so you can reverse the whole process when camping season returns.
What You’ll Need Before You Start
Gather these before you crawl under the camper — nothing kills momentum like a mid-job run to the hardware store:
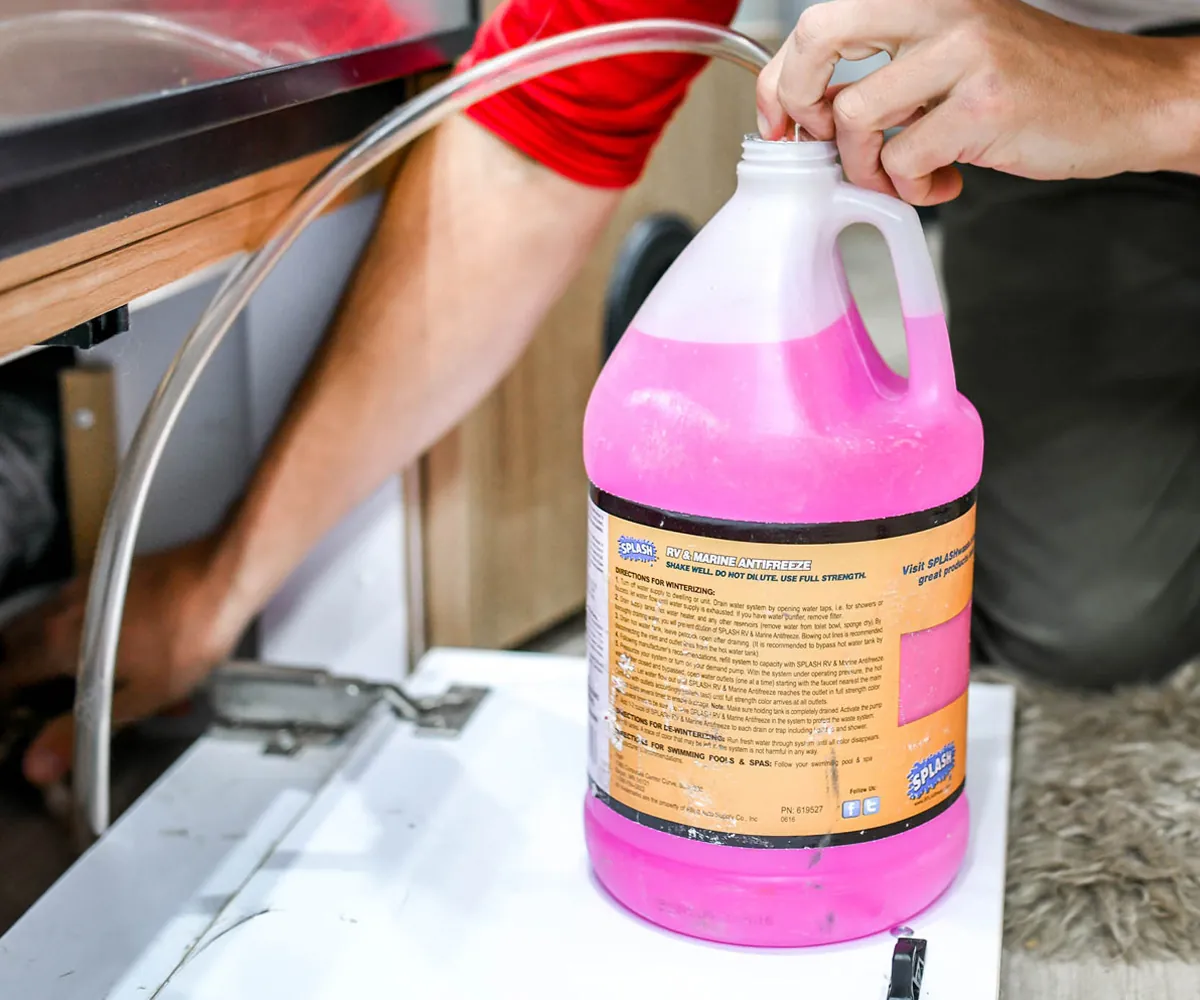
- 2–3 gallons of RV antifreeze (the pink, non-toxic propylene-glycol kind — never automotive antifreeze, which contains deadly ethylene glycol)
- A water pump converter kit or siphon tube so your onboard pump can draw antifreeze straight from the jug
- A water heater bypass kit if your camper doesn’t already have one installed (most modern campers do)
- A blow-out plug and an air compressor (only if you’re using the blow-out method)
- Basic hand tools: a wrench or socket for the water heater drain plug/anode rod, screwdrivers
- A bucket or pan, some rags, and Teflon tape
- Your camper’s owner’s manual (valve locations vary)
Buy an extra jug of antifreeze beyond what you think you need. It’s cheap, it stores well, and running out halfway through the process is miserable.
Step 1: Empty the Black, Gray, and Cassette Tanks
Start at a dump station. Empty the black and gray tanks (or the cassette toilet cassette, if that’s what your rig uses) and rinse them well. Close all the valves afterward — you want them shut for the antifreeze step later, and leaving them open invites pests and odors over winter.
Pro tip: while the dump valves are open, spray a little silicone lubricant on the metal valve stems so they slide easily come spring. A stuck black-tank valve in April is a deeply unpleasant way to start the season.
Step 2: Drain the Fresh-Water System
With the camper reasonably level, work through the water side:
- Remove any inline water filters. Pull the filter cartridge out so antifreeze (or ice) can’t damage it — and make a note to replace the cartridge in the spring. Clever trick from a YouTube walkthrough: drop an empty 12-ounce water bottle into the empty filter canister before you screw it back on. It displaces the dead space so you waste less antifreeze filling it.
- Open the fresh-water tank low-point drains. Let the tank drain completely into a pan or onto the ground (check local rules; fresh water is generally fine on the ground, but gray water is not).
- Open every faucet inside and out — kitchen, bathroom, inside shower, outside shower. Open both the hot and cold sides. Leave them open for now.
Step 2a: Drain the Water Heater
This deserves its own moment because it matters so much — and because it’s the step people rush.
Turn the water heater OFF and let it cool completely first. Draining a hot, pressurized tank can scald you badly. If you’ve been running it on electric or propane, switch it off several hours ahead of time, and open a hot faucet to relieve pressure.
Then:
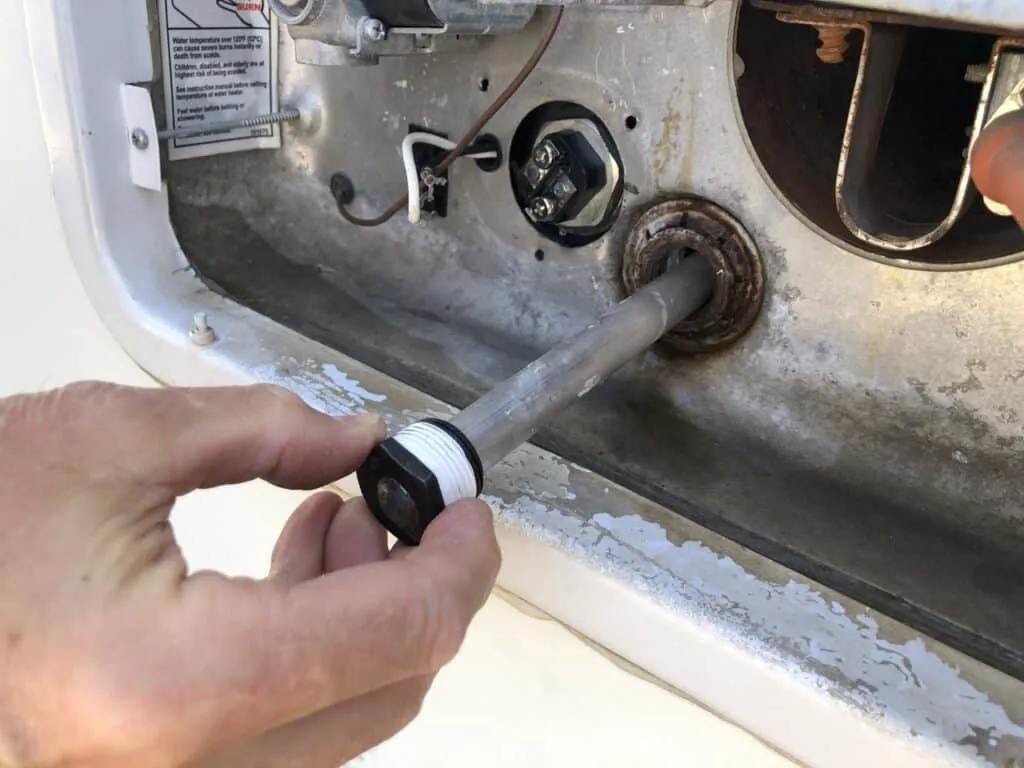
- Go to the exterior water heater access panel.
- Open the temperature-and-pressure (T&P) relief valve.
- Remove the drain plug or anode rod (this is where your wrench comes in) and let the tank drain fully.
- Replace the plug finger-tight afterward so insects and debris don’t move in. If the anode rod looks heavily corroded, order a replacement now — spring-you will thank fall-you.
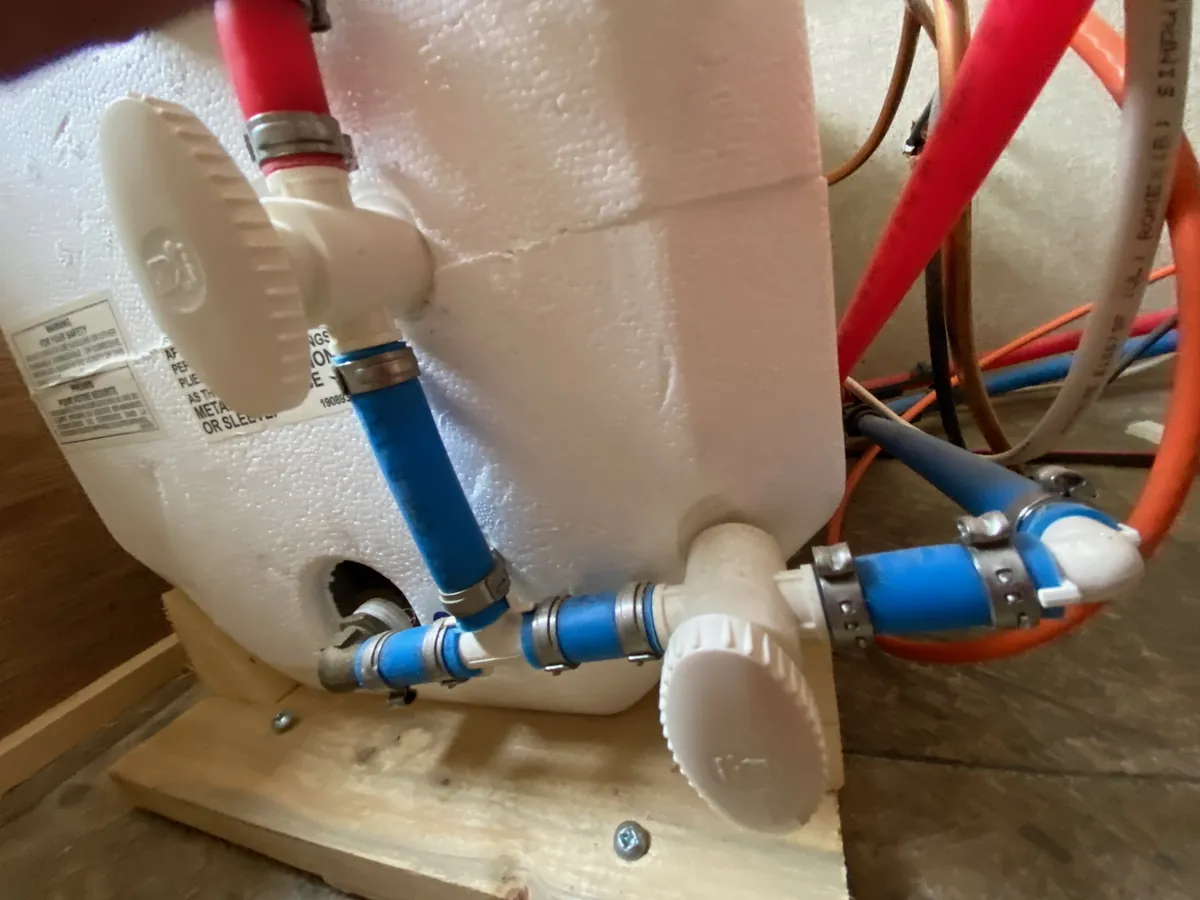
Step 3: Engage the Water Heater Bypass
Here’s why this step exists: a water heater tank holds 6 gallons or more. If you pump antifreeze through it instead of around it, you’ll waste most of a jug filling a tank that doesn’t need filling (it’s drained and open, so residual moisture isn’t trapped). The bypass reroutes antifreeze past the tank entirely.
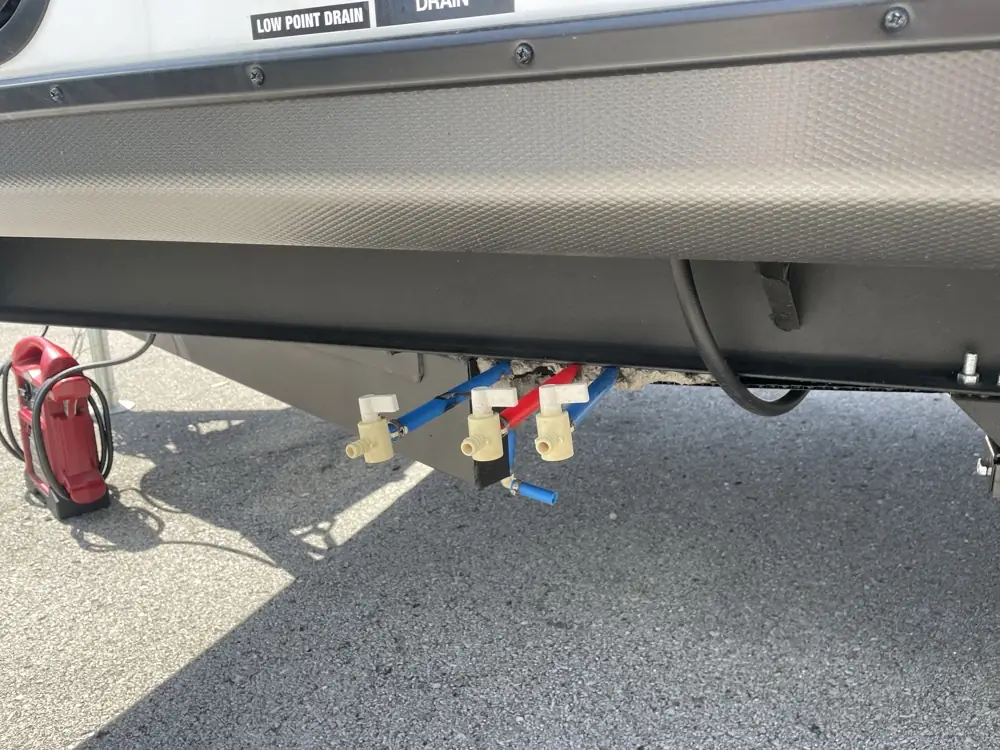
Most campers have one of three bypass setups on the back of the water heater:
- Three-valve system: turn the valves on the hot and cold lines perpendicular to the lines (closed), and the middle bypass valve parallel to the line (open).
- Two-valve system: turn both valves so their handles line up with the bypass line, connecting cold and hot plumbing around the tank.
- One-valve system: rotate the single valve 90 degrees so it redirects flow around the heater.
If your camper has no bypass at all, install a bypass kit — it’s an inexpensive plumbing job that pays for itself the first winter. Check your manual for your exact valve locations before you start twisting things.
Step 4: Choose Your Method — Blow-Out vs. Antifreeze
Here’s the fork in the road: push the water out with air, or push it out with antifreeze. Both are legitimate:
| Blow-Out Method | Antifreeze Pump Method | |
|---|---|---|
| What it does | Compressed air (kept under ~30–45 PSI with a regulator) blows water out of every line through the faucets | Non-toxic RV antifreeze is pumped through every line, displacing water so nothing left can freeze |
| Best for | Mild-winter climates; experienced owners who do it carefully | Beginners; harsh-winter climates; the most foolproof protection |
| Cost | Cheap after the first year if you own a compressor | 2–3 gallons of antifreeze per season (~$15–30) |
| Time | ~30–45 minutes | ~45–60 minutes |
| Downsides | Air can leave hidden pockets of water in low spots, elbows, and the pump — one missed faucet and you’re exposed | Spring flush-out takes longer; you must flush thoroughly before drinking from the system again |
| Traps & toilet | Still needs pink antifreeze poured in drain traps and the toilet seal | Handled in the same pass |
My take after doing both: the antifreeze method is the better default for most truck camper owners, especially the first time. Compressed air works — I know folks who’ve winterized with air alone for years in Colorado — but it demands that you hit every outlet and that your plumbing doesn’t have sneaky low spots. If you do go the blow-out route, pour a cup of antifreeze down each drain anyway to protect the P-traps, which air can’t clear.
Step 5: Pump RV Antifreeze Through the Lines
Now the satisfying part.
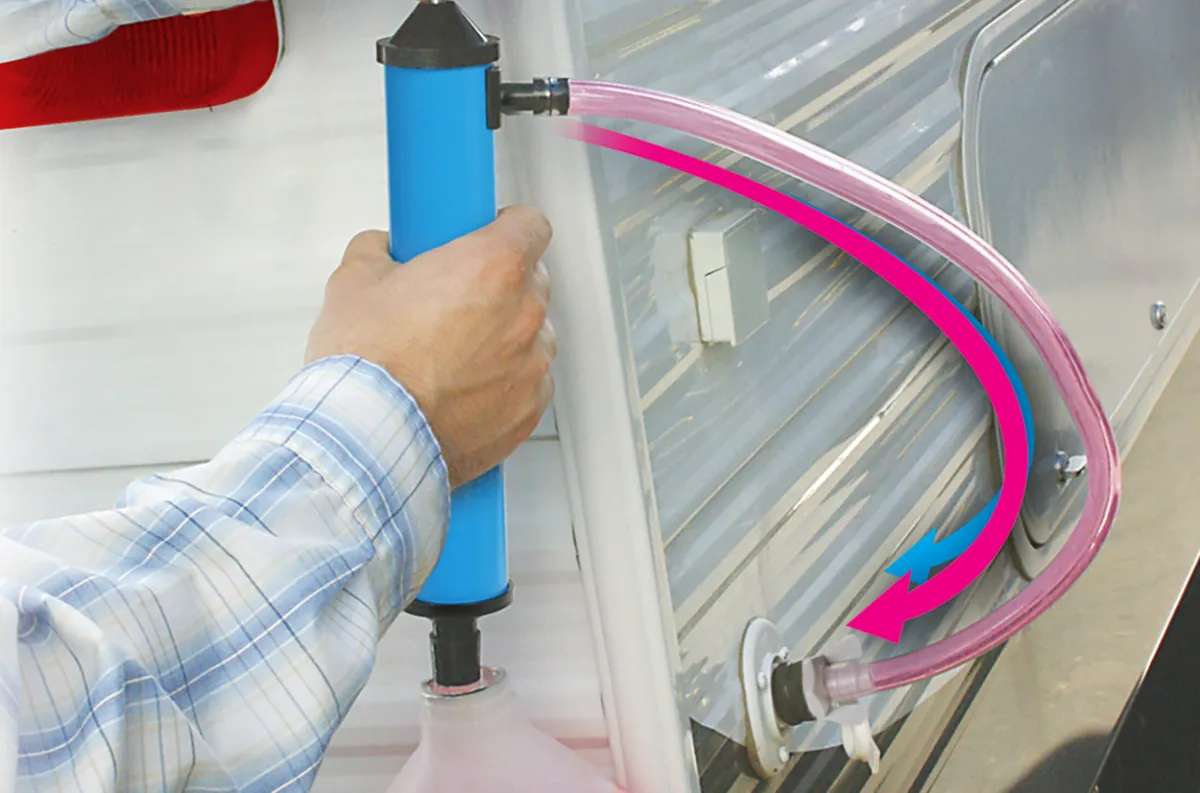
- Connect your pump converter kit (or siphon hose) to the water pump inlet, and drop the other end into a jug of RV antifreeze. If your camper has a winterizing inlet port, even easier — hook up there. No converter kit and a stubborn pump? A cheap antifreeze hand pump threaded onto the city water inlet does the same job — several YouTubers demo this as the no-kit method, and it doubles as a way to prime a pump that’s been sitting dry all summer.
One thing the Facebook groups correct constantly: don’t pour antifreeze into the fresh-water tank and pump from there. Some manuals suggest it, but owners say it wastes antifreeze and leaves the tank tasting off for months. Draw from the jug directly — that’s what the winterize valve is for. 2. Make sure all faucets are closed from the drain step, then turn the pump ON. 3. Starting with the farthest faucet from the pump, open the cold side until the pink antifreeze runs steadily, then the hot side until pink. Close both. 4. Repeat at every faucet: kitchen, bathroom sink, inside shower, and the outside shower (easy to forget — don’t). 5. Flush the toilet until pink antifreeze fills the bowl and flows through. 6. If you’re using the blow-out method instead: hook the blow-out plug to the city water inlet with a regulated compressor, open each faucet (hot and cold) until only air comes out, do a second pass, then still pour antifreeze into every drain trap.
How much antifreeze to winterize a truck camper?
For a typical truck camper, plan on 2–3 gallons. Smaller campers with simple plumbing may use as little as half a gallon once everything is drained and the water heater is bypassed; larger rigs with an outside shower and more fixtures land closer to 3 gallons. The biggest variable is the water heater — bypassing it (see Step 3) is what keeps you at 2–3 gallons instead of 6+. Always keep an extra jug on hand; it’s the cheapest insurance in the whole process.
One more rule that bears repeating: RV antifreeze only. It’s pink, non-toxic, propylene-glycol based, and made for potable water systems. Automotive antifreeze is green or orange, contains ethylene glycol, is toxic, and must never go in your camper’s plumbing.
Step 6: Protect the Toilet and Holding Tanks
- Flush toilets (cassette or black-tank style): add antifreeze through the toilet until some reaches the tank or cassette — this protects the seal and the valve from residual moisture.
- Drains: pour about a cup of antifreeze down each drain (kitchen sink, bathroom sink, shower) so the P-traps are full of pink instead of water.
- Black and gray tanks: with the tanks empty and the valves closed, a splash of antifreeze in each tank (or in the cassette) protects the seals and any rinse water left behind.
Step 7: Battery Storage and Maintenance
Batteries are the quiet casualty of winter storage. A lead-acid or AGM battery left to self-discharge in the cold can sulfate and die; lithium batteries shouldn’t be charged below freezing.
- Best practice: remove the batteries and store them somewhere cool and dry, like a garage.
- Put them on a battery maintainer (a smart trickle charger) over winter, or top them off with a full charge every month or two.
- Clean the terminals and check electrolyte levels (flooded lead-acid) before storage.
- If you leave batteries in the camper, disconnect the negative cable to kill parasitic draws from detectors and standby electronics.
Come spring, a battery that was maintained all winter is one less surprise standing between you and the first trip.
Step 8: Inspect the Roof and Seals Before Storage
Winter is when small leaks become big repairs — water gets in, freezes, expands, and turns a cracked seal into a delamination project.
- Wash the roof so you can actually see what you’re looking at.
- Walk every seam, vent, skylight, antenna base, and ladder mount. Look for cracked or peeling lap sealant and dried-out caulk — then reseal anything suspect now, while it’s dry. A tube of self-leveling sealant costs a fraction of a roof repair.
- Check sidewall seams, window frames, and clearance lights too.
- Close all vents, or leave a vent cracked with a vent cover for slight airflow (see Step 9).
Step 9: Prevent Moisture and Mold During Storage
A sealed-up camper is a greenhouse for condensation, and a musty camper in spring is a depressing discovery.
- Deep-clean the interior before closing up: wipe down the fridge (leave its door propped open), empty all cabinets, and remove all food.
- Place moisture absorbers (DampRid-style containers or reusable desiccant units) in the cabin, the cab-over area, and the bathroom.
- Crack a roof vent fitted with a rain cover, or run a small dehumidifier if you have shore power — even slight airflow makes a huge difference.
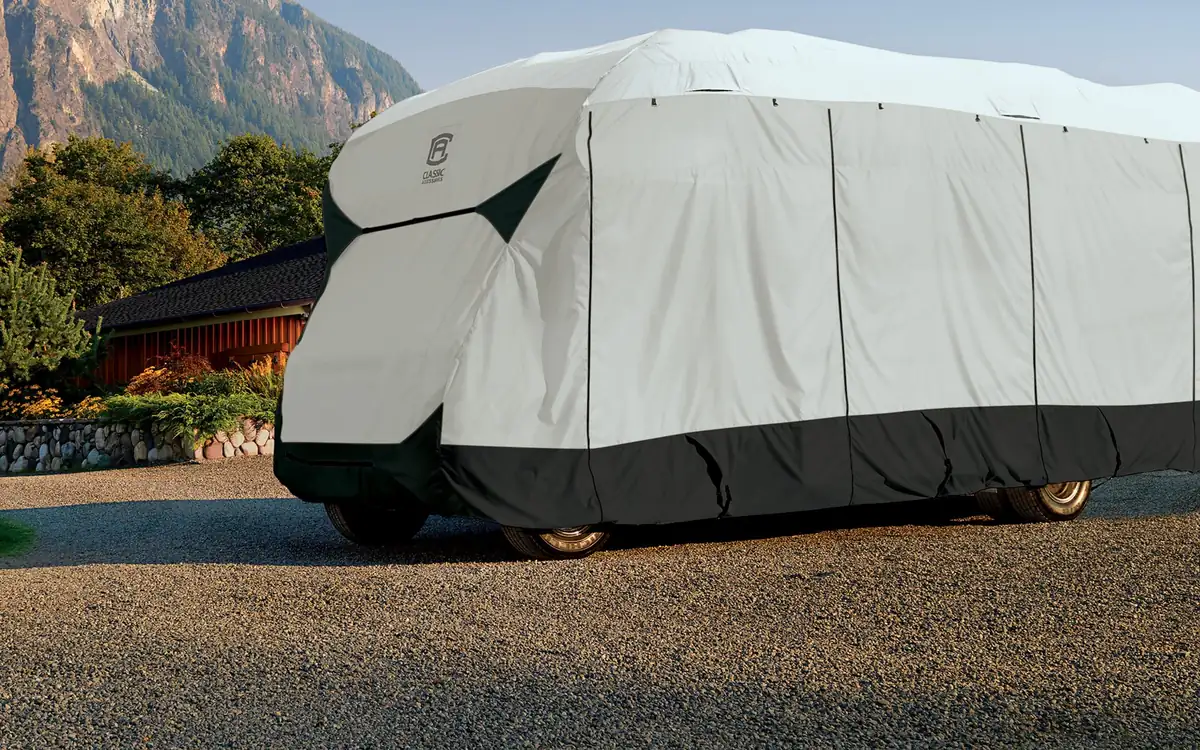
- Cover it right: if you use a cover, make it a breathable one. Owners across Maine, Colorado, and Ohio report checking under breathable covers after wet winters and finding zero moisture — while the community’s horror stories almost always involve cheap blue tarps, which trap condensation against the roof. Crack a window or two under the cover for airflow.
- Rodent-proof: stuff steel wool in exterior openings, remove anything edible or nesting-friendly, and consider repellents. Mice love a warm, quiet camper, and they chew wiring for sport.
Spring De-Winterizing Checklist
When the thaw comes, reverse the process before your first trip:
- [ ] Reconnect/flush: if you stored batteries off-board, reinstall them and check connections.
- [ ] De-bypass the water heater: return bypass valves to normal operation. Fill the tank fully with water (lift the T&P relief lever — water should come out when the tank is full) before turning on gas or electric heat.
- [ ] Sanitize the system: fill the fresh tank with a diluted bleach solution (check your manual for the ratio and contact time), run it through every faucet, let it sit, then drain.
- [ ] Flush thoroughly: refill with fresh water and run every faucet until the water runs clear and no pink remains. Flush the toilet several times.
- [ ] Reinstall or replace the water filter cartridge you pulled in the fall.
- [ ] Inspect seals again: winter may have opened up new cracks — check the roof once more.
- [ ] Test everything: run the pump, light the water heater, check for leaks at every fitting you touched, test the furnace and detectors.
- [ ] Restock: fresh water, propane, toilet chemicals, and a new season of optimism.
FAQ: How to Winterize a Truck Camper
How much antifreeze does it take to winterize a truck camper?
Typically 2–3 gallons of non-toxic RV antifreeze for a standard truck camper, assuming you’ve drained everything and bypassed the water heater. Simpler, smaller rigs can use less; add more for outside showers, ice makers, or extra fixtures. Keep an extra jug on hand so you don’t stall mid-job.
Can you winterize a truck camper yourself?
Absolutely — it’s one of the most beginner-friendly DIY maintenance jobs on a camper. With basic hand tools, a pump converter kit, and an hour or two, most owners can do it themselves. The steps are: drain everything, bypass the water heater, pump antifreeze through the lines, protect the traps and toilet, and store the batteries and interior properly. If you’re unsure about valve locations, your owner’s manual (or a call to the manufacturer) beats guessing.
Do I need to winterize if I store my truck camper indoors?
It depends on the “indoors.” A heated garage that stays above freezing all winter means you can usually skip antifreeze — just drain the system and you’re fine. But an unheated barn, carport, or storage unit that drops below freezing absolutely needs full winterization; cold is cold, whether there’s a roof over the camper or not. When in doubt, winterize — the cost of antifreeze is trivial compared to freeze damage.
Should I de-winterize for a winter road trip?
If your route starts or ends in freezing weather, don’t. This comes up every January from folks driving south: the community-tested play is to stay winterized for the cold legs — blown-out lines, open low-point drains, antifreeze in the tanks, bottled water for the trip, furnace on at overnight stops. De-winterize only once you’re consistently above freezing, and re-winterize before heading back north.
Can I use automotive antifreeze to winterize my camper?
Never. Automotive antifreeze contains ethylene glycol, which is toxic and deadly if ingested — it must never go into a potable water system. Always use pink, non-toxic RV antifreeze made from propylene glycol, which is designed to be flushed out safely in spring.
One Last Thing
Winterizing is just a couple hours of unglamorous work that buys you a spring full of trouble-free trips. Take notes (or photos) of your valve positions, and next year’s job will take half the time.
If you’re dreaming about cold-weather trips instead of storing the camper away, check out our winter camping guide for how to keep camping comfortably through the season. Still shopping for the right rig? Start with our roundup of the best truck camper to buy — some campers are genuinely better built for four-season use than others.