

Truck Camper Battery Monitor Install: A Shunt That Finally Tells the Truth
I learned I needed a truck camper battery monitor the embarrassing way. On our second night off-grid in Utah, the panel by the door said 12.7 volts, and I told my wife we were fine. An hour later the fridge cut out and the inverter started beeping. The battery had not been fine for hours — the voltage number had just been lying to me.
That is the whole case for this project. A voltmeter tells you the electrical pressure at one moment, not how much energy is left. A shunt-based truck camper battery monitor counts every amp in and out, like a fuel gauge. Here is the install I did in my own camper.
Why Your Voltage Reading Lies to You
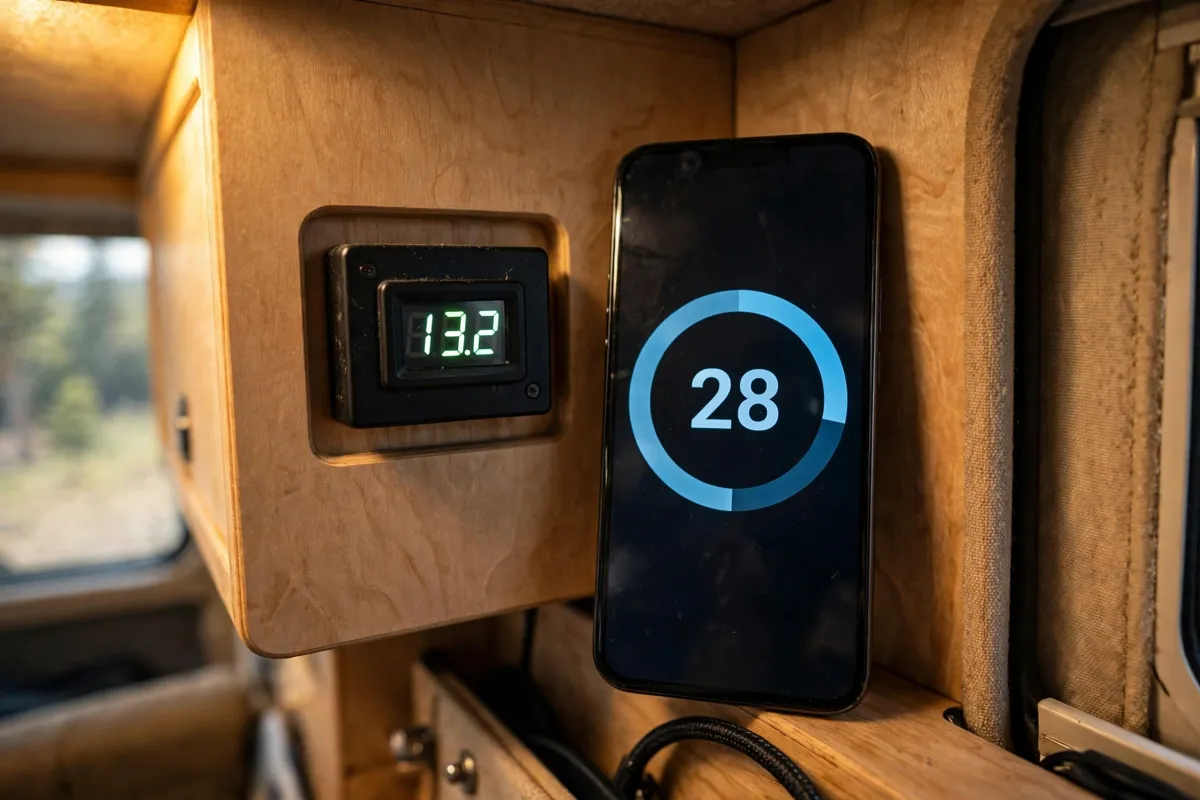
A rested lead-acid battery drops voltage in a fairly steady slope as it discharges, so a voltage reading means something — if the battery has sat untouched for a while. In a truck camper it almost never has: the fridge cycles, the furnace fan kicks in, or you have just switched the inverter on.
Lithium makes it worse. A 12-volt LiFePO4 bank spends most of its life between roughly 13.0 and 13.35 volts at rest, so the stretch from about 20% to 80% state of charge lives inside barely half a volt, and a meter showing only one decimal place cannot tell 40% from 70%. Then there is the cliff: a lithium bank holds its voltage steady, then falls off fast near empty — which is what happened to me in Utah. If you are sizing a lithium bank, read our truck camper solar and lithium sizing guide first.
What a Shunt Actually Measures
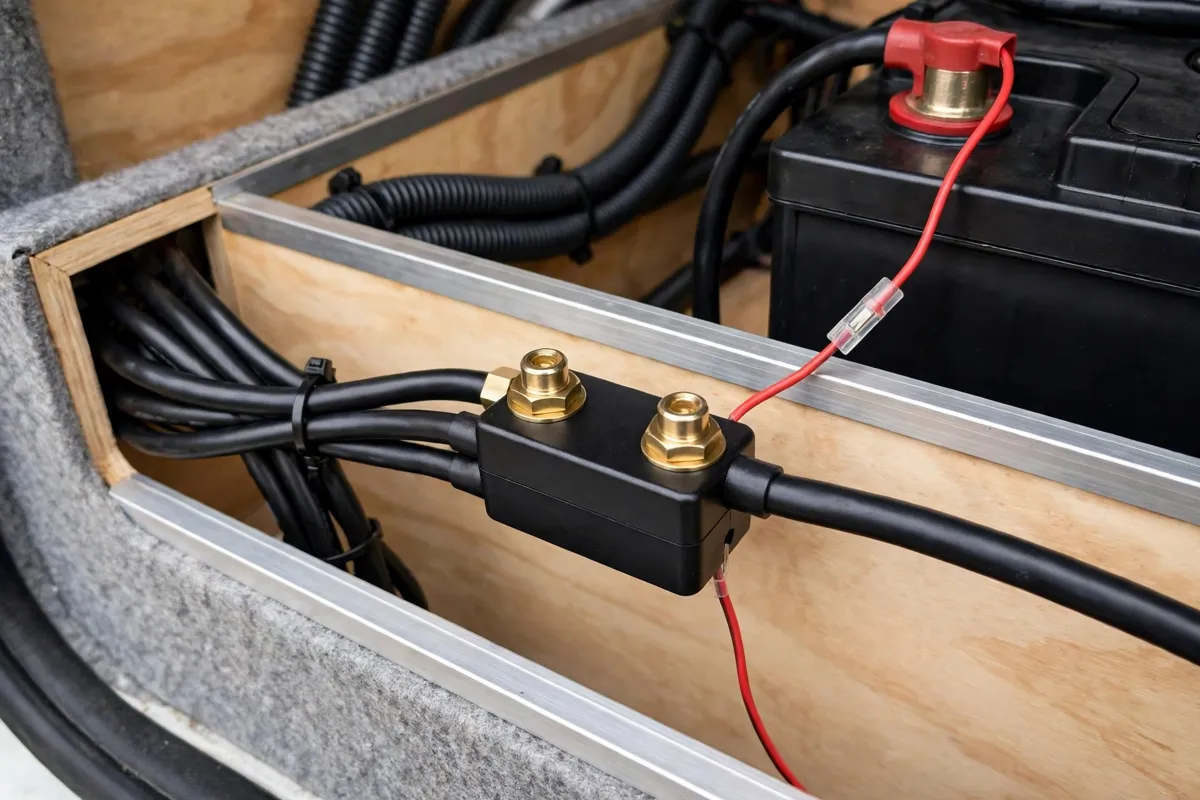
A shunt is a precision low-value resistor in the negative path between your battery and everything else. All current in or out of the battery has to pass through it. The monitor reads the tiny voltage drop across that resistor, works out the current, and keeps a running total — charge in, it adds; load out, it subtracts. That is coulomb counting, and it is why a shunt monitor can show a percentage, amp-hours used, watts right now, and a rough time-to-go.
That “all current has to pass through it” part is the whole install in one sentence, and it is where most installs go wrong: if even one wire sneaks past the shunt and connects straight to the battery negative, the current in that wire is invisible to the monitor, and your state of charge slowly becomes fiction. The monitor also watches voltage through a thin fused wire to the battery positive, and draws very little power itself — Victron lists the SmartShunt’s self-consumption at under 1 mA.
Choosing a Truck Camper Battery Monitor
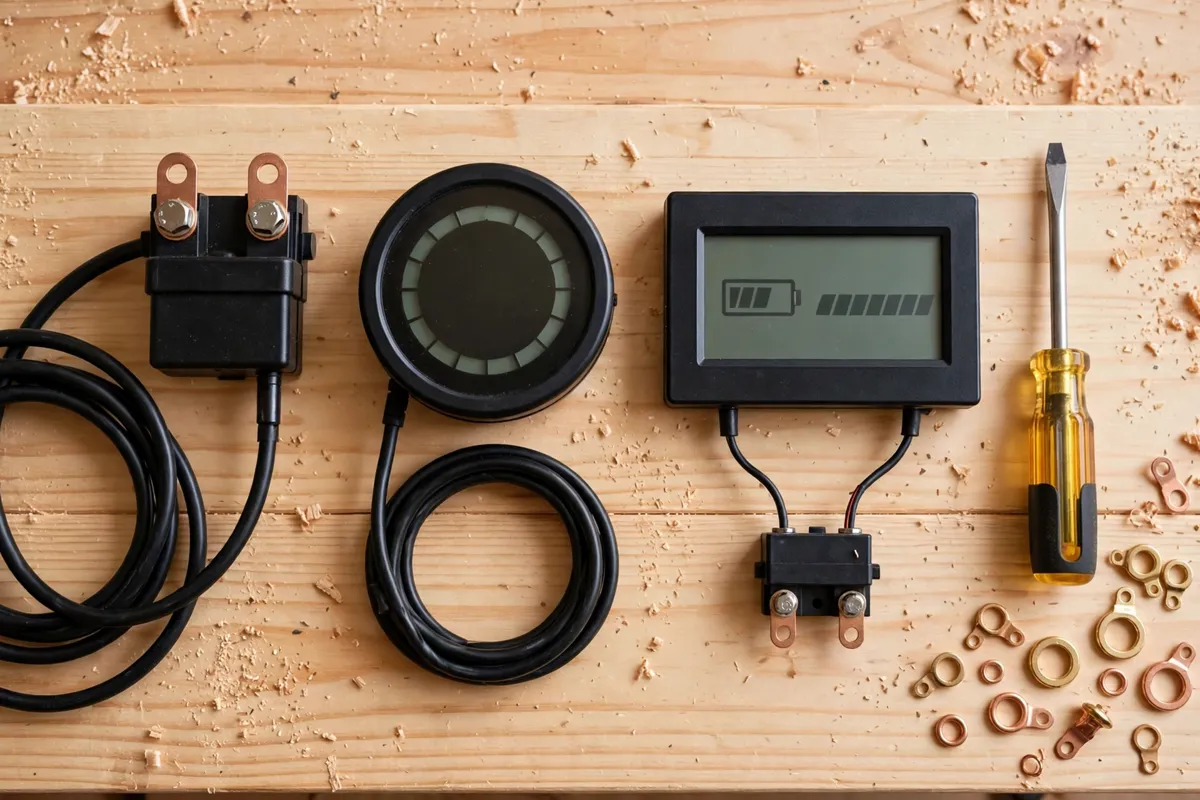
Pick by how you want to read the numbers, not by brand loyalty.
Victron SmartShunt 500A. No display — your phone is the display, over Bluetooth through the free VictronConnect app. It measures current, voltage, consumed amp-hours, state of charge and time to go, and stores history. Victron’s datasheet lists a 6.5–70 VDC supply range and ±0.4% current accuracy. The standard unit is rated IP21, so it must live somewhere dry; an IP65 version exists for damp spots. This is the one I run. See Victron’s SmartShunt manual.
Victron BMV-712 Smart. The same 500A/50mV shunt and app, plus a round display you mount inside the camper, a programmable relay and a buzzer. If you want a permanent readout on the wall, buy this one. The box includes the shunt, head unit, a 10-metre RJ12 cable, and two fused red cables. See Victron’s BMV-712 installation guide.
Renogy 500A Battery Monitor. A wired LCD panel with a 20-foot shielded cable to the shunt, no Bluetooth and no app. Renogy lists it at $87.99 on its own site as checked in November 2026, with a 10–120 V range, ±1% accuracy, and a 2-year warranty — about half the cost of the Victron options. See the Renogy 500A product page.
Cheaper no-name shunt monitors exist, but I would not put one in as my only window into a lithium bank I depend on off-grid.
500A vs 1000A: Size for Current, Not Battery Size
The shunt size is about the maximum current your system will ever push through it, not about how many amp-hours your batteries hold. Work it out from your biggest draw, almost always the inverter: a 2,000-watt inverter on a 12-volt system draws roughly 167 amps before efficiency losses and surge — in practice, owners commonly plan for around 200 amps. Victron’s guidance is that the supplied 500A shunt suits most applications, with a larger shunt needed only if system currents above 500A are expected. Step up to 1000A only for a very large inverter or parallel inverter/chargers. If you are still deciding on inverter size, read our truck camper inverter install guide before you order either part.
Safety First
A 12-volt battery will not shock you the way household mains will, but it can deliver hundreds of amps into a short circuit: a dropped wrench across the terminals, an unfused wire chafing through, a loose lug heating up under load. So disconnect charging sources first — solar, shore power, DC-DC charger — then disconnect the battery negative before you start moving cables. Work with one cable at a time, fuse the positive close to the battery as your inverter or charger manual directs, and torque the shunt bolts to the manual’s maximum — 21 Nm on the 500A Victron shunt, 10 Nm on the 300A model. If any of this feels outside your comfort zone, have a qualified installer do the heavy-cable work while you watch.
Mounting the Shunt
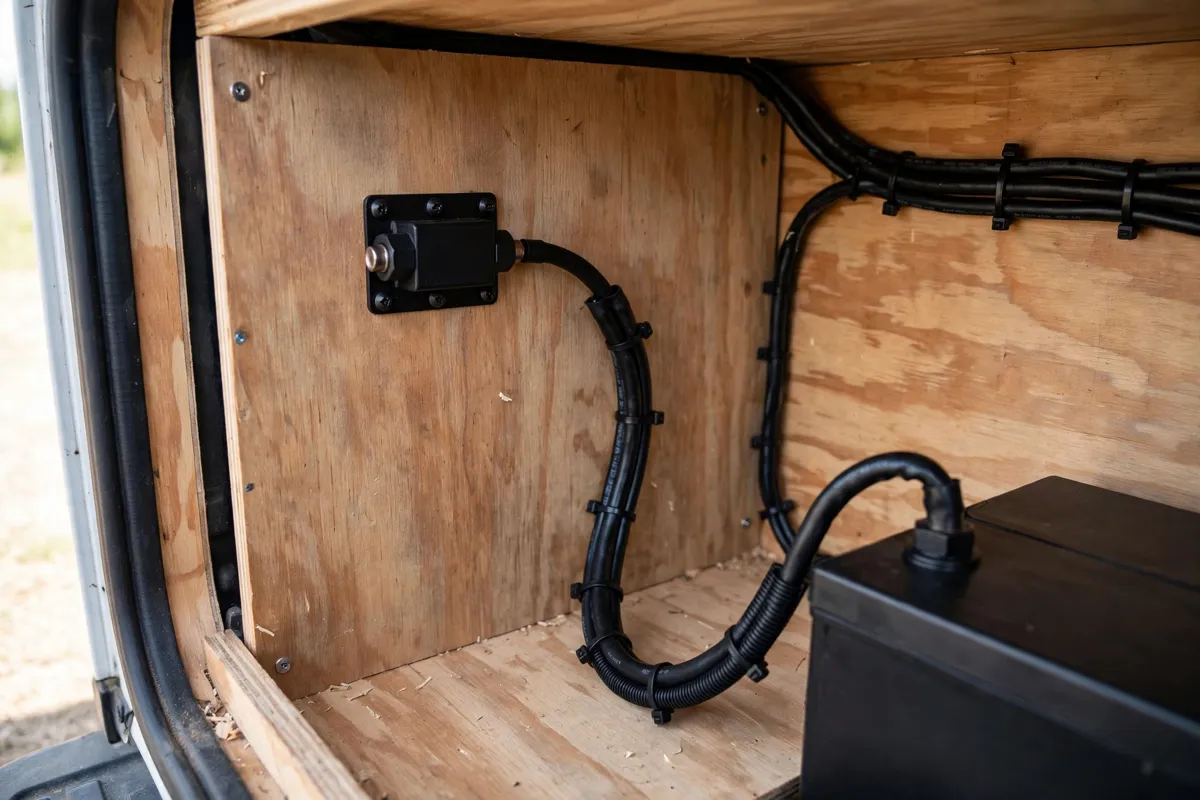
The shunt wants to live as close to the battery as possible, screwed to a solid, dry surface. Victron rates the standard SmartShunt and the BMV-712 shunt at IP21 — not waterproof — so inside the battery compartment is fine if it stays dry. If your battery box gets wet, buy the IP65 SmartShunt or move the shunt into a dry compartment. Owners on RV forums report the same lesson: a shunt left in a damp outside box corrodes and reads erratically, and the fix is relocating it somewhere dry.
The base has two 5.5 mm mounting holes; screws are not included. Mount it with the labels readable — “Battery Minus” on one side, “System Minus” on the other. For the BMV-712, the display needs a flat panel inside the camper, within reach of the 10-metre RJ12 cable.
Bluetooth range is worth thinking about now: Victron’s manual says the practical range is about 10–15 metres, and metal reduces it — one reviewer measured roughly 90–100 feet in open air but only about 30 feet with the shunt inside an RV battery compartment. Test the connection from the driver’s seat before you close up.
Wiring Order: The One Rule That Matters
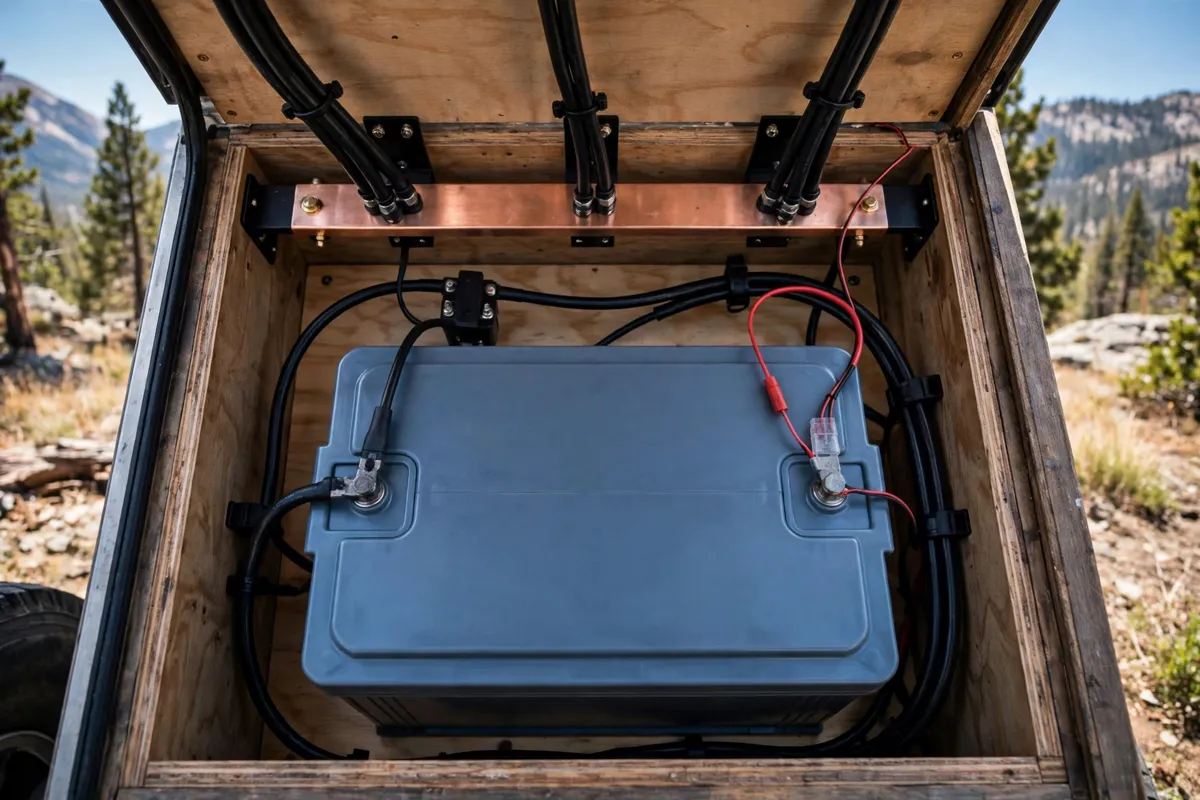
Get this right and everything else is calibration.
1. Battery negative to the shunt, and nothing else. Connect the negative battery terminal to the M10 bolt on the “Battery Minus” side, using a short cable in the same gauge as your main negative cable, tightened to a maximum of 21 Nm. With two batteries in parallel, both negatives go to this side.
2. Everything else to the other side. Connect the system negative to the M10 bolt on the “System Minus” side: every DC load, the inverter, solar controller, DC-DC charger, AC charger, and the chassis ground.
This is the step owners get wrong most often. Owners on iRV2 report watching the state of charge fall a little every day even though the solar charger was working — because the solar negative, or the chassis ground, was still connected straight to the battery and bypassed the shunt. Owners on the Victron Community report the same: a solar supply left on the battery side, so the monitor never saw the charge coming in. Victron’s own shunt troubleshooting FAQ states the rule three ways: only one connection to the battery negative, and that must be the shunt; everything else goes to the system side.
3. The thin red sense wire. Push the ferrule of the supplied fused red cable into the shunt’s +B1 terminal and connect its M10 lug to the battery positive. This wire powers the shunt and measures voltage. On the BMV-712 the two red cables carry 1A fuses; do not replace them with a heavier fuse. If you use the auxiliary input for your starter battery, the second fused cable goes from +B2 to that battery’s positive.
4. The display cable, if you have one. On the BMV-712, plug the RJ12 cable into the shunt and the head unit. On the Renogy, run the shielded cable to the LCD panel. On the SmartShunt there is nothing to plug in.
5. Check before you power up. Battery negative: one cable, to the shunt, nothing else. System side: everything else, including the chassis ground. Any wire you are unsure about, trace it.
If you have six negative cables and one M10 bolt, do not stack them all on it. Owners on iRV2 recommend a negative busbar instead, and report a rough consensus of no more than about four lugs stacked on one post.
Fusing
The shunt sits in the negative path and is not fused — fusing it would break the measurement. The fusing that matters is on the positive side: your inverter, DC-DC charger and solar controller each have their own fuse or breaker near the battery, sized to their manuals. If you are adding a DC-DC charger at the same time, our truck camper DC-DC charger install guide covers its fusing. Check two things while you are in there: the thin red sense wire is fused at 1A in the Victron kit, and that fuse must stay in place; and the existing main fuse should sit close to the battery, not halfway down a cable run.
Bluetooth and App Setup
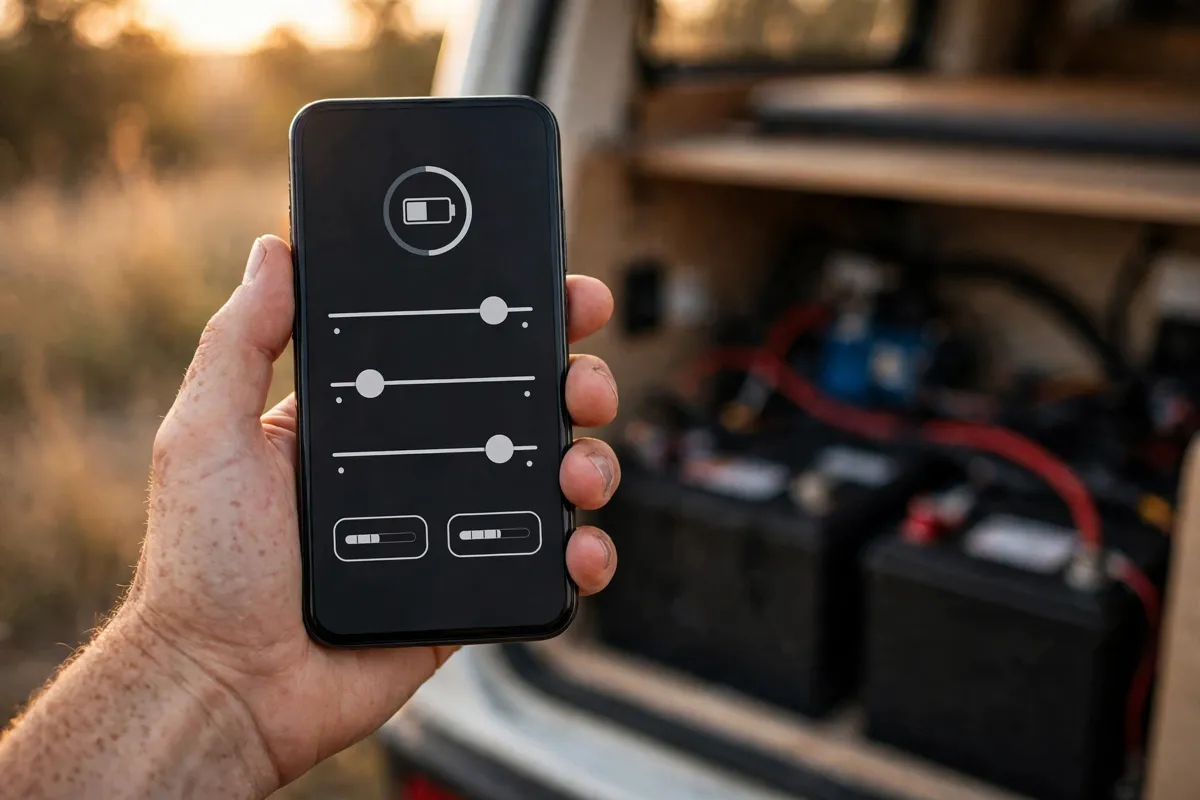
Reconnect the battery negative last, then open VictronConnect. The SmartShunt or BMV-712 should appear in the device list — a blinking blue light means it is powered and advertising. Tap it and the app walks you through a setup wizard: battery voltage, capacity, chemistry, and shunt settings. If it does not appear, check the red sense wire, its fuse, and whether another phone is already connected.
Enter your real battery capacity: two 100 Ah batteries in parallel means 200 Ah, because the shunt monitors the bank. For the Renogy, set the capacity and alarms on the panel and confirm current reads in the right direction; if it reads backwards, swap the two heavy cables. Owners on the Explorist troubleshooting guide report this as a common first-install fault: always follow the label printed on your shunt, not a generic diagram.
Calibrating State of Charge So It Stays Honest
A shunt monitor does not measure state of charge directly. It counts amp-hours and estimates the percentage, and that estimate drifts a little with every cycle, so the monitor needs a regular anchor: a full charge, recognised correctly, that resets it to 100%. That reset happens automatically when voltage rises above your “charged voltage” setting, charge current falls below your “tail current” setting, and both hold for your “charged detection time”. If any of those is set wrong, the reset either never happens, or it happens too early.
The rule owners and Victron’s own support repeat is simple: charged voltage = your charger’s absorption voltage minus 0.2 volts. If your chargers absorb at 14.4 volts, set the charged voltage to 14.2 volts. Owners on the Explorist guide report the classic failure: a default of 13.5 volts against a charger absorbing at 14.4 volts, so the monitor jumped to 100% hours early.
Tail current is the second number: Victron’s community guidance suggests around 4% of capacity as a starting point, tightened toward 2% once you have watched a full charge — but if your only charge source is a small solar array, a 4% tail current may never be reached. Watch one full charge and set the tail current just above the current you see at the end of absorption.
Then set the chemistry numbers: Victron’s community FAQ gives typical values of a Peukert exponent of 1.05 and charge efficiency of 99% for lithium, against 1.15–1.25 and 80–98% for lead-acid. One owner on iRV2 reported their shunt reading 71% when the batteries were actually at 50% — the diagnosis was a Peukert exponent left at 1.25 on lithium.
Finally, set “battery state of charge on reset” to “keep state of charge”, not “set to 100%”, or every power interruption will silently reset the monitor to a full battery it does not have. Do a zero-current calibration with everything switched off, as the manual describes. Then test it: charge to full and watch the monitor hit 100% as the charger drops to float.
Common Install Mistakes
A wire bypassing the shunt — usually the chassis ground, solar negative, or DC-DC charger negative. The state of charge falls a little every day despite charging. Fix: move the wire to the system side.
The shunt wired backwards. The percentage rises when you switch loads on and falls when you charge. Fix: swap the two heavy cables.
Wrong battery capacity entered. The percentage moves too fast or too slow. Fix: enter the whole bank’s capacity.
Charged voltage too low. The monitor jumps to 100% early. Fix: charged voltage 0.2 volts below absorption.
Peukert and efficiency set for the wrong chemistry. Slow drift over days. Fix: lithium around 1.05 and 99%, lead-acid per your battery manual.
“State of charge on reset” set to 100%. The monitor reads full after any power interruption. Fix: set it to keep the state of charge.
If none of that fixes it, the fault may be upstream: a failing battery, a charger that never reaches absorption, or a parasitic draw. Our truck camper electrical troubleshooting guide walks through that diagnosis.
Living With It
The first week with a shunt monitor is a small education: the fridge draws far less than you feared, the inverter far more than you hoped.
Check the history screen once in a while and update the settings the day anything changes.
A truck camper battery monitor is a small box, a short cable, and an afternoon’s work, and it is the single best money I have spent on the camper’s electrical system. Not because it is clever, but because it replaces a guess with a measurement. Voltage lied to me in Utah. The shunt has not lied to me since.
Safety note: battery systems can deliver very high fault currents, and incorrect wiring can cause fire or serious injury. Disconnect all charging sources and the battery negative before working, fuse the positive close to the battery, and follow the exact torque, wiring and fuse instructions in your monitor, battery, inverter and charger manuals.
Frequently Asked Questions
Do I really need a truck camper battery monitor, or is a voltmeter enough?
A voltmeter is enough on hookups. If you boondock or run lithium, it is not: lithium’s flat curve puts most of the usable range inside half a volt. A shunt counts amp-hours in and out.
Should I buy the Victron SmartShunt or the BMV-712?
Buy the SmartShunt if you are happy reading everything on your phone. Buy the BMV-712 if you want a permanent display on the wall, a buzzer, and a programmable relay. They share the same shunt, accuracy, and app — the difference is the display.
Is a 500A shunt enough for my truck camper?
For most truck campers, yes. A 2,000-watt inverter draws roughly 200 amps in practice, so a 500A shunt leaves comfortable headroom.
Why does my battery monitor show the wrong state of charge?
In almost every case owners report, it is wiring or settings, not a faulty monitor. First check that no wire — especially the chassis ground, solar negative, or DC-DC charger negative — bypasses the shunt. Then check the settings: whole-bank capacity and charged voltage 0.2 volts below absorption.
Why does my monitor jump to 100% before the battery is full?
Your charged voltage is set too low, or your tail current is too generous. The monitor resets to 100% when voltage is above the charged-voltage setting and current is below the tail-current setting, so if the charged voltage sits below absorption, the reset fires early. Raise it to 0.2 volts below absorption.