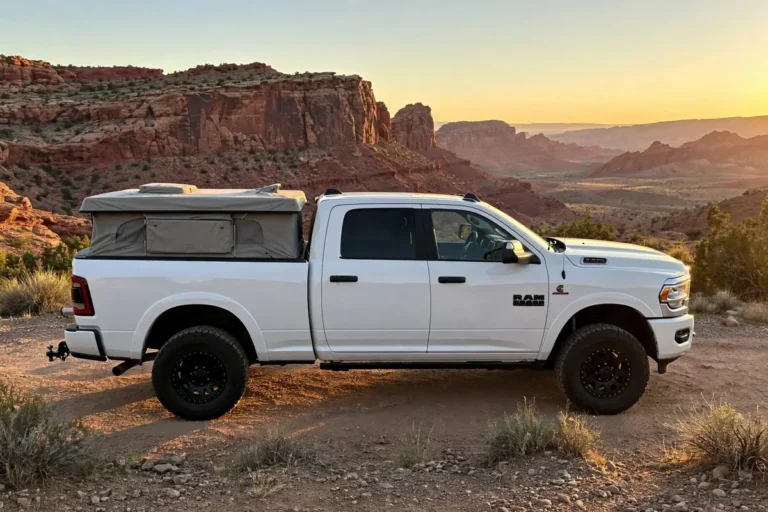
Truck Camper Porpoising: Why Your Rig Bounces and How to Actually Stop It
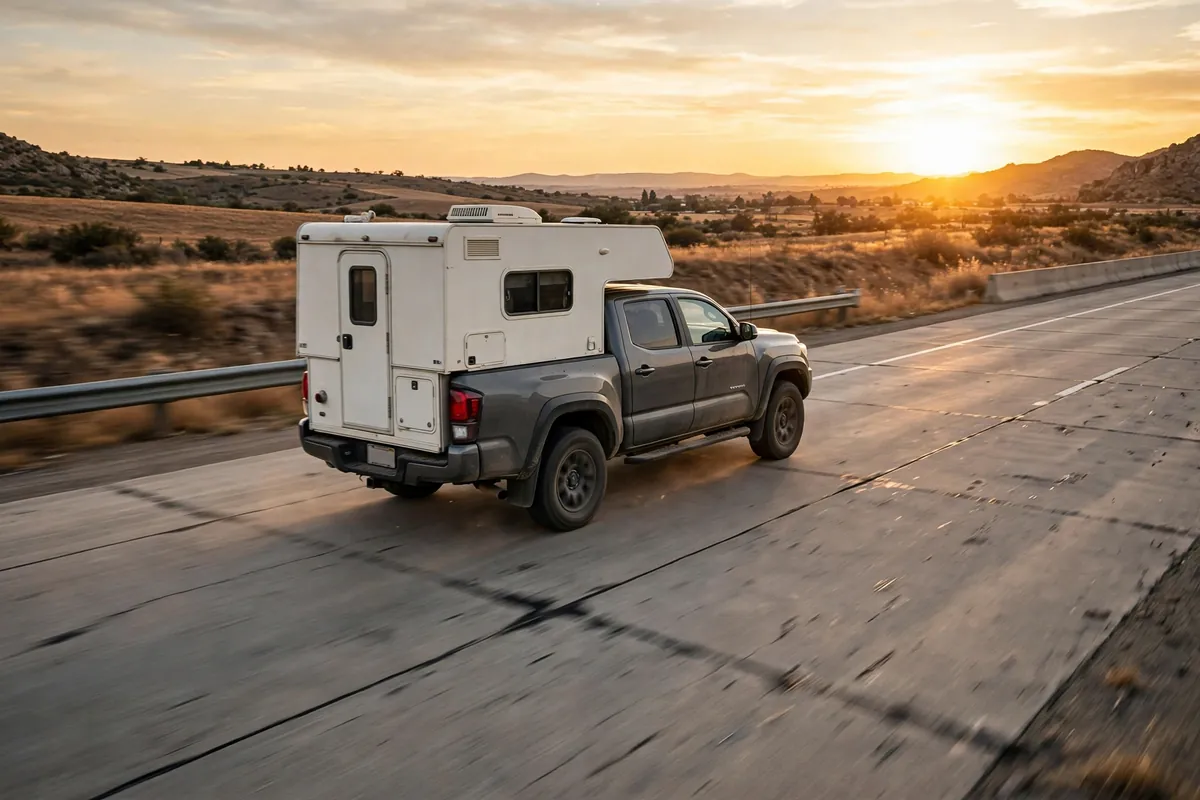
You know the stretch. Smooth asphalt for twenty miles, coffee staying in the cup, then the concrete starts. One expansion joint, fine. The second lands a half-second later, the third lands right on top of the bounce from the first two, and suddenly the whole rig is nodding like a boat coming through a harbor entrance. That is truck camper porpoising, and the first time it got bad for me I was sure something had broken. Nothing had. The dishes were rattling, my passenger had the grab handle, and I was trying to calm a truck that did not want to be calmed.
I got off at the next exit, checked the tie-downs, kicked the tires, and found nothing wrong. Porpoising is rarely one broken part. It is a rhythm problem, and once you understand the rhythm, the fixes stop being a guessing game.
Work the steps below in order. The first two are cheap or free, and skipping them is how people end up with expensive airbags pumping away on top of soft tires and tired shocks, bouncing worse than when they started.
Safety note: suspension, tires, and load limits are safety items. Stay inside your truck GVWR, axle ratings, and tire and wheel ratings, and follow the pressure limits in your tire and airbag manuals. If the rig bounces badly enough that you are struggling to hold your lane, slow down, get off that road, and get the setup inspected.
What Truck Camper Porpoising Actually Is
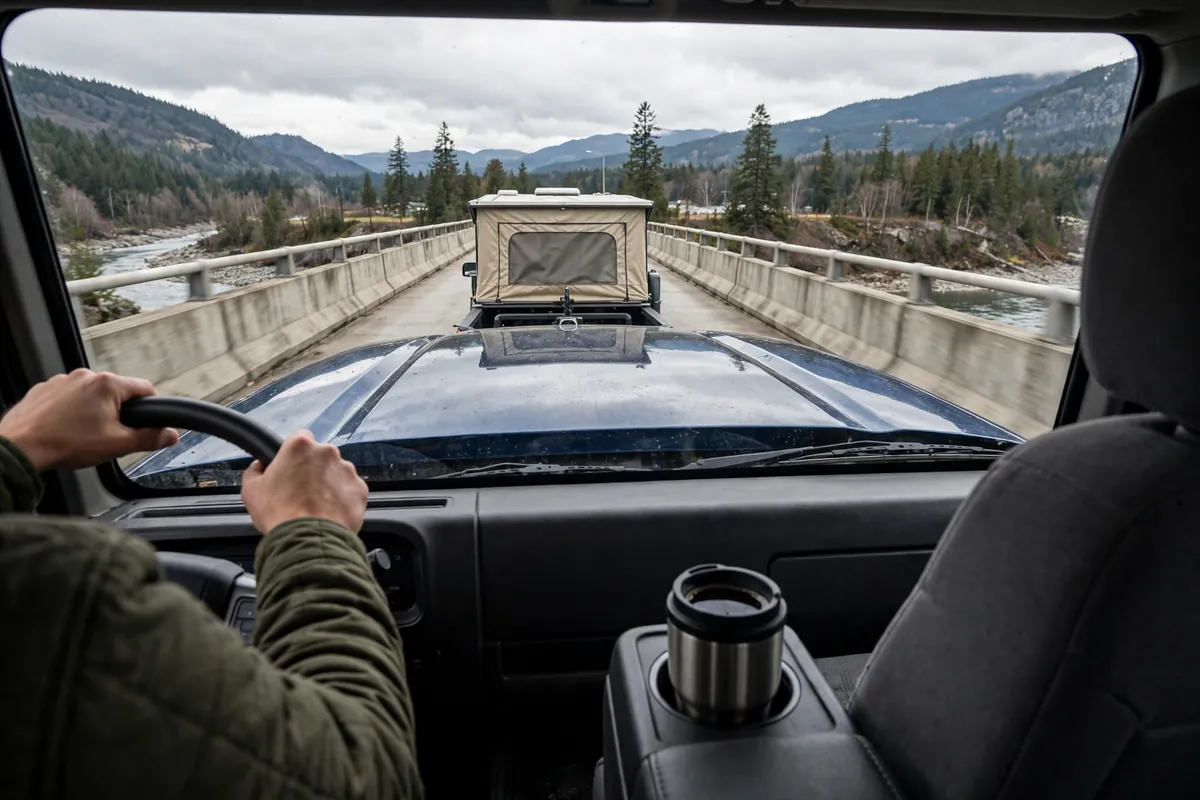
Your truck has two spring systems stacked together. The first is the steel suspension: front coils or leafs, and the rear leaf pack with its overload springs. The second is everything bouncy on top of it: tire sidewalls flexing, and, if you have them, airbags or rubber helpers. A camper moves a lot of weight high, and parks most of it over or just behind the rear axle.
Now hit an expansion joint. The front tires cross first and the nose rises and falls. A moment later the rear tires cross the same joint and the back does the same thing, harder, because that is where the camper lives. If that timing lines up with the natural bounce rhythm of the loaded truck, each joint adds energy to a bounce already going, a little bigger each time. Owners on the RV Forum describe the same pattern in paraphrase: fine on asphalt, miserable on worn concrete, better the moment the surface changes. That is the tell. A broken part hurts everywhere. Resonance needs a metronome, and segmented concrete is a perfect one.
It also explains why the same rig can be undriveable at one speed and merely annoying ten miles per hour slower or faster, a pattern owners on Jayco Owners and WanderTheWest both report. Change speed and you change how often the joints arrive compared with your bounce rhythm. Slowing down is not a fix, but it is a legitimate diagnostic and a way to get home.
A camper makes this worse than a trailer does, because a trailer porpoises through a hitch with some distance in the system. Your camper is locked into the bed, so every bit of pitch goes straight into the truck, the cabinets, and my lower back.
Step 1: Set Tire Pressure for the Load You Are Actually Carrying
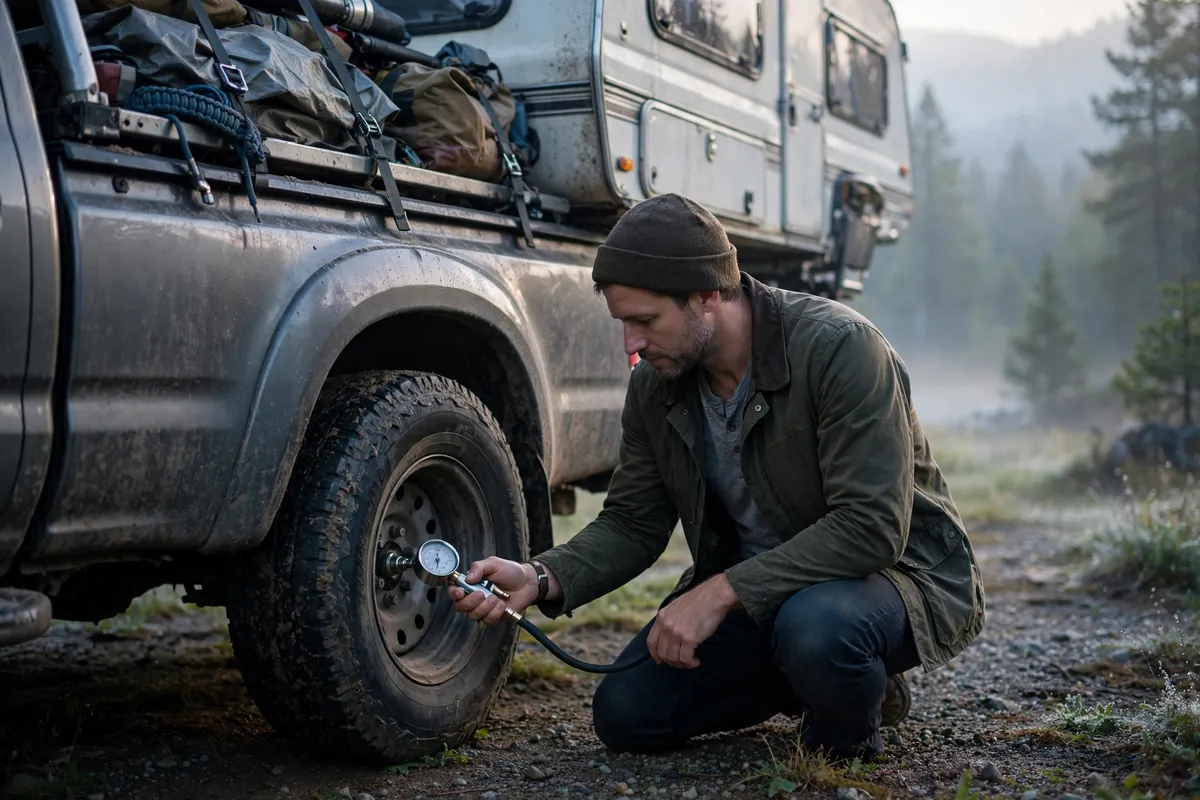
Do this first, cold in the morning, with a gauge you trust, before you buy a single part.
My mistake for a full season was running the door-placard pressures, picked for a comfortable empty ride, while carrying a camper that had the rear tires working near their limit. A soft tire is a spring with almost no control: the sidewall flexes over the joint, stores the hit, and gives it back a beat later, right into the bounce you are trying to kill. Underinflated-for-the-load tires also run hotter and wear worse.
The practice repeated in truck camper forums is to bring load range E tires up toward max sidewall pressure when the camper is on and the load is near the tire rating. Treat the sidewall number as a ceiling, not a dare: never exceed the tire or wheel rating, and use the tire maker load-and-inflation table and your truck manual to land on the pressure your axle weight needs. If you do not know your axle weights, visit a scale first. Our truck camper payload calculator guide walks through that math.
Then test honestly: same bad stretch, same speed, note what changed. On my rig this took the edge off without curing it, and that partial result is useful. If pressure changes the bounce a lot, tires were part of the stack-up. If it changes nothing, you have ruled out the cheapest variable.
Step 2: Fix the Damping — Shocks Control How Fast, Springs Control How Far
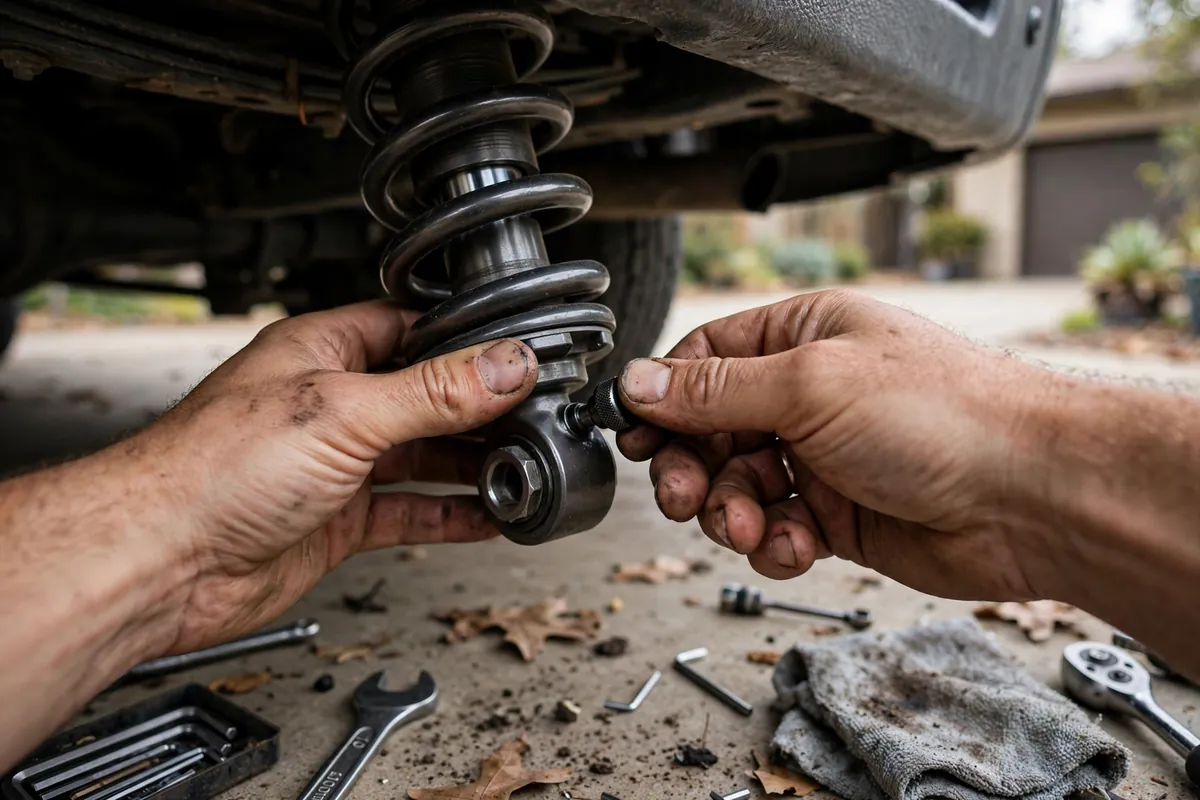
If tires are step one, shocks are step two, and for a lot of rigs this is the actual cure.
Helpers, leaf packs, and airbags decide how far the suspension moves. The shock decides how fast it moves, and how fast it stops. Porpoising is uncontrolled rebound: the suspension compresses, springs back, overshoots, and compresses again. A worn shock lets that cycle keep its energy. Stronger rebound control takes energy out of every cycle, so joint number three arrives at a truck already settled from joint number one.
Owners on WanderTheWest learned the matching lesson the hard way. In paraphrase, one owner with airbags and E-rated tires under a Tacoma and pop-up combo that bucked badly on concrete upgraded only the rear shocks first: carrying improved, bucking got worse. It only really went away after matching adjustable shocks and struts went on both ends, dialed in over thousands of test miles. Rear-only was, in his summary, the rookie mistake.
What to look for, without turning this into a catalog:
- Matched front and rear. Do all four corners as a set tuned for the same job. A stiff rear fighting a soft, tired front is a pitch machine.
- Rebound control matters most here. Owners on Jayco Owners report that advice from a shock maker representative pointed them to a shock chosen for slowing rebound, not the priciest model in the line, and that change plus less airbag pressure solved their bridge bounce. A recent YouTube walkthrough for an adjustable RV shock makes the same point: added rebound control is the feature pitched specifically against bounce and porpoising.
- Adjustability is genuinely useful. Rancho RS9000XL shocks, the example that comes up constantly in these threads, offer nine manual damping positions, so you can run firmer with the camper on and softer with it off. Fixed monotubes are the simpler path: Bilstein describes its B8 5100 as a 46mm monotube with digressive valving that reacts quickly to changing surfaces.
- Age counts. Stock shocks on a truck that has carried a camper for years are often done long before they leak. If yours are original and high-mile, start here before helpers.
Change one setting at a time, drive the same stretch, and write it down. I keep tape on the dash with my loaded settings, because I will forget by next season.
Step 3: If You Run Airbags, Stop Leveling to Unloaded Height
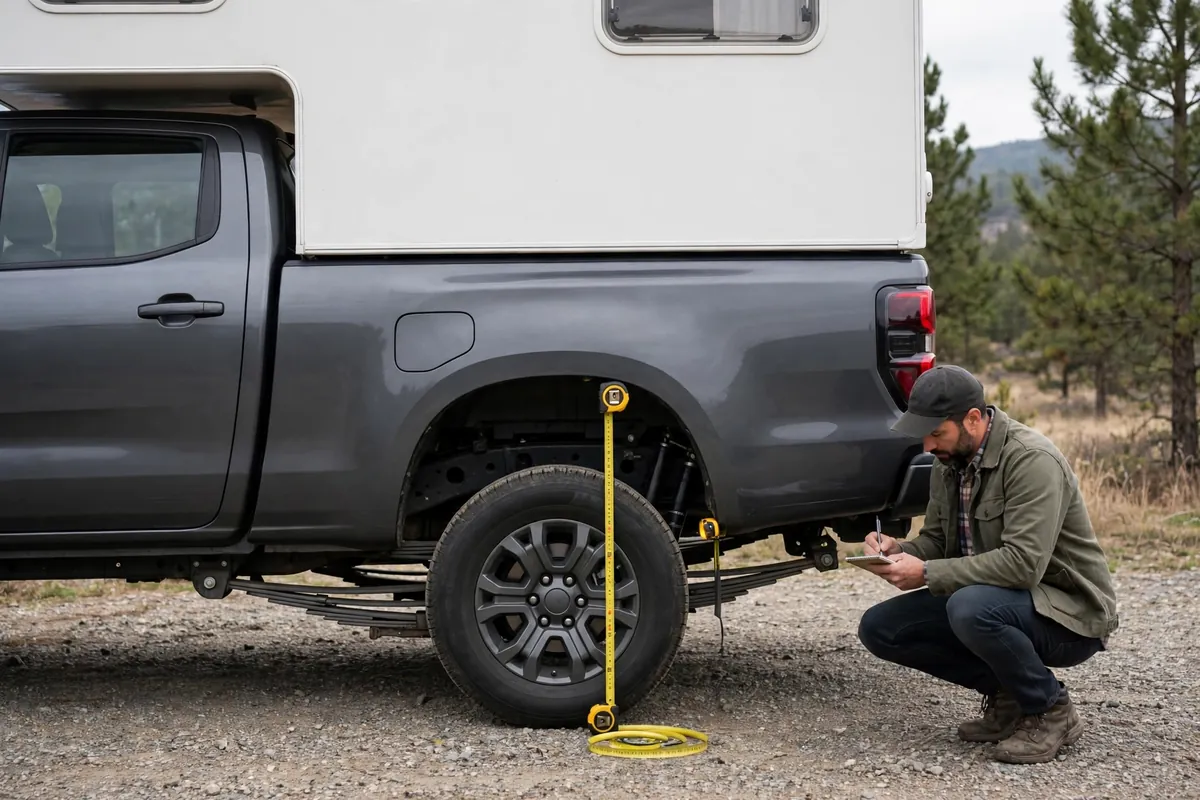
This step surprises people, because it runs backwards from every airbag owner first instinct. The camper squats the truck, so you add air until it sits exactly where it sat empty. Level, done, drive. Except that is the setup that bounces.
Inflated hard enough to carry the camper alone, the bags lift the weight off your leaf pack. The main springs unload, and the overload springs, the stiff leaves meant to engage under load and steady the back end, pull away from their stops and stop working. Now the camper is balanced on two air springs, and air resists pitching poorly. Owners on iRV2 put years of experience behind the same conclusion, in paraphrase: bags as the main support bring back sway and bounce, while bags as a light assist, with the overloads still lightly engaged, behave completely differently.
Torklift makes the same mechanical point in its guide to eliminating airbag bounce and sway: overinflated bags take the factory suspension out of the job, and dropping pressure well down, in their example from the 70 to 80 pound range toward roughly 30 pounds with the factory springs back at work, is the direction that calms the ride. Treat those numbers as the direction, not your setting. Your truck and camper will land somewhere different.
Then there is the specific height rule this article exists to pass on, and I will be straight about its source. An owner on Jayco Owners reported that a Bilstein representative advised him to keep the back of the truck at least about an inch lower than its no-load height when adding air, never airing all the way back to no-load height, and that following it, with rebound-focused shocks and bag pressure around 20 to 25 pounds on his rig, solved his bounce. That is owner-reported forum practice, not a line from an airbag manual, so try it as a test, not gospel: measure rear wheel-arch height unloaded, load the camper, and air up only until you are still roughly an inch below it, overloads touching or close. For a lot of rigs, that overloads-working stance is the difference between a pogo stick and a truck.
The manuals back the underlying principle. Firestone Ride-Rite instructions say to use only enough pressure to level the vehicle for best ride, warn that too much pressure makes the ride firmer, set a 100 PSI maximum for that kit, and remind you never to exceed the vehicle maker GVWR. Read your own kit manual for its minimum and maximum, because they vary by kit, and keep the two sides on separate fill lines so air cannot push from one bag to the other in a turn.
Shopping rather than tuning? Our head-to-head of airbags vs Timbren vs SumoSprings covers how the three helper families behave under a camper.
Step 4: Timbrens and Helpers — Firmer Is Not Always Better, Softer Is Not Always Kinder
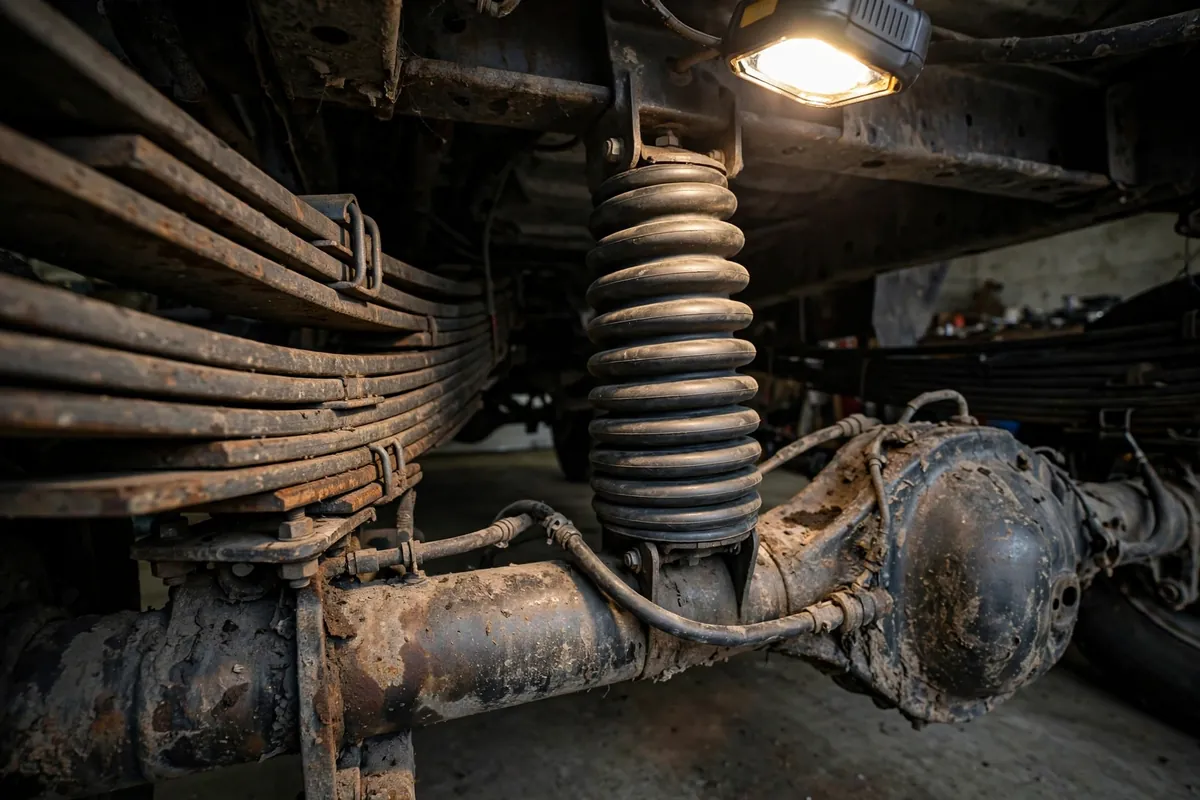
If you do not want air, the rubber and urethane helpers are the next rung, and porpoising teaches their trade-off fast.
Timbren SES kits use hollow rubber springs that engage as the truck squats. Timbren describes its Aeon rubber springs as progressive, pushing back harder as load grows, with no post-installation maintenance. That is what you want on paper: soft over the first movement, increasingly resistant as the pitch builds, and no pressure setting to get wrong at a gas station.
The forum lesson is about picking the rate. In the Jayco Owners bridge thread, in paraphrase, the original poster swapped to a softer Timbren version because the first set rode rough, then found bridge dips far worse, while remembering no such problem on the firmer set. Other owners, including an iRV2 poster running Timbrens on a Ram 2500, report the bounce simply going away. Both can be true. Too soft and the helper lets the pitch build before it pushes back. Too firm and every joint is a hammer hit. Match the rate to your actual camper weight, not brand loyalty.
The close cousins follow the same logic. SumoSprings use urethane for a softer initial engagement. Torklift StableLoads fill the gap so your factory overloads engage earlier, keeping steel as the main actor. Add-a-leaf or a custom pack is the permanent version, often the most honest answer for a camper that lives in the bed. None of these raises your payload rating. They change how a legal load rides.
While you are under there, check tie-downs and turnbuckles. A camper that can shift in the bed adds its own loose, secondary bounce, and snug, correctly tensioned hardware removes that slop. Our comparison of truck camper tie-downs and turnbuckles explains the spring-loaded versus rigid choice.
Step 5: Move the Weight — Center of Gravity and the Free Fixes
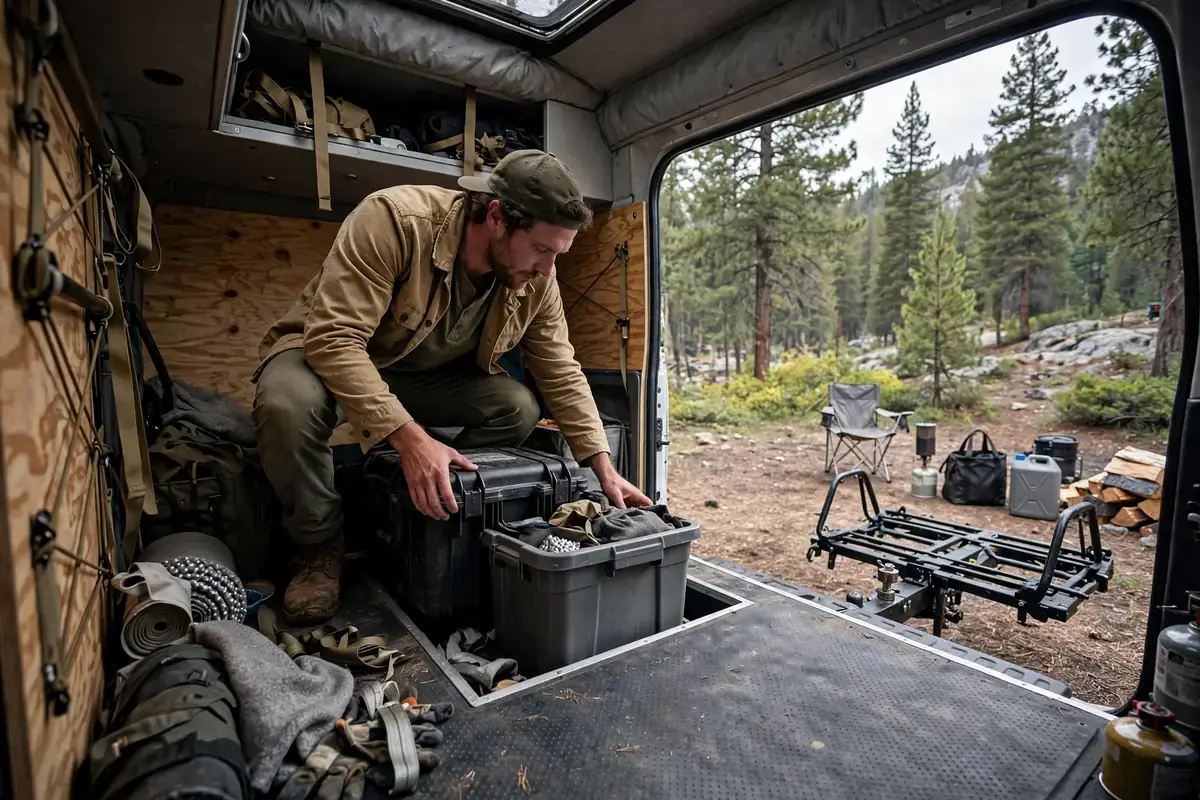
Last step, and it is free, which is why nobody wants to hear it. Where the weight sits changes how hard the rig pitches.
A camper center of gravity is designed to sit over or ahead of the rear axle. Everything loaded behind that point works like weight on the end of a seesaw: it lifts the front, loads the rear, and lengthens the pitch. The rear bay full of tools, two heavy bikes on a rear rack, a full tank hanging behind the axle, firewood in the rear dinette, all of it feeds porpoising and none of it shows up on a parts list.
Do a loading pass with pitch in mind. Heavy, dense gear goes low and forward: tools, canned food, batteries. Know where your tanks are, because a full tank forward of the axle can help settle the rig while the same gallons behind it do the opposite. Get honest about the rear rack: if you only porpoise badly when the bikes, generator, and storage box are all hanging off the back, one trip without that load tells you what you need to know, for free. And confirm the basics: camper fully forward against the front bed stops, tie-downs evenly tensioned, nothing heavy stored high in the cabover.
Then the scale, one more time. If your loaded weight is over GVWR or the rear axle rating, no combination of pressure, shocks, and helpers makes that a tuning problem. It is a matching problem, and the real fix is less load or a lighter camper, like the rigs in our roundup of the best lightweight truck campers. The scale does not care what I would rather buy.
How to Test Without Fooling Yourself
Pick one bad stretch you can repeat safely. Note your speed, load, water level, tire pressures, shock settings, and bag pressures, and change exactly one thing per run. Five miles of notes beats five hundred dollars of parts installed all at once, leaving a rig that rides differently with no idea why. The forum threads that actually solved this all read the same way: one change, one test, sometimes over thousands of miles.
If you have worked all five steps, your weights are legal, and the rig still bounces violently on ordinary roads, stop tuning and get an inspection. A bent wheel, damaged spring pack, or failing shock mount can hide behind a resonance complaint, and that is a shop diagnosis, not a forum one.
Frequently Asked Questions
What causes truck camper porpoising on concrete highways?
Regularly spaced expansion joints hit the front and rear axles in a rhythm that can match the loaded truck natural bounce frequency. Each joint adds energy to the previous bounce instead of letting it settle, so the pitching builds. That is why the same rig can be fine on asphalt and miserable on concrete.
Will airbags alone fix porpoising?
Usually not, and overinflated bags can make it worse: carrying the camper alone, they unload your leaf springs and overloads and leave the load riding on air, which resists pitching poorly. Good results come from bags as a light assist, overloads still engaged, paired with good shocks and correct tire pressure.
Should I replace just the rear shocks?
Owners who have tried it report rear-only upgrades can improve carrying while making pitch worse, because the two ends of the truck are now damped unevenly. Matched shocks or struts at all four corners, tuned or adjusted for the loaded weight, are the reliable approach for a porpoising complaint.
How much air should I run in my airbags with a camper?
There is no universal number. Start from your kit manual limits, add only enough to approach level while keeping the overload springs engaged, and test. As an owner-reported starting point, some owners aim to stay about an inch below unloaded rear height, often landing at far lower pressures than the 70 to 80 pounds people instinctively run.
Does slowing down really help, or is that just giving up?
It helps, and it is a real diagnostic. Changing speed changes how often joints arrive compared with your bounce rhythm, so a rig violent at one speed can be manageable a few miles per hour slower or faster. Use it to get through a bad stretch safely, then do the tuning steps.
Can porpoising damage my truck or camper?
Sustained severe bouncing is hard on tie-downs, anchor points, spring and shock mounts, and tires, and it creates moments where the front tires are lightly loaded and steering feels vague. Treat violent porpoising as a stop-and-fix problem, and re-check hardware after any bad episode.