Truck Camper Backup Camera: What Actually Works Behind a Tall Camper
The first time I backed my loaded truck camper into a campsite, I realised my mirrors had been hiding something all day: I could not see a thing directly behind the rig. A truck camper backup camera fixes exactly that blind spot.
A tall slide-in camper blocks your interior rear-view mirror completely, and it turns your truck’s tailgate camera into a camera pointed at the inside of the camper. Your side mirrors cannot show you the ten feet directly behind your bumper — the campsite post, the jack, the trailer hitch.
Why a truck camper backup camera is a different problem
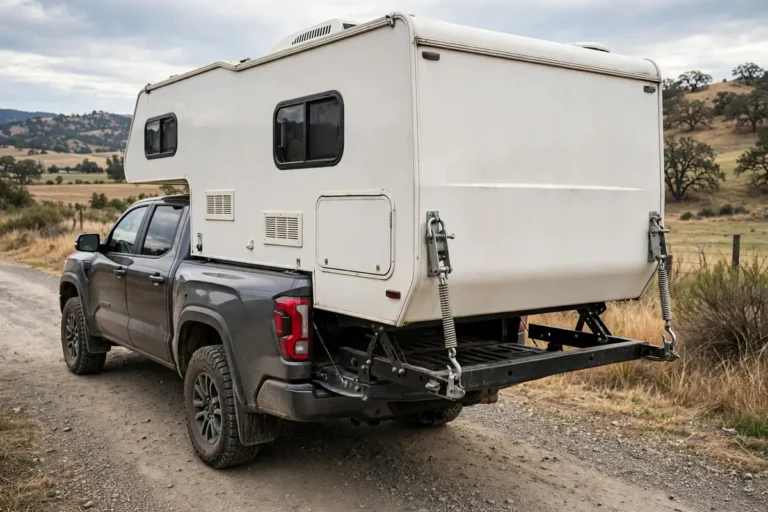
On a normal pickup, the camera sits a few feet from the screen. On a truck camper rig, it sits on the back of a box eight or nine feet tall and ten or eleven feet long, made of aluminium, fibreglass, and steel — and the screen sits in the cab, on the other side of all of it. A cheap wireless camera that works on a sedan can stutter, freeze, or drop out on a camper, usually at speed, in traffic.
Before you buy, measure the real distance, from the camera on the rear wall to the monitor on your dash — often 20 to 25 feet through the camper body on a crew-cab long-bed. Compare it with the manufacturer’s at-speed figure, not its open-area figure, which is measured with nothing between camera and monitor and is almost meaningless on a camper.
A car camera only has to work in reverse. A truck camper camera has two jobs: backing up wants a low, downward view of the ground right behind the bumper, while driving wants a high, wide view of the road behind you. One camera mounted high does the driving job well and the backing job adequately; one mounted low does the opposite.
Backup camera or observation camera?
A backup camera is wired to your reverse lights and only wakes up in reverse. An observation camera is powered from a running-light or ignition-switched circuit, so it stays on while you drive and works as a rear-view mirror replacement. Most truck camper owners should choose an observation setup, because the driving visibility is where the camera pays for itself day after day.
Wire it to the marker-light circuit or an ignition-switched feed, and test it with the headlights on — on many rigs the marker lights, and therefore the camera, only get power when the headlights are actually switched on, not on daytime running lights. If your camper’s electrics are already giving you trouble, sort the feed first; our truck camper electrical troubleshooting guide walks through the usual suspects before you blame the camera.
Wireless vs wired: the honest trade-off
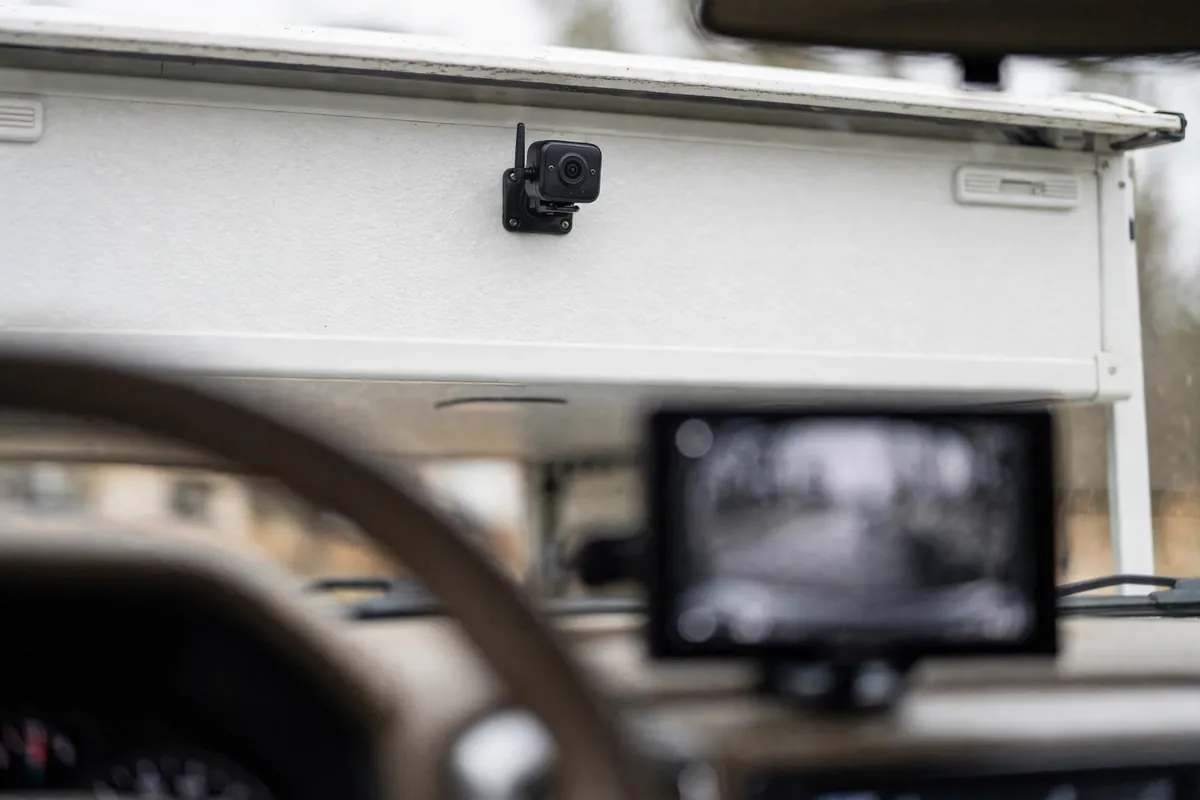
Wireless is easier to install and to live with when you load and unload the camper. There is no cable to run to the cab, and none to unplug every time the camper comes off the truck. You mount the camera, tap into a 12-volt feed at the back, stick the monitor on the dash, pair them, and you are done in an afternoon.
Wired is more reliable, full stop. A cable does not care about interference, does not drop out near a truck stop full of Wi-Fi, and does not add lag. The price is the cable run itself, plus a quick-disconnect you will unplug every time the camper comes off. Digital wireless is a big step up from the old analogue kits, which are behind most “my camera only works half the time” stories.
My rule of thumb: if your camera-to-monitor distance is under about 20 feet and you load and unload often, go wireless and spend the money on a proven system. If your rig is long, you tow a trailer behind the camper, or you have already been burned by a dropping signal, go wired — or go wireless with a system whose published at-speed range covers your rig with room to spare.
The systems owners keep coming back to
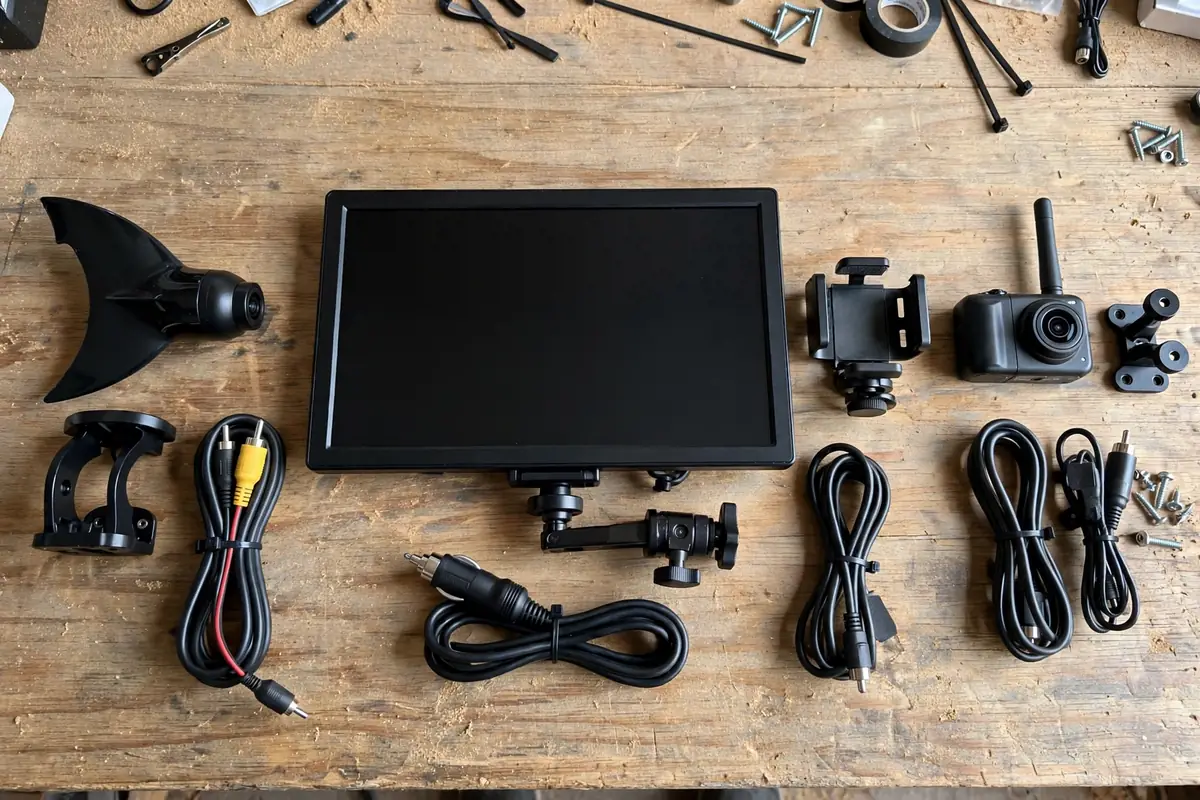
Furrion Vision S and Vision S+. Furrion is the default in the RV world, and many campers are pre-wired for it, so the camera often bolts straight onto an existing sharkfin mount with no new holes. The older Vision S camera is 720 x 480 with a 120-degree view and an IP65 waterproof rating. The newer Vision S+ steps up to 1080p, a 140-degree rear view, and a 2.4 GHz digital link Furrion says is tested to 100 feet at highway speed and up to 492 feet in open space. It can show up to four cameras on one touchscreen, records to an SD card, and has night vision and a microphone so you can hear a spotter. Expect roughly $200 to $450 depending on monitor size and camera count. Owners say the signal holds well; the weakness is the picture and the mount. One owner in Truck Camper Magazine’s survey of 37 truck campers said his Furrion monitor had no legs or pegs at all, so holding it in his hand was the only way to see it. Check the mount before you buy. See Furrion’s page: Furrion Vision S+
Haloview BT7 and MC7108. Haloview is the name that comes up most often when owners switch away from Furrion, usually for a sharper picture and a lower price. The BT7 is a 1080p wireless system with a 7-inch touchscreen, built-in DVR, and a range Haloview lists as up to 984 feet line of sight. Haloview also sells adapters for Furrion pre-wired mounts, so many owners can swap without drilling new holes. The caution is heat: one owner reported his Haloview shutting down in 100-degree heat with the sun directly on it, and fixing it with a small white shade. See Haloview’s page: Haloview BT7 1080P Observation Camera System
Garmin BC 50. There is no separate monitor: the camera pairs wirelessly with a compatible Garmin navigator — a DriveSmart, RV/Camper, or dezl unit — and the picture appears on the GPS screen you already have. The BC 50 gives up to 720p HD video with a 160-degree field of view, and Garmin lists a true working range of up to 50 feet, extendable to 100 feet with an optional extension cable. Garmin lists the BC 50 with Night Vision at $299.99. The catch is compatibility: it only works with specific modern Garmin navigators, so check your exact model first, and it can take a few seconds to connect. See Garmin’s page: Garmin BC 50 Wireless Backup Camera
Factory relocation kits — the option most people miss. Companies like Camera Source sell plug-and-play relocation kits for GM, Ram, and Ford trucks that mount a second factory camera on the back of the camper and plug it into the same connector your tailgate camera uses. Owners in the magazine survey call this the tidiest install they have found: no second screen, no extra cab wiring, and guide lines that work. One owner drilled two rivnuts into his camper’s rear bumper, mounted the camera, and adjusted it until the guide lines matched real distances. Another plugs the camera in under the rear bumper each time the camper is loaded — and stresses you must unplug it before unloading, or you will rip the harness out. Make the disconnect part of your loading routine, just like checking the jacks and tie-downs. See our solo loading and unloading guide. Cheaper kits — Yakry, AMTIFO, Fookoo — also have happy owners. A Yakry owner who backed into a light pole mounted an inexpensive Yakry unit to his camper ladder so he would not have to drill any holes, and reported being completely satisfied.
Where to mount it, and how to power it
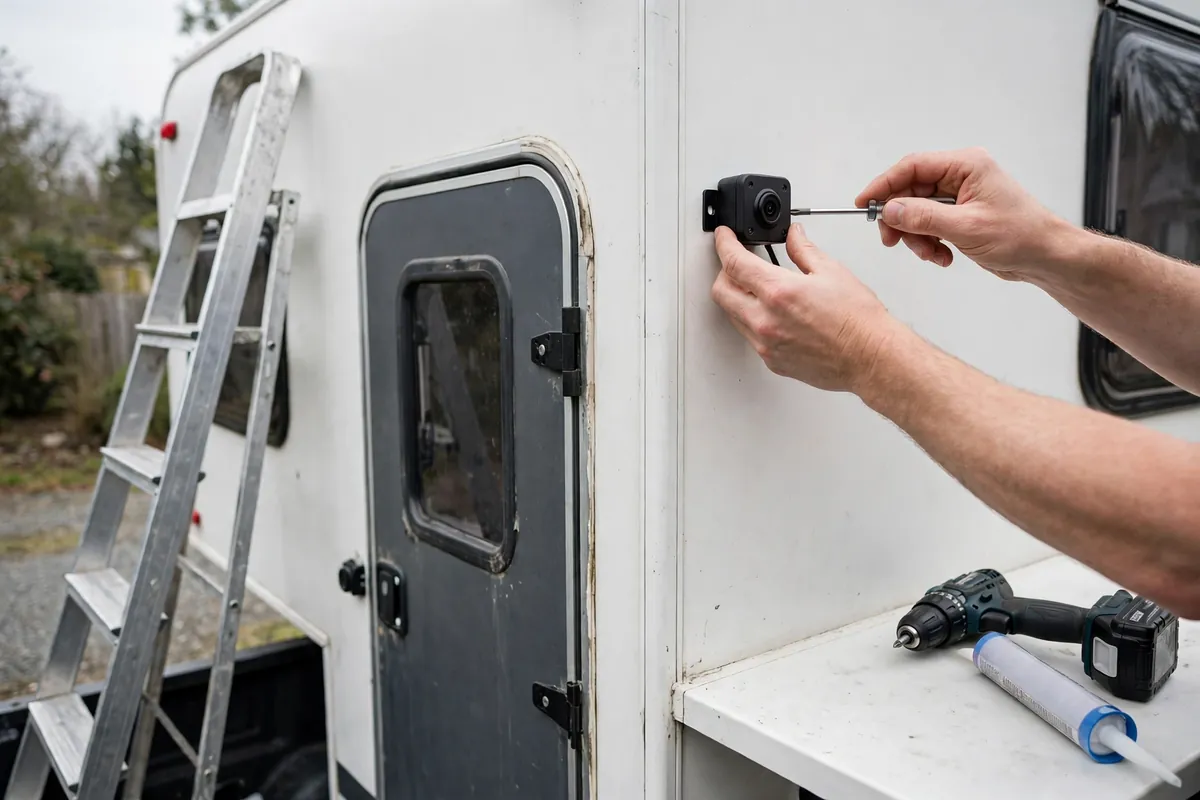
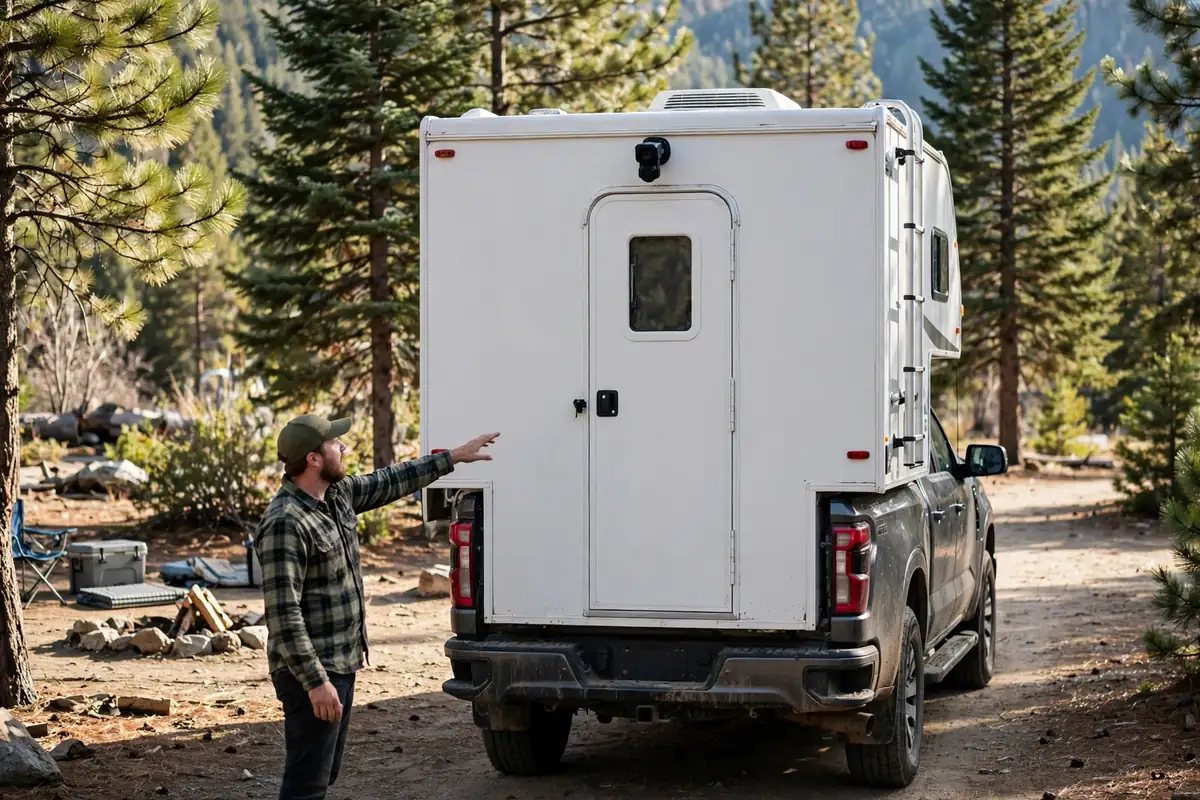
High on the rear wall, above the door, gives the best driving view: traffic and the trailer behind you, and the camera stays cleaner — but the ground right behind the bumper is foreshortened, so things look further away than they are. Low, near the bumper or license plate, gives the best backing view: the hitch, the ground, and low obstacles — but a low camera fouls fast in wet weather, and owners report having to wipe it with a thumb before it is useful at all. If you can only have one camera, most owners mount high and get out and look for the last few feet. If you can have two, the classic pairing is one high camera for driving and one low camera for hitching and backing.
Mount to something solid — a ladder rail, a bumper, or a backing plate — not just the thin outer skin. Seal every screw hole, and angle the camera so the horizon sits in the top third of the picture. Before you tighten anything, power it up and have someone walk behind the camper while you watch, so you learn what “three feet” and “ten feet” look like on your screen. Most camera problems are power problems in disguise: use heat-shrink butt connectors, not Scotch locks, fuse the feed close to the source, and protect the run from chafing. A wired camera needs a weatherproof quick-disconnect you can reach without crawling under the truck in the rain.
Monitor placement: where you can actually see it
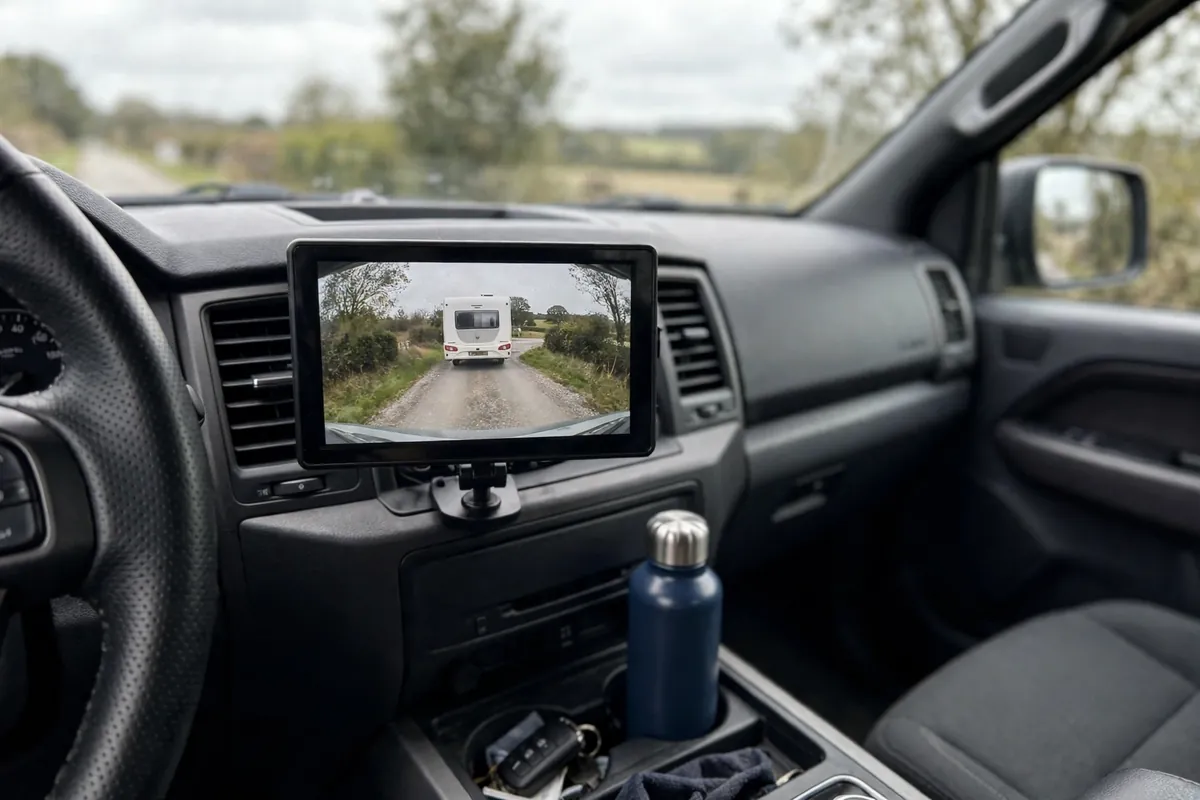
A great camera with a badly placed monitor is a bad system. It needs to be in your normal scan — a glance, not a head turn — and readable in sunlight. On the dash, low and centred, is where most owners put a standalone monitor; suction cups let go on rough roads and in heat, so a proper dash mount is worth it. Clipped over the rear-view mirror is the most natural position, because that is where your eyes already go — one owner said his rear vision went from about 25 percent with the side mirrors alone to about 85 percent with the mirror monitor. On the factory screen, via a relocation kit or an aftermarket head unit, is the tidiest option.
Fight glare first. Owners on RV forums report the picture vanishing in sunlight and only returning in the shade of trees. The fixes are an anti-glare screen, a small hood, and a mount you can tilt away from the sun. Do not mount the monitor flat on the dash facing straight up, and turn the brightness down at night: a glowing screen ruins your night vision. A 5-inch screen is a minimum; a 7-inch screen is noticeably easier to live with.
Towing behind the camper
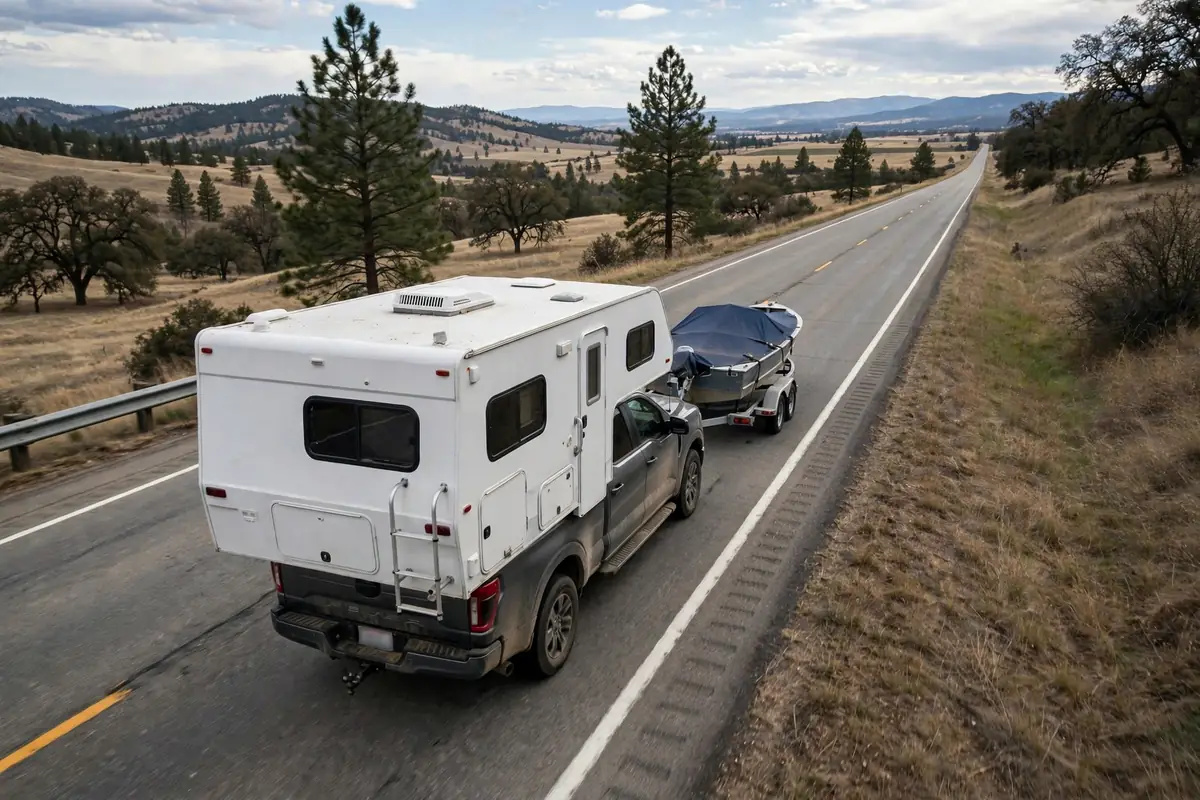
The moment you tow a boat, a small cargo trailer, or a Jeep flat-towed behind, one rear camera stops being enough, because the camera on the camper shows you the front of the trailer, not what is behind it. One camera on the camper, and accept the limit, works for a short, narrow trailer. One camera on the camper and one on the trailer is the proper setup: the trailer camera needs its own power, usually from the trailer’s running-light circuit, and its own wireless link or a wired run with a disconnect at the hitch. The trailer camera fails most often, because it is furthest from the monitor with the most metal between it and the cab — so buy on the at-speed range for the trailer camera, not the camper camera.
When you are towing with a truck camper, the camera is part of a bigger visibility system, not a replacement for it. Extended mirrors, a spotter you can hear, and getting out to look before a tight manoeuvre all still matter. A camera used while parked can also double as a security camera — one more reason to think about theft prevention and security for your camper alongside the install.
What owners actually complain about — and the fixes that work
The signal drops at speed, then comes back for no reason. This is the most common wireless complaint: full bars on an open road, then freezing or “no signal” in town or in traffic. The causes stack up — the camper body blocking the signal, interference from other 2.4 GHz devices, and a monitor antenna buried low on the dash. The fixes owners report are cheap: move the monitor higher and closer to the windscreen, move other wireless receivers a few inches away, and fit an antenna extension cable so the camera’s antenna sits forward, closer to the cab. Owners report a roughly $15 extension cable fixing a dropout problem that had them ready to replace the whole system. Test it on a real drive at speed, not just in your driveway.
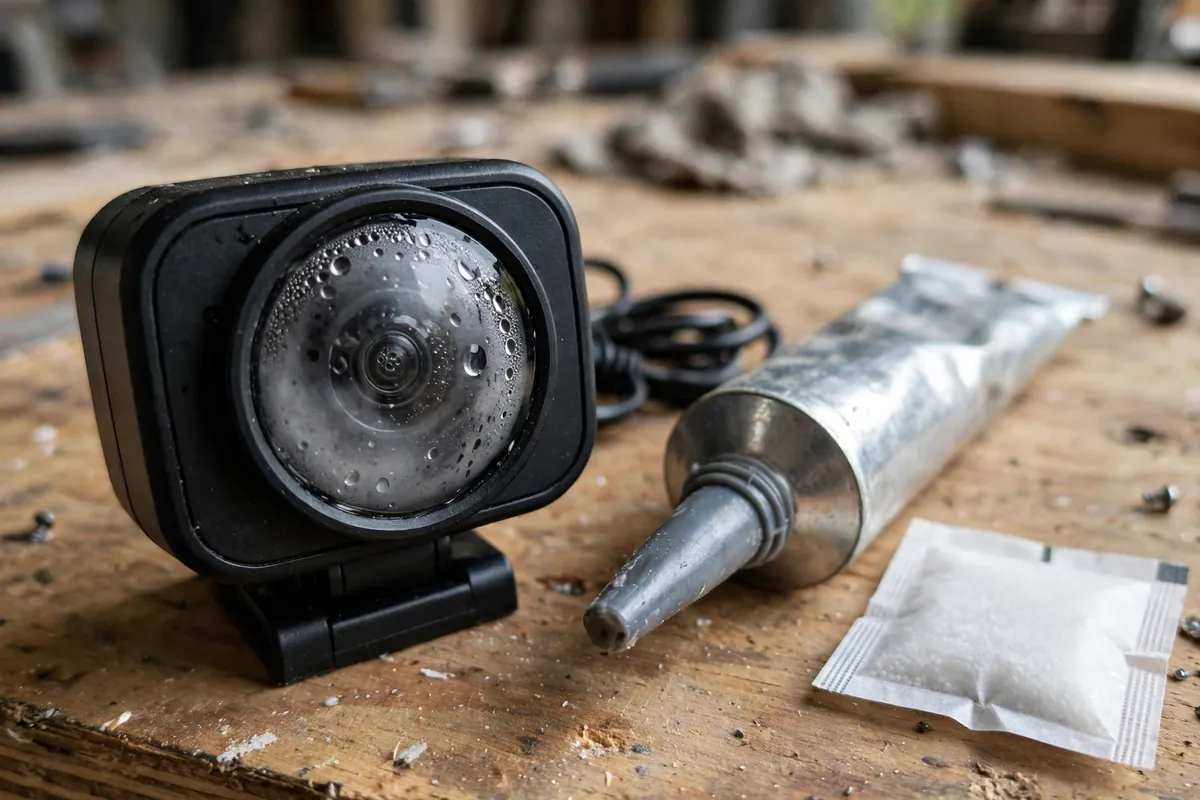
The picture goes foggy, and cleaning the outside of the lens does nothing. This is condensation inside the housing, a well-known failure after a couple of years, particularly on Furrion cameras. Owners on RV forums report the same story: the camera worked fine for two or three years, then fogged up, because the moisture was behind the lens — usually a failed seal letting moist air in. The fix owners report: dry the camera out thoroughly first, then seal the joint between the lens cover and the camera body with a thin bead of outdoor silicone sealant, and seal the screw heads too. Some owners put a small silica gel packet inside on reassembly. If the seal has failed badly, the camera needs replacing; a dealer told one owner Furrion regarded this as a common problem two to three years after install, with no fix other than a new camera. Seal the replacement on day one.
The camera overheats, or the picture whites out in sun. Sunlight can wash out the monitor, and direct sun on the lens can produce a milky picture, especially at dusk. The monitor fix is a hood or shade, a tilt mount, and an anti-glare screen. The camera fix is a small white shade over the lens — the shade one Haloview owner fitted in 100-degree heat kept both heat and direct sun off the camera. On older combined light-and-camera housings, owners have painted the camera side of the clearance bulb black or disconnected that bulb. Wide-angle cameras also distort distance, so calibrate your guide lines against real objects at five and ten feet. A camera is a superb addition to good driving technique with a truck camper, not a substitute for it.
What I would buy
Load and unload often: a digital wireless observation system with a 7-inch monitor — Haloview BT7 or Furrion Vision S+ — mounted high on the rear wall. Test the signal at highway speed inside the return window. Already own a compatible Garmin RV navigator: the Garmin BC 50, mounted high above the rear door. Have a factory screen you like: a factory relocation kit for your truck brand. Budget is tight: a budget digital wireless kit with a 7-inch monitor, mounted to the ladder so you drill nothing. Buy for the rig you actually have, not the rig in the advertisement.
Frequently asked questions
Do I need a truck camper backup camera, or are extended mirrors enough? Extended mirrors are essential, but they cannot show you the ground directly behind the bumper, and with a tall camper your interior mirror is useless. Most owners use both: mirrors for traffic, camera for backing up and watching a trailer.
Is wireless or wired better for a truck camper backup camera? Wireless is easier to install and to live with when you load and unload the camper, because there is no cable to unplug. Wired is more reliable, with no dropouts and no lag. For a rig under about 20 feet, a good digital wireless system is usually fine. For a long rig, or if you tow behind the camper, wired is safer.
Can I use my truck’s factory backup camera with a camper on? Not as it sits: the tailgate camera is removed with the tailgate, and the camper would block its view anyway. The fix is a relocation kit that mounts a second factory camera on the back of the camper and plugs into the same tailgate-camera connector. Remember to unplug it before unloading.
Why does my wireless backup camera keep losing signal? Usually distance through the camper body, interference, or antenna position. Move the monitor higher and away from other wireless receivers, and try an antenna extension cable that brings the camera antenna forward toward the cab.
Can I use a truck camper backup camera while driving, not just in reverse? Yes, if it is an observation camera wired to a running-light or ignition-switched feed rather than to the reverse lights. A reverse-only camera will only wake up when you shift into reverse, so check how the kit is powered before you buy.