Truck Camper Dustproofing for Dirt Roads That Actually Works
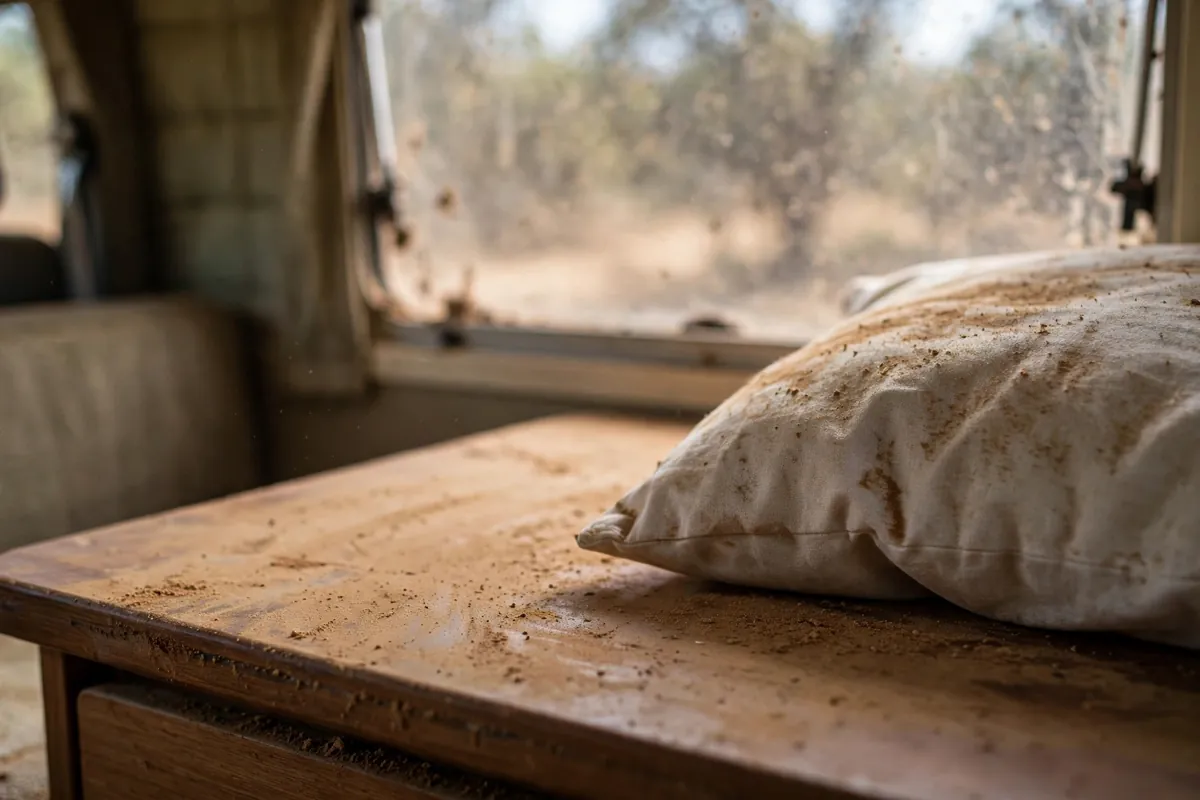
I learned truck camper dustproofing the hard way, on a washboard forest road in Utah. I stopped for lunch and found a fine tan film on everything: the pillow, the inside of the coffee mugs, the laptop keyboard. I had closed every window and vent before I left the pavement, or so I thought, and the camper still looked like it had sat open in a sandstorm.
That is the first lesson. Dust rarely blows in through an open window — it gets sucked in. Seal the big holes first, then change the air pressure, and the dust drops from a coating to a light wipe.
This is not a general driving guide or a boondocking guide. It is only about keeping dust out on dirt and gravel, and getting the rest out when you stop. For the wider driving picture, see my truck camper driving guide.
Why truck camper dustproofing starts with pressure, not just seals
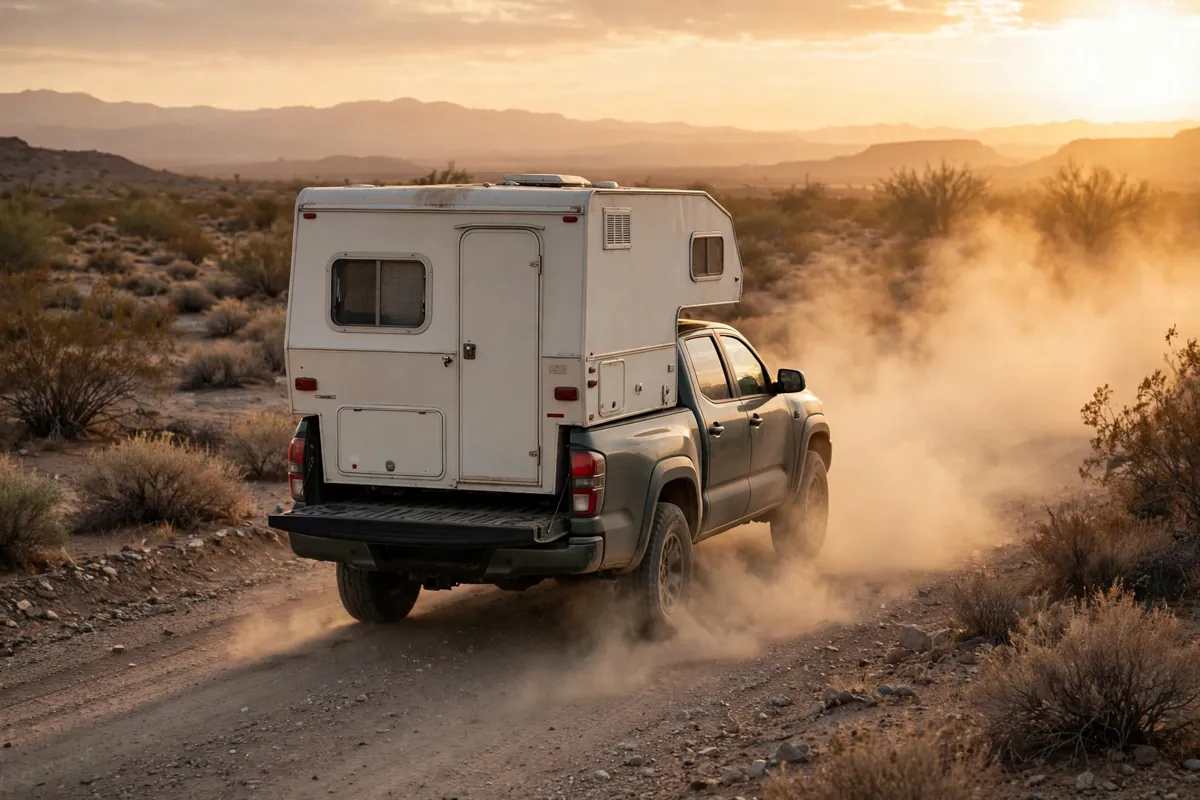
At speed, air tumbles off the cab, the camper overhang, and the tailgate, and the space behind the rig becomes a churning, low-pressure pocket. A closed camper is not perfectly sealed, so air leaks out toward that pocket and dusty air leaks in to replace it through whatever path is easiest. That is why the worst dust often shows up low and at the back first: around the bed, the rear door threshold, and the lower cabinets.
Owners on forums report the same pattern. One owner on Expedition Portal spent two hours sealing his tailgate until no light showed through, then still found Utah dust everywhere. Light is a useful first test, but air turns corners light does not. Owners on the RV Forum make the same point from the other side: a roof fan set to exhaust on gravel can make things worse, because it pulls replacement air — and dust — in through every leak.
Work in this order: find leaks, seal the big ones, fix gaskets, close vents, then use fan pressure to push air out through remaining leaks. Pressure without sealing just moves dust faster.
Find where dust gets in before you buy anything
Do not start with a shopping cart. Start with a dark-camper test: at dusk, close up, sit inside with lights off, and have someone shine a light along door and window frames, roof vents, hatch edges, and the slide-in bed line. Any bright line is a gap — mark it inside with painter’s tape.
Then do the daylight version: close yourself inside on a sunny day and look for daylight around the entry door, rear hatch, and any slide-out. Owners writing about Tundra tailgate sealing swear by this method. Check the spots people forget: door bottom corners, a side window top corner, and access doors for water, battery, and outside shower.
Finally, read where dust landed after your last dirt road. A line along the back floor points to tailgate or rear door; dust on one side only points to a window or vent there; dust inside a closed cabinet points to a vent or pass-through behind it. Write the list down, biggest gap first.
Seal the tailgate gap first
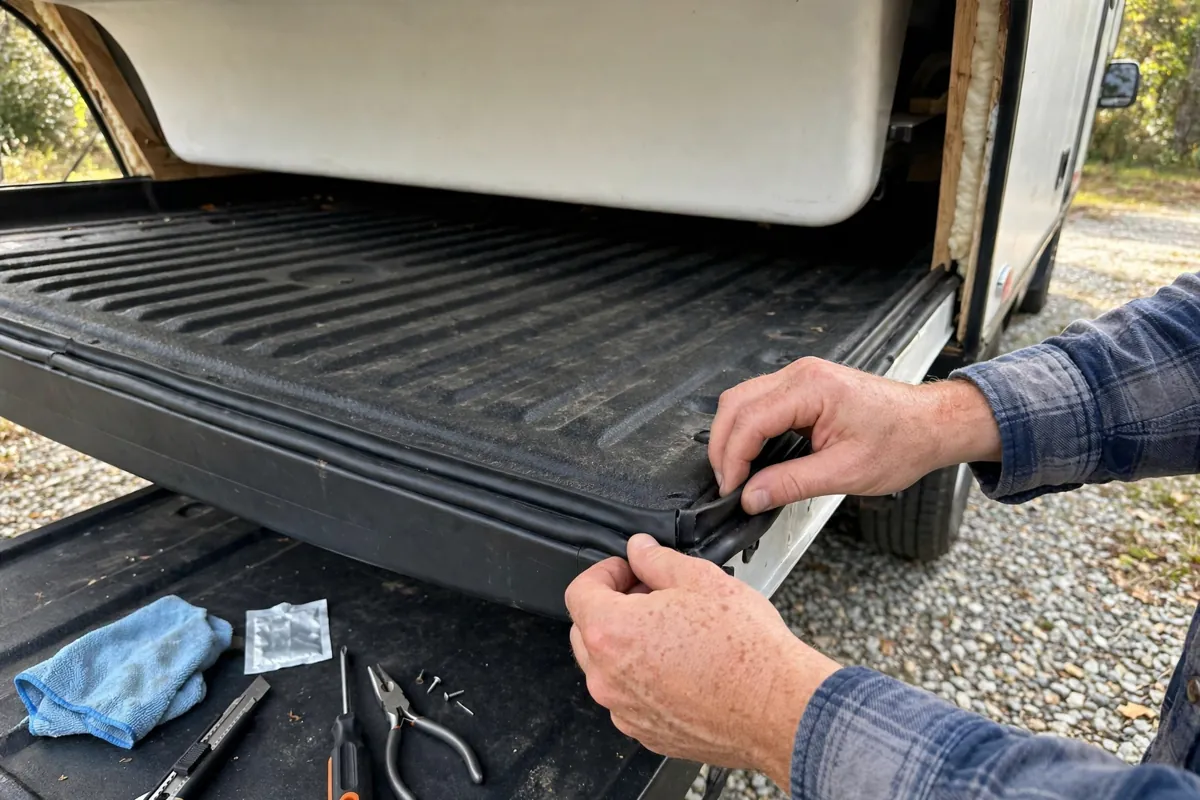
For most slide-in and shell setups, the tailgate is leak number one. A factory bed was never built airtight: drain holes, stake pockets, wiring pass-throughs, hollow rails, and a tailgate closing against metal, not a gasket. Bolt a camper on top and you have sealed the roof of a box still open at the back and underneath.
Owners on Overland Bound and Fiberglass RV forums report the same frustration: they seal everything else, and the tailgate still lets dust in, because it is not one gap. It is three — two vertical sides, the bottom line, and the corners. A single strip does not fix the corners, which is why purpose-made kits ship as several pieces.
The well-known ESI kits use EPDM rubber with automotive-grade adhesive tape, with a wider gap cover for the bottom and a tapered seal for the sidewalls — see the ESI ROK Block tailgate gap cover for the fitting style and compatibility notes. Its fitting notes say to apply when air and surface temperature are between 50 and 104 degrees Fahrenheit and to press firmly to bond the adhesive. I follow that window now.
Wash bonding surfaces, dry them, then wipe with rubbing alcohol. Dry-fit before peeling backing, close the tailgate slowly, and watch compression. Seal bottom first, then sidewalls, then patch corners with offcuts — the corners are where most of my dust came from. Leave it closed for a day if you can.
Do not fill a moving tailgate gap with expanding foam. Owners who tried it ended up with a gate that would not close cleanly and foam crumbs in the bed. Give the same afternoon to stake pockets, drain holes, and the bulkhead, the front wall between cab and bed. Tape over a stake pocket from inside as a one-drive test: if the dust drops, that pocket was a major leak, and a proper cap or fitted plug is the permanent fix.
Door and window gaskets: the seals you touch every day
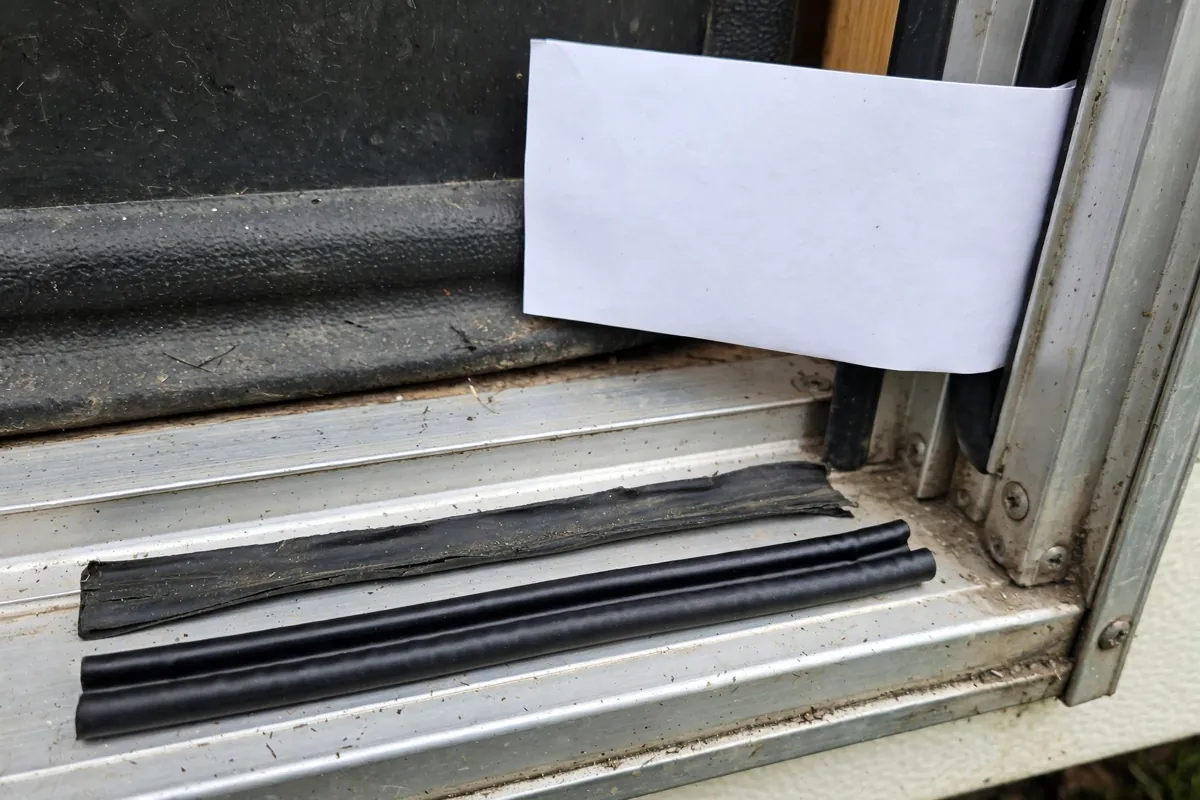
Tailgate done, the entry door is usually next. A door gasket does not fail all at once: it compresses, hardens in sun and cold, takes a set where it latches tightest, and slowly stops springing back — a gap you cannot see, but dust can find.
Do the dollar-bill test. Close the door on a dollar bill at several points around the frame and pull gently. You should feel slight, even resistance all the way around. If it slides out freely at one spot, that spot has lost compression. If you cannot pull it out at all, the seal may be over-compressed there and the door may not be latching squarely.
When you replace a gasket, match the profile, not just thickness. A hollow bulb seal rebounds differently from a solid D-seal, and foam can flatten permanently after a month latched. Clean and dry the channel, do not stretch the new seal — stretched rubber shrinks back and opens a gap at the joint — and put the joint at the bottom center if you can.
For windows, check the gasket and latch. A window not fully latched will vibrate open a millimeter at a time on rough roads, and that millimeter is a dust highway. If the frame itself is loose, tightening the clamp ring from inside — evenly, a little at a time — often fixes a leak that looks like gasket failure.
Condition the rubber you keep: wash with mild soap, dry, and use an RV rubber conditioner, not a petroleum product that can break down EPDM. I do this alongside my truck camper maintenance schedule checks. Clean grit out of latches too — grit stops a latch pulling the door fully tight.
Vent and hatch covers: close what should be closed
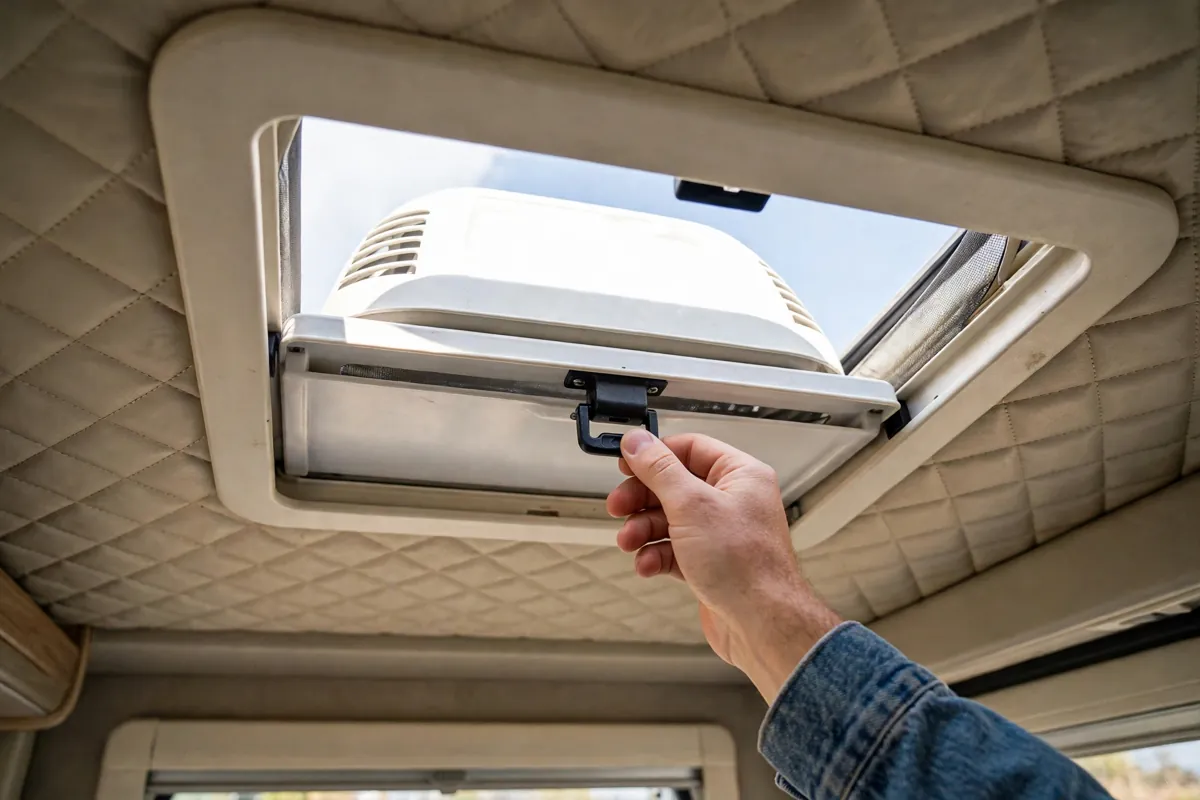
A roof vent cover is not the same as a closed vent. It lets you leave a vent open in rain while parked and protects the lid, but it does not make an open vent dustproof on dirt.
MaxxAir’s own FAQ is clear about the detail that matters here: a properly installed Standard MAXXAIR Vent Cover leaves a half-inch to one-inch gap underneath it, so condensation and wind-blown rain can escape rather than pool on the vent seal, and you should not caulk that gap shut. Filling it to chase dust traps moisture instead. The right move on dirt is simpler: close the vent lid itself, latch it, and let the outer cover do its weather job. If the lid will not latch firmly, fix the latch or lid seal before blaming the cover.
Check the smaller vents too. The stove flap outside should sit flat and latch, not hang half-open after a bumpy road, and the bathroom vent should do the same. Fridge vents are different: never seal them permanently. A gas absorption fridge needs airflow, and blocking its vents while it runs can damage it and create a safety problem. A temporary, removable outside cover for a dusty drive is what some owners use, with a bright reminder to remove it before running the fridge.
Skylights sit in full sun, go brittle first, and leak dust long before rain. Press around the edge for a seal that has hardened or pulled away. If you have a pop-up, check tent fabric too: an untensioned canvas corner, a zipper that does not fully close, or tired Velcro. The habits in keeping bugs out of a truck camper overlap here — a gap that admits a gnat will admit fine silt.
Slide-out seals where applicable
Most truck campers do not have a slide-out. If yours does not, skip this section. If yours does, the slide has to seal in two positions — closed for driving, and open for camping — and its seals wear differently from a door gasket.
When the slide is in for travel, the bulb seal on the outside wall is the dust barrier. When it is out at camp, the wiper seal and inner seal keep wind-blown dust from drifting in around the box. Dust after a dirt drive usually points to the travel position: a bulb seal that has flattened, a corner that does not compress, or debris in the seal track holding the seal open a fraction.
Owners on Forest River Forums report the same problem across brands: daylight under a dinette slide, and dust coming in when the slide is out, even where outside seals look complete, because of a gap inside where the mechanism passes through. Some made inside foam seals after setup; others stuff foam in from outside after parking — always with a reminder to remove it before retracting, or you will damage the seal or slide.
Brush tracks clean before retracting, check the bulb seal for tears and flat spots, and retract slowly while watching corners. If a corner does not compress evenly, stop — often a small stone in the track is the cause, not a failed seal. After dirt, wipe the top of the slide before extending it at camp.
Positive pressure and fan strategy while driving
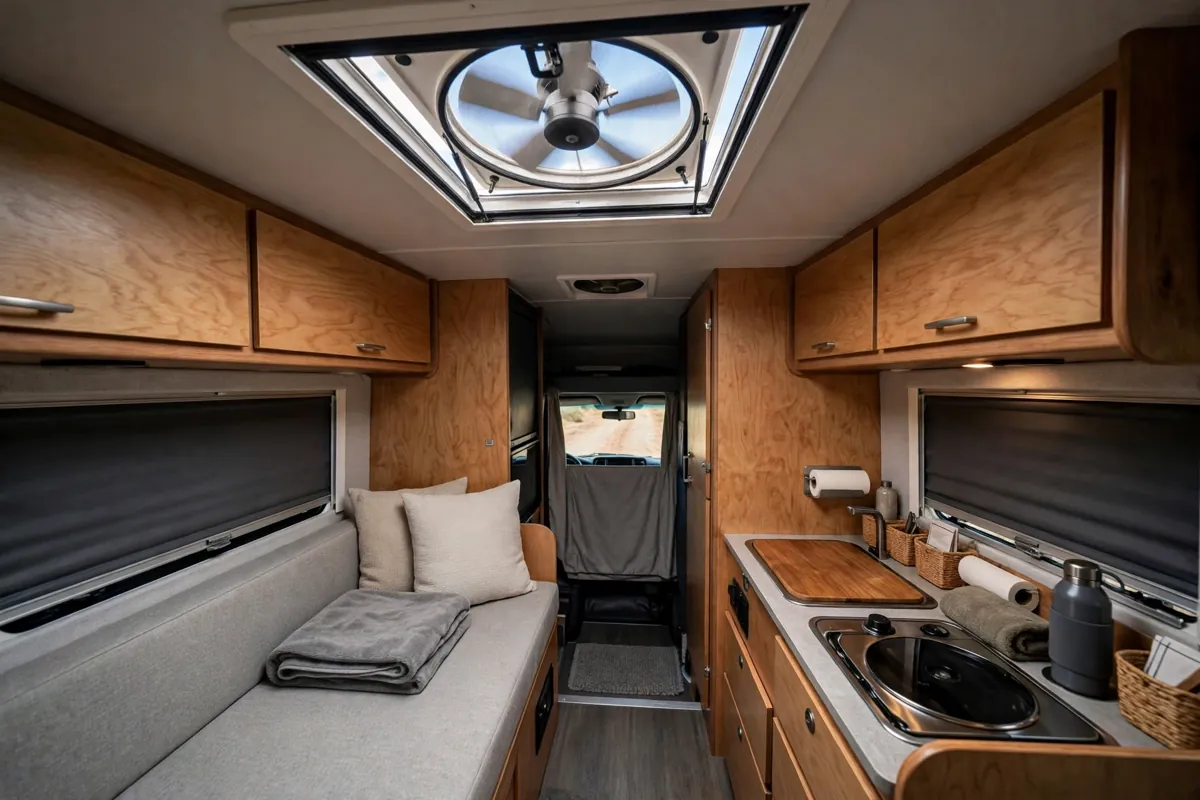
Here is where I made my biggest mistake. For years I ran my roof fan on exhaust while driving. On dirt, that does the opposite: exhaust lowers pressure inside, so the camper sucks dusty air in through every unsealed leak. An owner on the RV Forum described that vacuum effect after eight miles of gravel left his interior filthy, and an Airstream owner wrote that after twenty miles of dirt with vents open and fans on, he was still finding dust two years later.
The fix is to reverse the thinking: on a dirt road, you want inside pressure slightly higher than outside, so air leaks out through the remaining gaps instead of dust leaking in. You need a clean intake, a fan blowing in, and everything else closed.
Three approaches owners use, simplest first. First, the front-slider trick: if truck and camper have aligned sliding windows, opening just the camper slider — with the truck slider closed, or a sealed sleeve between them — lets cab air pressurize the camper. Owners on Overland Bound report this old trick worked well, and owners on WanderTheWest report a similar benefit from a truck-to-camper blower sleeve on high. The key is that air comes from the cab, ahead of the dust cloud, not from a rear vent sitting in that cloud.
Second, the reversible roof fan: set a MaxxFan or Fan-Tastic Vent to blow in before dirt, run it fast, and keep every other window and vent closed. Owners on Airstream forums who switched both fans to blow inward at full power report a dramatic drop in dust. Third, a dedicated filtered intake, high and forward if possible, so the camper is pressurized with filtered air. One Expedition Portal owner fitted a simple forward-and-back roof vent and reported no dust in the back even on slower trails. Clean that filter often — a clogged filter starves the fan.
The caveat matters as much as the trick. Owners on Expedition Portal warn: in a convoy, or stopped with a dust cloud over the roof, an intake fan will pull that cloud straight in. Then turn the fan off, close the vent, and wait for clear air. Positive pressure only helps when intake air is cleaner than the air trying to leak in. Do not run exhaust and intake together, and do not expect a rear-facing vent to pressurize anything — on the move it creates suction, not pressure.
If you only have one weekend, do it in this order: tailgate, stake pockets, and bulkhead; door gasket if the dollar-bill test fails in more than one spot; close and latch every vent; window latches on the dustiest side; slide-out seal and tracks, if you have a slide; then one intake-fan test on a short dirt loop. Test after each step on the same loop, wiping the same shelf, so you know which job to redo when it wears out.
Never seal fridge, furnace, water heater, or propane vents permanently — dust covers there are temporary only.
Cleaning up dust after a dirt-road trip
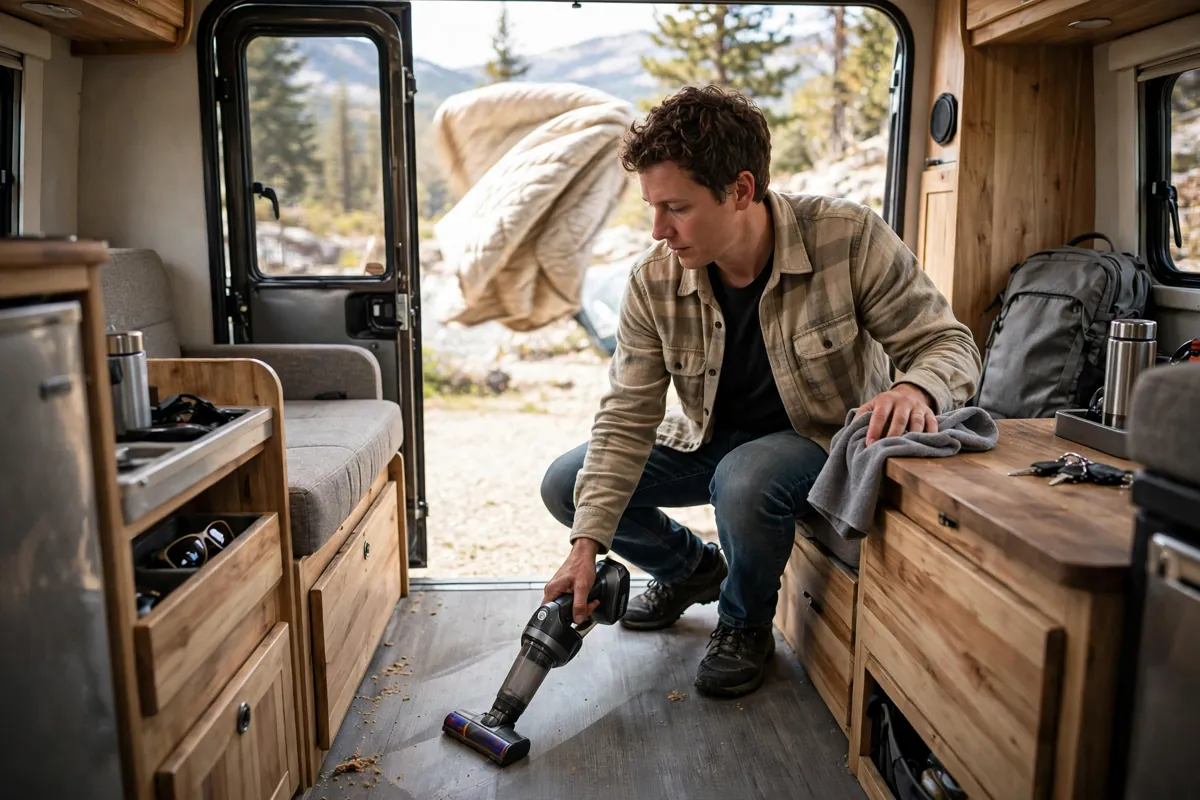
Even a well-sealed camper takes in some dust on a long dirt day, especially fine silt. Cleanup is faster if you do it in the right order, before dust gets ground into fabric. Start dry, then go damp, and work top to bottom.
Shake rugs and bedding outside, away from the open door. Vacuum first: floors, mattress seams, cushion crevices, cabinet tops, and door and window tracks, where grit grinds seals every time you close them. A small cordless vacuum lives in my camper for this job.
Then wipe hard surfaces with a barely damp microfiber cloth, not a soaking one — over-wet dust turns to mud. Clean vent screens and fan blades, because a dusty fan blows yesterday’s dust around next time. Check a filtered intake before the next dirt day, not after three more. Wash bedding if it took a direct hit, and use a lidded bin or zip bag for bedding and towels on dirt days.
Finally, walk your seal list again while the dust is fresh. Which shelf was worst? That is your next seal job. Wipe door and tailgate gaskets clean — grit left in a gasket creates the next gap. For settling in after a remote drive, my boondocking and dispersed camping guide covers site choice and camp setup.
Frequently asked questions about truck camper dustproofing
Can you make a truck camper completely dustproof?
In practice, no, not on a truly dusty road. You can cut dust dramatically — from a coating on everything to a light film you wipe in minutes — by sealing the tailgate, fixing gaskets, closing vents properly, and using intake pressure on dirt. Owners who sealed a tailgate perfectly and still found silt inside learned the same ceiling: sealing alone has a limit, and pressure is the next step.
Should I run my roof fan on intake or exhaust on a dirt road?
Intake, with everything else closed, if the intake air is clean. Exhaust lowers pressure inside and pulls dust in through leaks. Intake raises pressure slightly and pushes air out through leaks. Turn the fan off and close the vent if you are following another vehicle in its dust cloud or stopped in a cloud — then the intake would pull the cloud straight in.
Do vent covers keep dust out?
A vent cover protects a vent from rain and debris and lets you use it while parked in wet weather, but an open vent under a cover still admits dust on a dirt road. MaxxAir notes that a properly installed standard cover leaves a half-inch to one-inch gap underneath, which you should not caulk shut. On dirt, close the vent lid itself and latch it.
How often should I check camper seals?
Check twice a year — before and after dusty season — and after any unusually dusty trip. Replace when the dollar-bill test fails in more than one place, or rubber has hardened or cracked. Conditioner delays wear; it does not rescue a cracked seal.
Truck camper dustproofing is not one purchase. It is a short list, worked in order, tested on a real dirt loop, and maintained like tires and brakes. Do the tailgate this weekend, the door gasket next, and the next dirt road will feel like a different camper.