Truck Camper Off-Road Guide: Trails, Clearance, and Setup That Actually Works
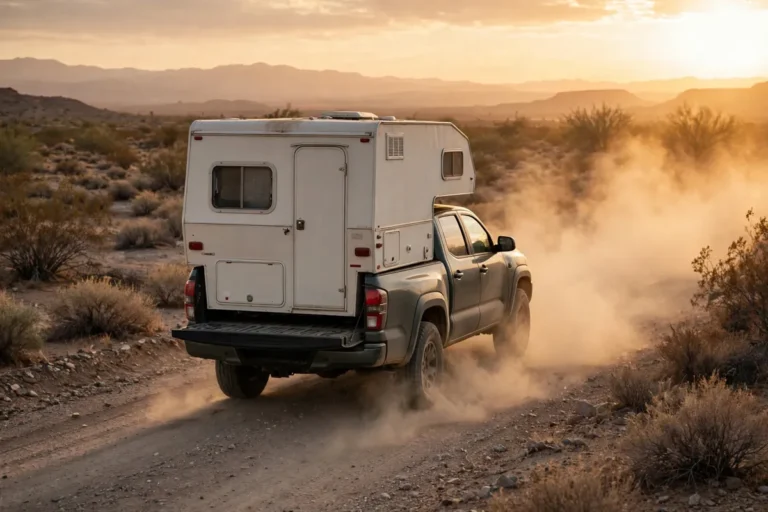
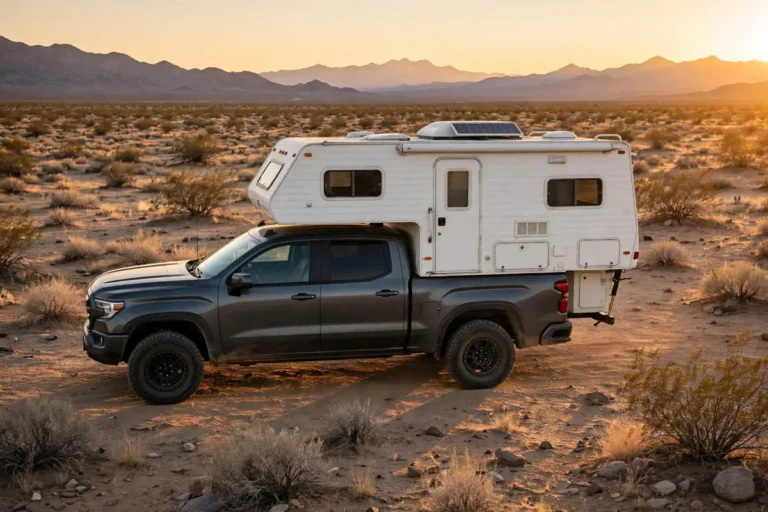
The first time I pointed my loaded truck down a real dirt trail, I learned something no brochure had told me: a truck camper off-road is a completely different animal from the same truck on pavement. On the trail it felt tall, tippy, and wide, and every rock seemed aimed at the camper’s overhang. I made it to camp that day. The real question is which trails, at what speed, with what setup — and when do I stop and walk?
The honest answer is yes — truck campers are one of the best ways to get a real bed and a heater into places no trailer can follow. This guide covers trail capability and setup; highway technique is covered in our truck camper driving guide — what follows picks up where the pavement ends.
What “Off-Road” Actually Means With a Camper On
Your truck’s off-road ability and your camper’s are two different numbers, and the lower one wins. Your truck alone might crawl over rocks without a care. Put 1,500 to 3,000 pounds of camper in the bed and raise the center of gravity a couple of feet, and the same trail becomes a different proposition.
Think of it in three tiers. Tier one is graded dirt and gravel forest roads — almost any truck camper handles these. Tier two is rutted two-track, moderate washboard, rocky sections, and steep loose climbs. Tier three is rock crawling, deep mud, boulder fields, and off-camber shelves. That tier is not a truck camper’s job.
Angles and Clearance: The Numbers That Decide Your Trail
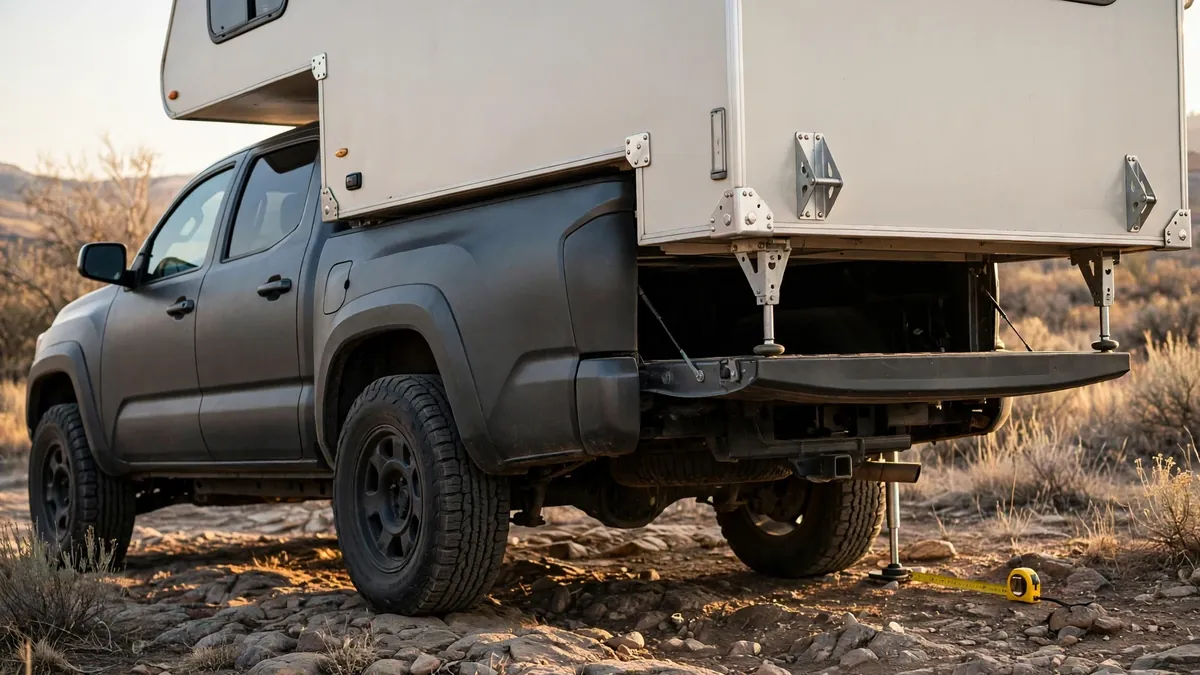
Learn three angles before you pick a trail. Approach angle is how steep a slope your front end can climb without hitting first. Departure angle is the same at the back, and this is where truck campers suffer, because the camper’s rear overhang hangs low and far behind the rear axle. Breakover angle is how sharp a crest you can straddle without high-centering. With a camper loaded, all three get worse as the truck squats and the rear overhang drops.
Ground clearance tells the same story: the brochure number was measured empty, and a loaded camper adds low points the brochure never mentions — jack brackets, entry steps, the grey-water outlet.
So measure your own rig, loaded as you travel: clearance at the lowest point, rear overhang, and total height.
4WD High vs Low: When to Use Each on Trails
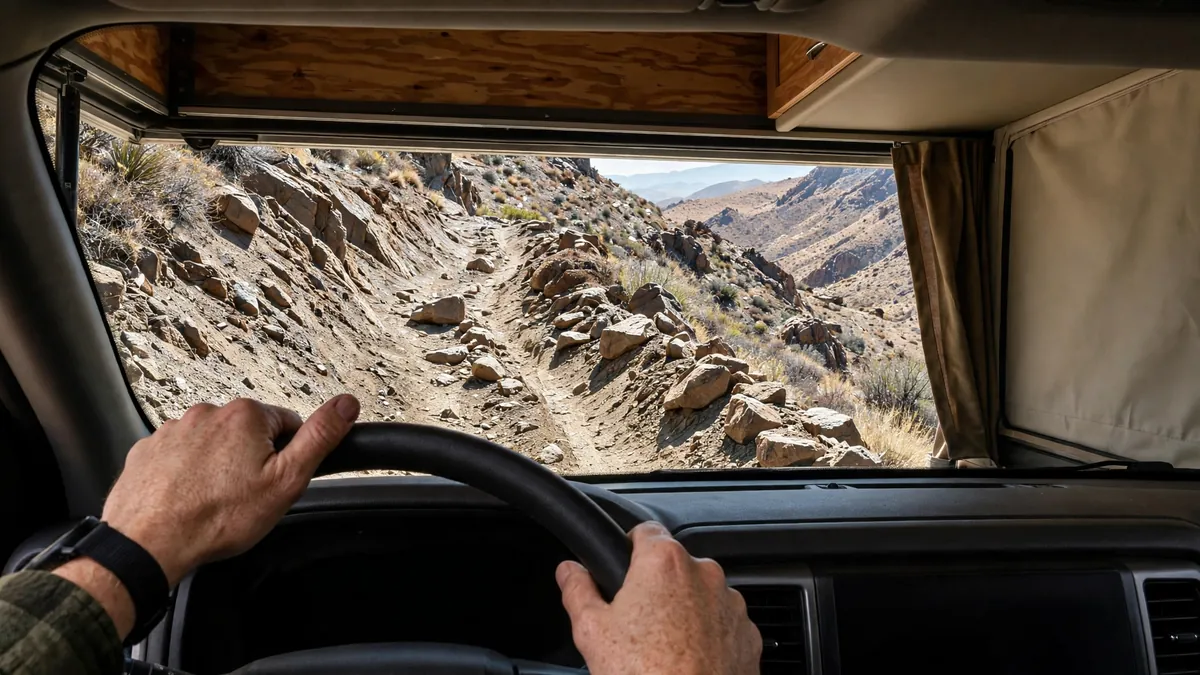
Four-wheel-drive high is for loose surfaces at normal trail speeds — gravel, dirt, sand, light snow. Four-wheel-drive low is for slow, technical work: steep climbs and descents, rock steps, and deep ruts, where you need maximum torque and engine braking at walking speed. On a steep descent, low range plus first gear lets the engine hold the rig back without riding the brakes.
Use 4WD to get out of trouble, not into it: if you’re thinking “I might need low range for this,” stop and walk the section first. Low range needs a near-stop — check your manual. Know whether your truck has a locking rear differential: on a rutted climb where one rear wheel dangles, a locker is the difference between crawling up and spinning in place.
Washboard Roads: The Slow Killer of Campers
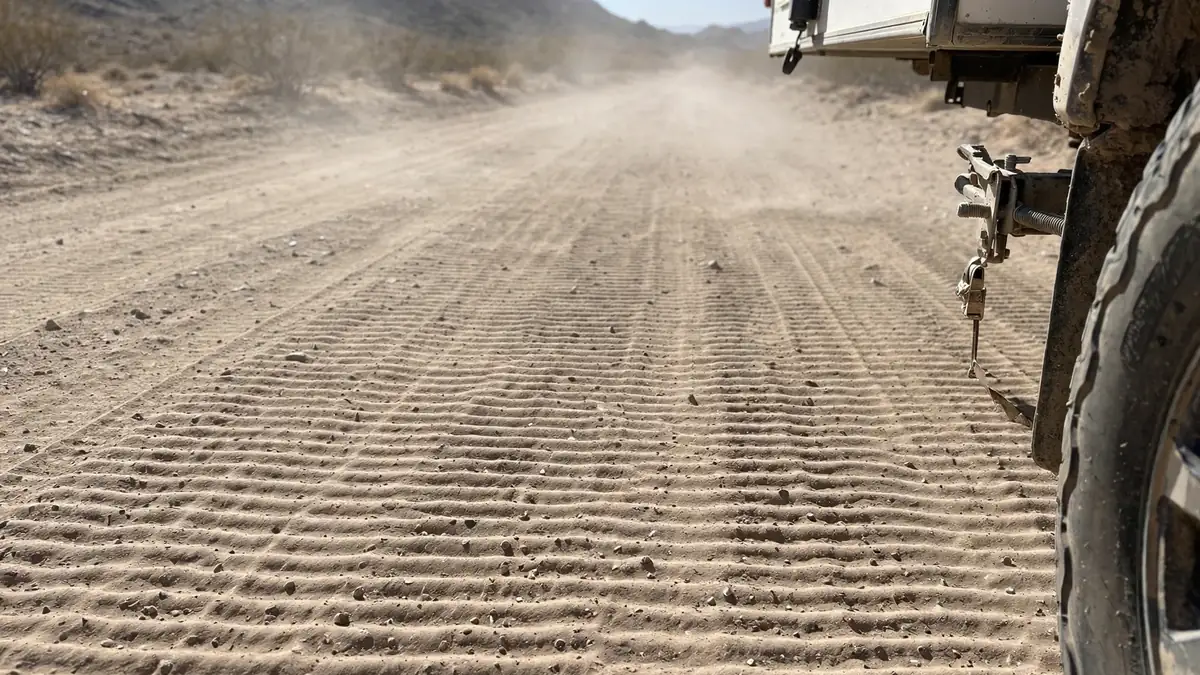
If one surface destroys truck campers quietly, it’s washboard: the ripples look harmless, but at the wrong speed they shake a camper like a paint mixer.
Owners on WanderTheWest report the same pattern: washboard trips that ended with hoses shaken loose and a shock broken off its mount — and, again and again, turnbuckles worked slack. One owner lost a turnbuckle entirely on a rough desert road; his fix, now widely copied, was jam nuts on the threads so vibration can’t back them off.
Speed is the lever, and it’s counterintuitive: crawling at 5 mph can feel worse than a steady 20 or 25, because your tires drop into every ripple. Many owners find a “sweet spot” fast enough to skim the ripple tops — but there’s no universal number, so check your turnbuckles and jacks after every long rough stretch. Airing down helps too, and the dust washboard kicks up gets into everything — our truck camper dustproofing guide for dirt roads covers sealing the gaps that let it in.
Airing Down: The Basics (and the Limits)
Airing down drops tire pressure so the contact patch grows longer and softer: the tire conforms to rocks and ruts, traction improves, and the ride smooths out — the single cheapest capability upgrade on a trail.
Think in percentages: roughly 65 to 75 percent of highway pressure for rough roads and washboard; toward half for soft sand, mud, or snow — but only at very low speeds. Never drive on pavement aired down, and never go so low you risk rolling a tire off its bead — the Overland Expo recovery guide puts the danger zone around 10 to 15 PSI.
The catch is weight: your rear tires carry far more than an empty truck’s. Our truck camper tires and load ratings guide covers load ratings and pressures in full. Know your loaded axle weights, stay within your tires’ load rating, and test any number you read online on easy ground first. A portable compressor is non-negotiable: air down at the trailhead, air up before the pavement.
Recovery Gear That Actually Matters for a Top-Heavy Rig
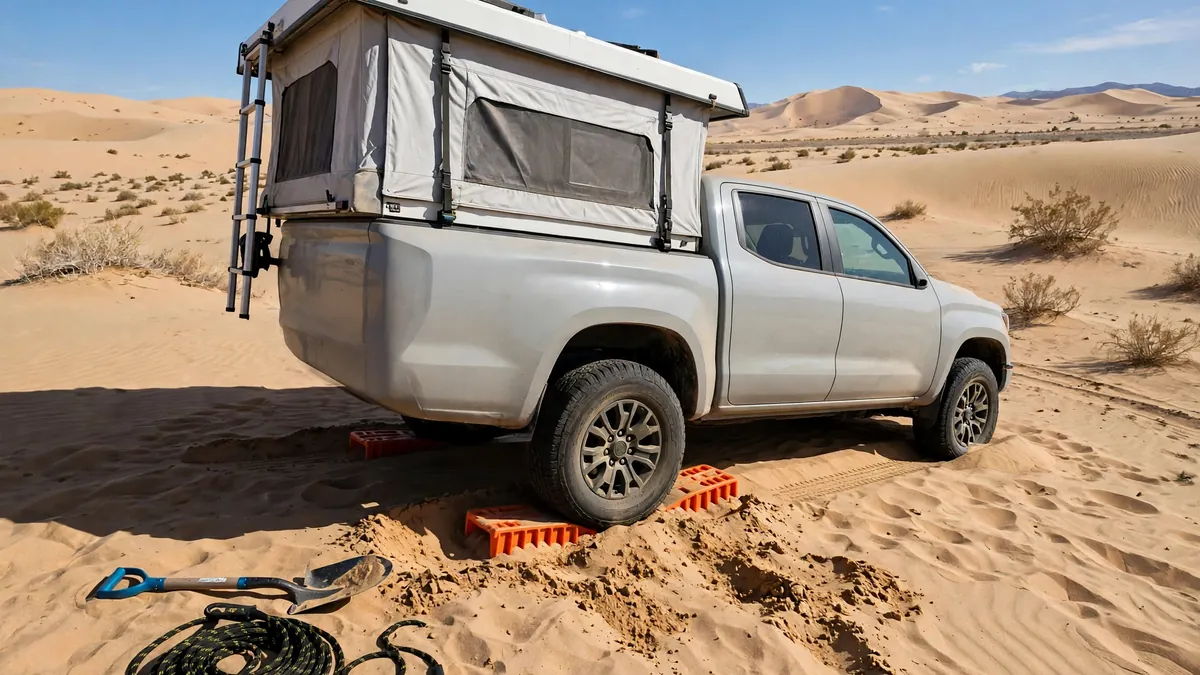
A top-heavy rig gets stuck differently: you’re heavier, your center of gravity is higher, and wheelspin digs you deeper while rocking the camper. The gear that earns its space:
Traction boards first: most stucks are lost traction, not buried to the frame. Dig out in front of the tires, wedge the boards under the drive wheels, and drive out gently in low range.
A kinetic rope or snatch strap, rated at two to three times your loaded gross weight, with soft shackles — attached only to rated recovery points, never a tow ball, tie-down, or bumper. A tow ball under snatch load can snap off and become a projectile, and Overland Expo’s recovery guide is blunt that failures usually happen in the first two seconds. Everyone stands well clear, never in line with the strap.
A winch is worth it if you travel solo on real trails — slow, controlled, no second vehicle needed. But it’s only as good as its anchor, so carry a tree-saver strap, a snatch block, and a winch blanket, and practice on flat ground first. Our truck camper emergency kit and self-rescue guide covers the full kit. Skip the high-lift jack — awkward and dangerous on a loaded camper.
Camper Flex and Frame Stress: Why Hard-Sides and Pop-Ups Behave Differently
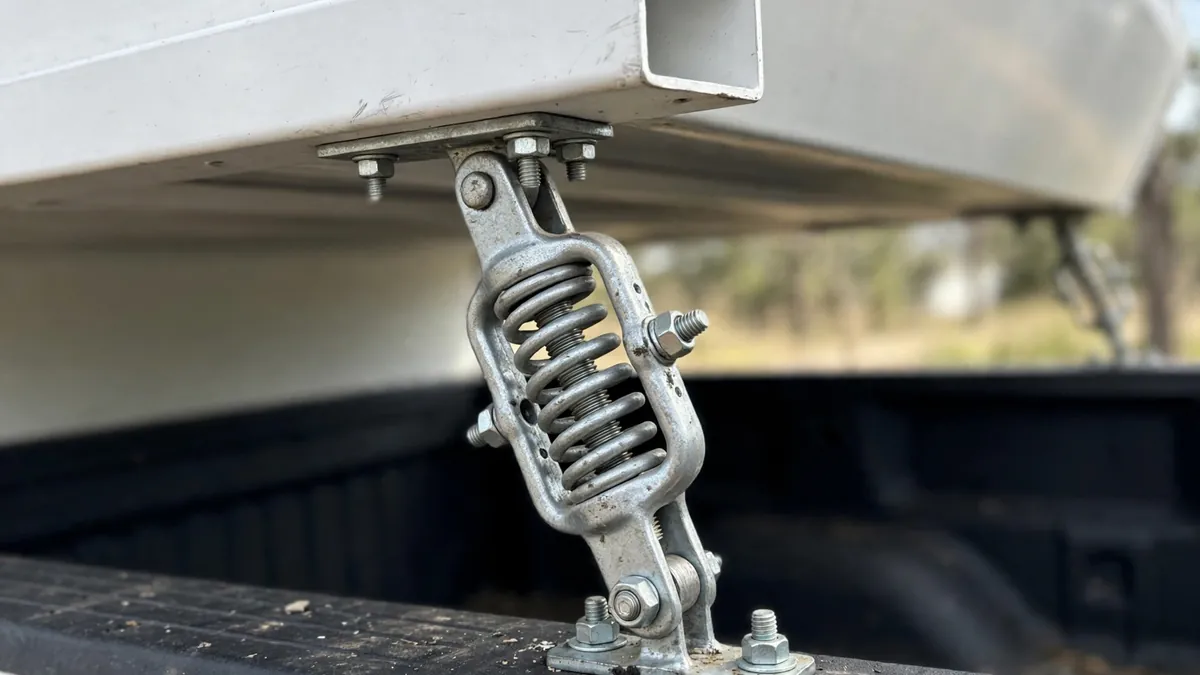
Your truck’s frame is designed to twist as the axles articulate over uneven ground. The camper in the bed doesn’t want to twist the same way, and the four tie-downs become the battleground.
On a hard-side camper, especially an older wood-framed one, this is a real failure mode: owners on Expedition Portal have documented eye bolts pulled clean through camper frames, and damage at all four tie-down points on campers never in a crash — just driven on rough ground with over-tight tie-downs. The fixes owners share: spring-loaded turnbuckles up front, never cranking tie-downs tighter than spec, and on seriously twisty ground, deliberately loosening them a touch so the camper moves with the truck instead of fighting it.
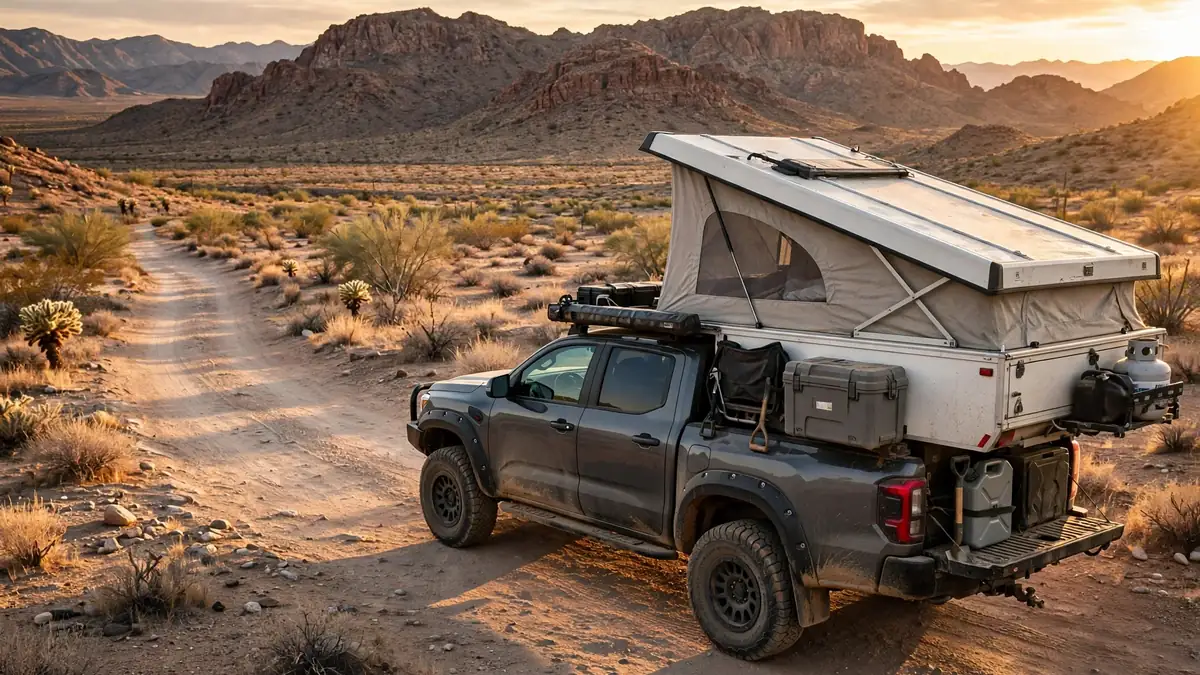
Pop-ups handle this differently: the aluminum frames on pop-ups like Four Wheel Campers are designed to flex — owners on WanderTheWest report that many frame joints are deliberately not fully welded, so the structure bends instead of cracking. The trade-off is stress cracks, often around the door frame, when the frame underneath has taken damage: one owner’s door-frame cracks kept returning after two warranty repairs, and the diagnosis was a cracked internal frame member.
The rules are the same for both types: don’t over-tighten tie-downs — follow your system’s spec, not your gut. Check turnbuckles after every rough stretch, because vibration loosens them. One owner on WanderTheWest had a turnbuckle straighten out and a bed bracket bend after just a two-mile 4WD road in the Sierras; the fix other owners recommended was lock nuts and a check before every trail. Never jack the camper on uneven ground with the tie-downs still tight.
Truck Camper Off-Road Capability: Which Campers Are Genuinely Trail-Capable?
Start with weight and center of gravity: a lighter camper is more capable, more stable, and kinder to its tie-downs. A pop-up that collapses to cab height has a lower center of gravity than a hard-side towering over the cab. That’s why pop-ups dominate the serious trail scene — the physics favor low and light.
The right hard-side on the right truck is plenty capable for tier-one and tier-two trails — short-bed camper on a long-bed truck, minimal rear overhang, weight well inside payload and axle ratings. What struggles: big hard-sides with long overhangs and heavy rear storage on half-ton trucks already near payload. Weight distribution matters as much as total weight: heavy gear stored high and far back raises the center of gravity and unloads the front axle. Keep heavy things low and forward.
If you’re choosing between pop-ups, the differences are mostly size and fit. Our Four Wheel Camper Fleet vs Swift vs Hawk comparison walks through which model fits which truck: the smallest camper that meets your needs is the most trail-capable one.
Trail Etiquette and Knowing When to Turn Around
Stay on designated routes. Tread Lightly’s T.R.E.A.D. principles are the standard — their 4×4 tips page covers it plainly: travel only where four-wheel drive is allowed, drive over obstacles rather than around them, cross streams only at designated fords, avoid wet trails when you can.
The judgment call that matters most is the turn-around. My rule: if I can’t see the exit, I stop and walk. If the trail narrows and I can’t see a turnaround ahead, I stop. If I’m alone, I stop sooner — solo travel means no second vehicle to pull you out. Travel with a group when you can, and don’t turn around on narrow roads or steep ground — back up until you find a safe place.
Walking a trail section first is not a sign of inexperience. Walk the line, check the ruts, look for the rock hiding under the bush. Five minutes on foot can save five hours of recovery. And an off-road truck camper owner has an option almost nobody else does: you can drop the camper. Find a flat, legal spot, unload it on its jacks, and scout the trail in the empty truck. Where you can legally stay once you’ve reached camp is a separate question — our boondocking and dispersed camping guide covers that side of it.
Water Crossings and Mud: The Judgment Calls
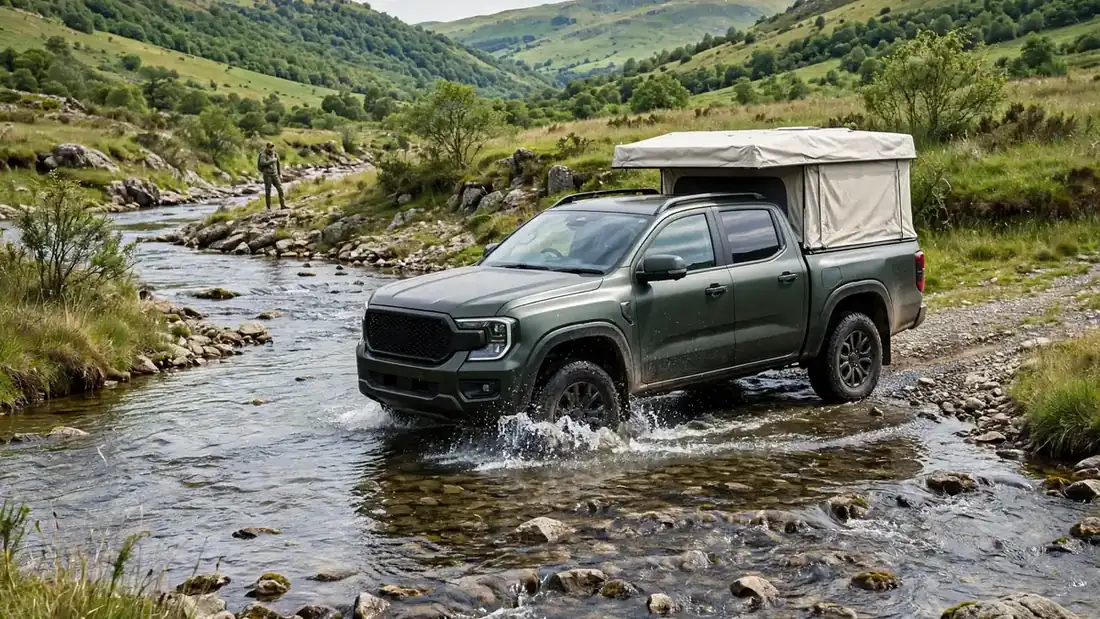
Water crossings scare me more than rocks: the consequences of a wrong guess are worse and the depth is harder to judge. Never cross water you haven’t walked first. Check the depth, the bottom — firm gravel is crossable, soft silt is a trap — and the exit, often steeper and looser than the entry. If the water is above your hubs, think very hard. If it’s near your door sills, don’t go: water in the cab and differentials is a trip-ending problem, and an engine that ingests water can be a truck-ending one. Cross slowly in low range, keeping a small bow wave ahead of the truck, and never stop mid-stream. Owners on WanderTheWest tell of a rig sliding sideways into deep water in a Utah wash crossing, the camper shifting hard enough to bend a mount and gouge the bed rail.
Mud is the same judgment. Walk it, and check the bottom with a stick — if the stick sinks without hitting anything firm, your truck will too. Stay in the established ruts when the ground is soft: the ruts are the compacted line, and the ground beside them is usually softer. Keep steady momentum in low range and don’t spin the wheels — spinning digs you in. If you get stuck, stop before you make it worse. Dig first, boards second, winch or strap third.
Pre-Trail Checklist: Before You Leave the Pavement
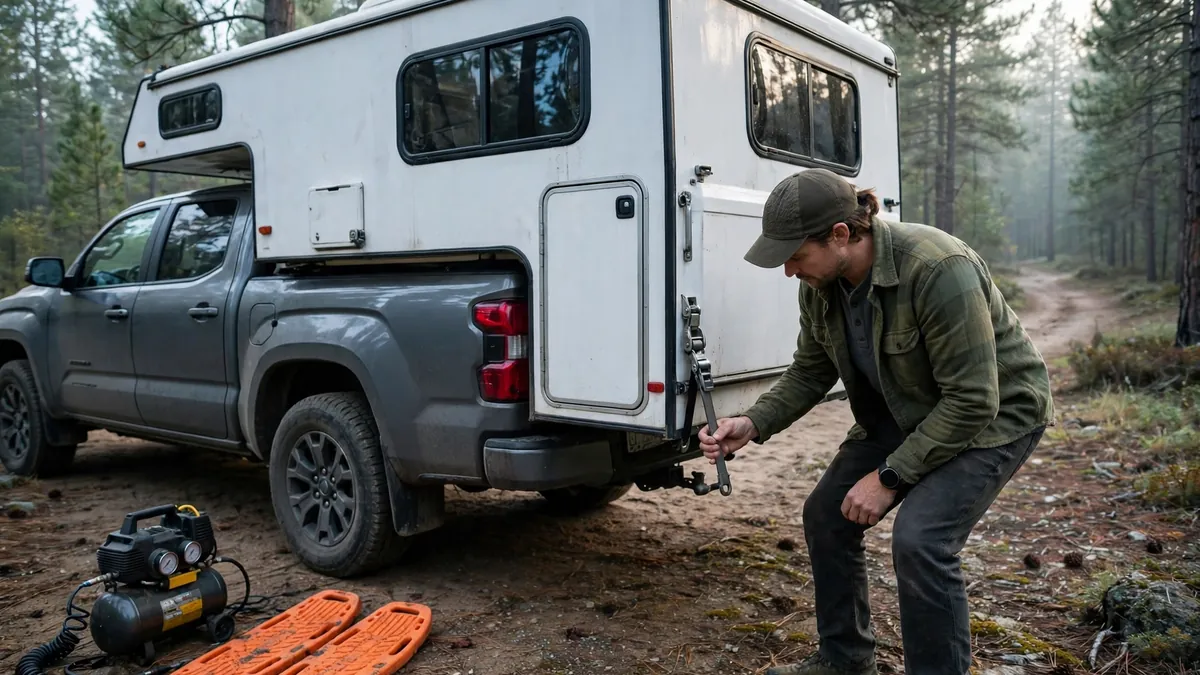
Run through this at the trailhead, every time. The rig: tie-downs and turnbuckles snug and even — hand-check all four, look for bent hooks and cracked welds. Jacks fully up and locked, steps in, nothing hanging below the camper. Roof vents closed, roof loads tied down. Inside, latch cabinets and the fridge, and secure loose gear — a sliding cooler on a side slope changes your center of gravity at the worst moment. Tires: pressures set for the trail, sidewalls inspected, spare accessible and inflated. Fuel: at least half a tank.
The plan: know your route, where it ends, and the way out. Check the weather, and tell someone where you’re going and when you’ll be back.
The gear: traction boards, shovel, kinetic rope and shackles, compressor and gauge, tire repair kit, tools, flashlight, first aid, and food and water for an extra night.
Frequently Asked Questions
Can I take my truck camper off-road?
Yes, within limits. Graded dirt roads and moderate two-track suit a properly set up truck camper, especially a lighter pop-up. Rock crawling, deep mud, and extreme off-camber terrain are not a truck camper’s job.
Do I need 4WD for a truck camper off-road?
For anything beyond smooth graded dirt, yes. Four-wheel-drive high covers most trail driving, and low range is essential for steep, rocky, or loose sections.
How much should I air down my truck camper tires?
Think in percentages: roughly 65 to 75 percent of highway pressure for rough roads and washboard; less for soft sand or mud, only at very low speeds. Stay within your tires’ load ratings and carry a compressor to air back up before pavement.
Will off-roading damage my truck camper?
It can, and the damage is usually cumulative. Washboard vibration loosens turnbuckles, bolts, and fittings; frame twist stresses tie-down points, especially on rigid hard-sides with over-tightened tie-downs. Check turnbuckles after every rough stretch.
Should I get a pop-up or a hard-side camper for off-road use?
If trails are your priority, a pop-up has the edge: lower collapsed height, lower center of gravity, less weight, and a frame designed to flex. A hard-side works fine on moderate trails but demands more care with tie-down tension and route choice. The smallest, lightest camper that meets your needs is the most trail-capable one.
What should I do if I get stuck with a camper on?
Stop before you dig deeper. Get out, assess what’s holding you, and try the cheapest fix first: dig out in front of the tires, air down further, and place traction boards under the drive wheels. If another vehicle is present, a kinetic rope to rated recovery points is next; a winch is the solo option. Never attach a strap to a tow ball or tie-down.
Disclaimer: Off-roading with a truck camper raises the risk of rollover, structural damage, and getting stuck in remote places. Know your rig’s limits, stay within your truck and camper manufacturers’ ratings, and never attempt terrain beyond your skill or equipment. This guide reflects owner experience, not professional off-road instruction — consider a hands-on 4WD course before tackling difficult trails.