How I Built My Ultimate Four-Season DIY Truck Camper: Lightweight, Comfortable, and Built for Real Adventure
I’ve tested dozens of camping setups over the past decade—from ground tents in Utah dust to rooftop tents in Colorado winters and everything in between. And after enough cold nights, soggy gear, and cramped quarters, I realized something: nobody makes the perfect adventure rig for people who actually get out there.
So I stopped waiting and built it myself. Here is my journey of DIY truck camper.
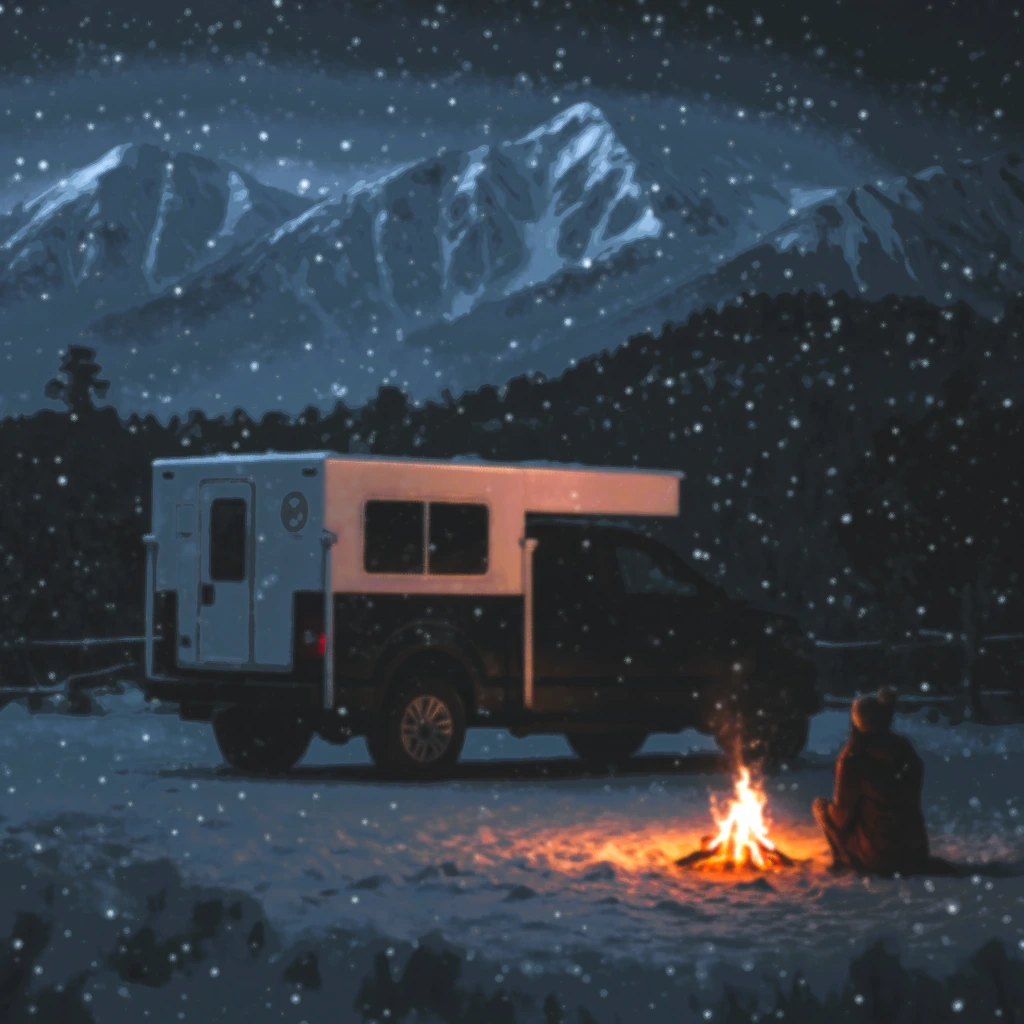
What you’re looking at here is the result of six months of nights, weekends, and deep YouTube rabbit holes—a fully customized, ultralight, four-season truck camper that’s warm, efficient, and made to live out of in the backcountry. It sits on my Toyota Tundra, and it’s built from a modular shell I finished from the inside out. Every system is tuned to what I actually need—nothing more, nothing less.
Why Build It Myself?
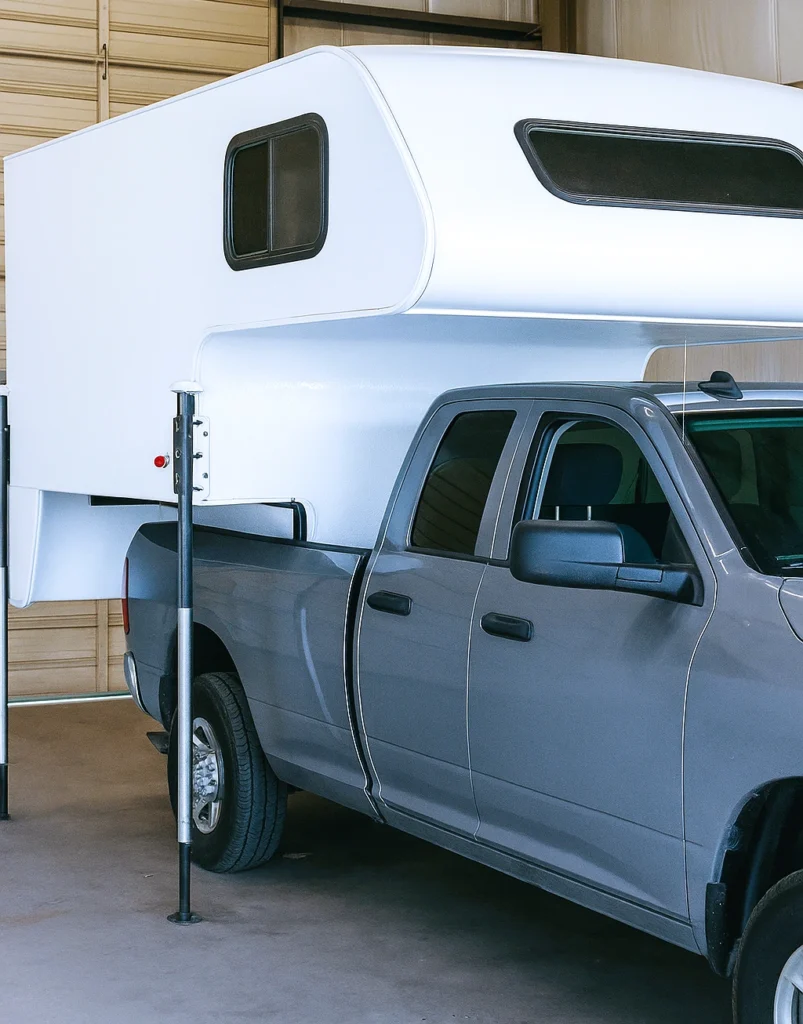
There’s no shortage of overland rigs and truck campers on the market today. But between the $40,000 price tags, massive weights, and subpar insulation, I kept running into the same problems:
- Poor winter performance
- Bad space design
- Overbuilt, overweight features I didn’t need
- Limited floor plans
- Zero flexibility
I’m a skier, hunter, and year-round camper. I need something that works just as well at 10,000 feet in February as it does in July on a dusty forest road. That meant solid insulation, a real heater, and enough room to cook, sleep, and dry wet gear—without towing a trailer or daily-driving a van.
So I chose a modular composite camper shell and built the interior from scratch.
The Camper Shell: Lightweight and Warm—Without the Bulk
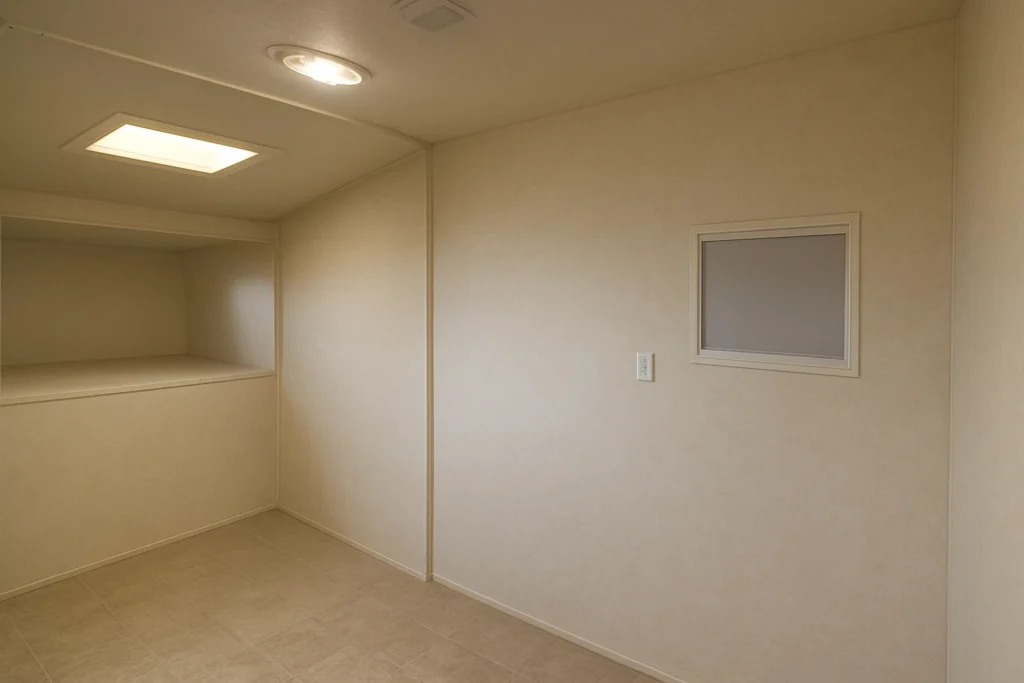
I went with a high-performance composite shell, similar to what you’d see on Unimogs or expedition trucks. It’s made of fiberglass-reinforced panels with a polyurethane foam core—R-12 insulation across the board. No studs, no metal framing, no thermal bridging. That’s crucial for winter camping, because it eliminates interior condensation.
The entire shell (before windows and doors) weighed under 800 lbs. That gave me a huge head start on keeping my final build light enough for a half-ton truck. I got the estimated weight I should stay in through the truck camper compatibility checker.
Interior Layout: Simple, Efficient, and Dog-Friendly
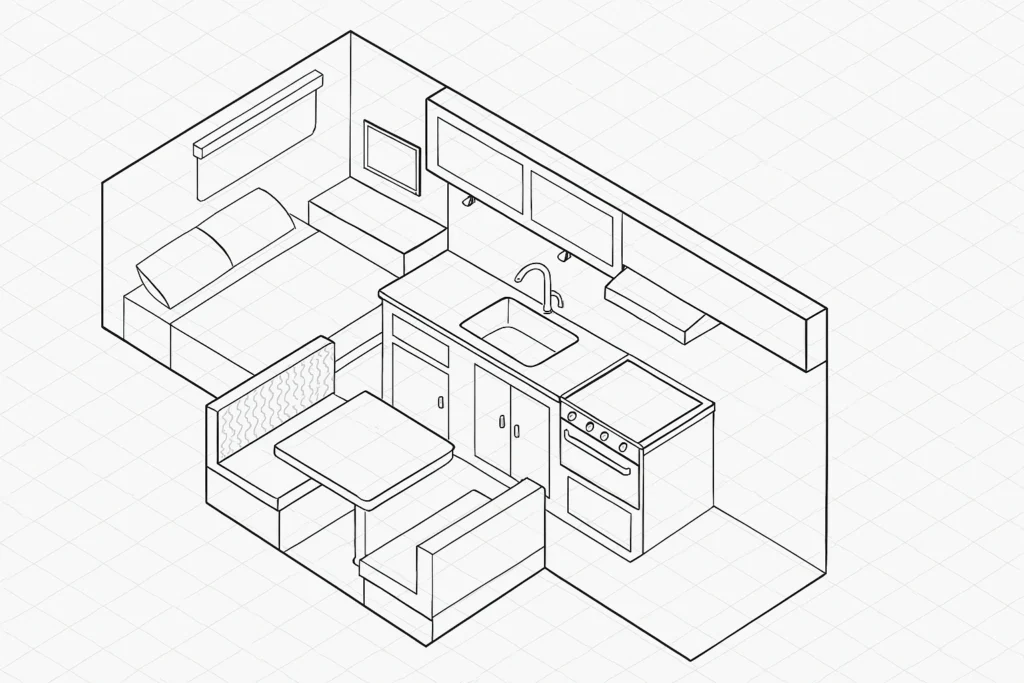
Planning is half the battle—SketchUp helped me dial in the layout.
I started with one key rule: keep the weight forward and low. That meant putting my galley, stove, battery system, and water tanks against the front wall of the camper—just behind the cab.
With two dogs in tow and a partner who camps year-round with me, I also prioritized open floor space. That ruled out bulky cabinetry along the sides or oversized seating. I took inspiration from professional upfitters like Pronghorn and van builders I’d seen online.
The result: a central aisle wide enough to stretch out in, bench seating that doubles as gear storage, and a galley that makes cooking fast and clean.
Building the Galley: Baltic Birch and Good Friends
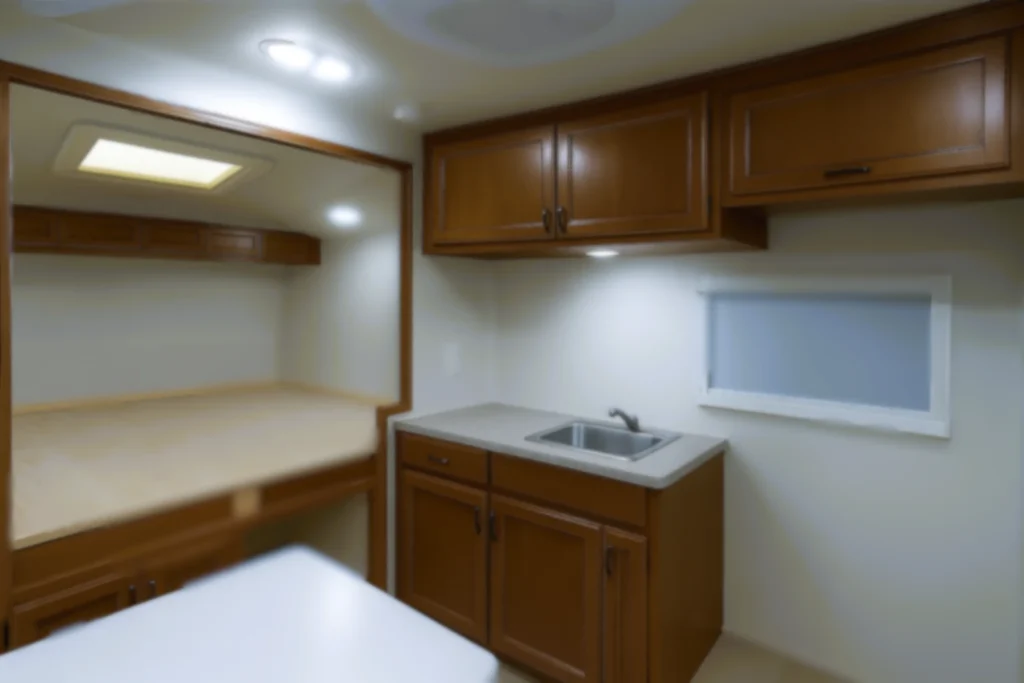
I had zero carpentry experience when I started, so I relied on smart friends, SketchUp models, and a lot of trial and error. I used ¾” Baltic birch plywood for strength and lightness, plus construction adhesive to attach everything to the camper walls (since you can’t screw into foam core).
Tools used:
- Cordless drill + impact driver
- Circular saw
- Pocket-hole jig
- Table saw (borrowed)
- Wood clamps
- Wire crimpers
I considered using extruded aluminum (80/20), but wood was cheaper, faster, and more forgiving. I wouldn’t change a thing.
Electrical System: Lithium Power and Full Off-Grid Control
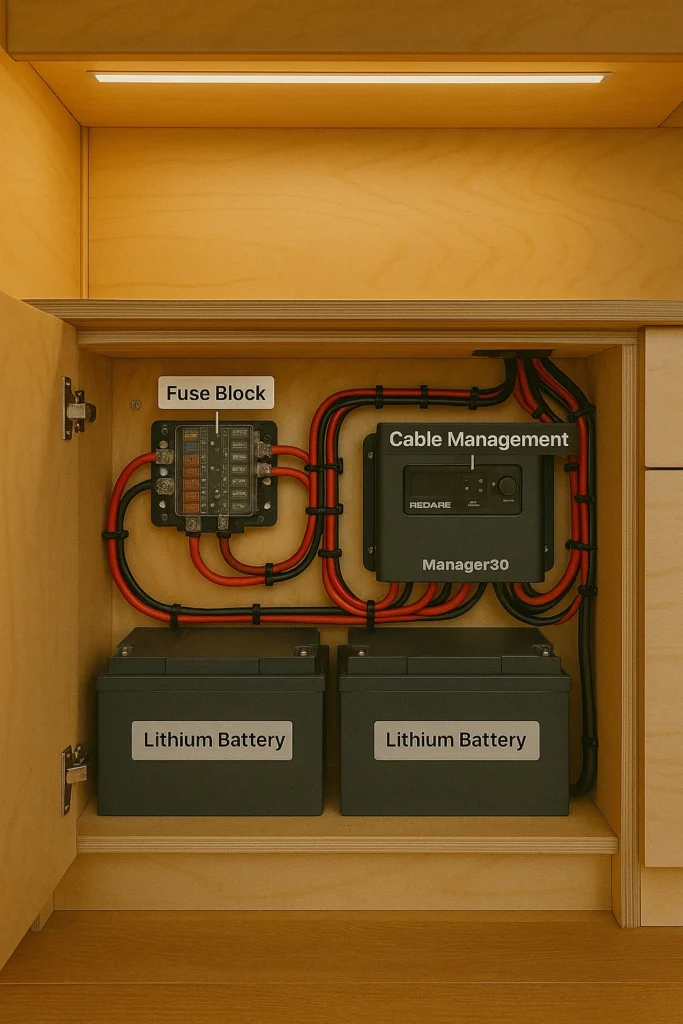
This build runs two 100Ah lithium batteries. They’re half the weight of AGM or lead-acid, can be fully discharged, and are rated for thousands of cycles. They’re also self-heating, which is critical for cold climates.
The brains of the system is a Redarc Manager30—a full power management suite that handles solar, shore, alternator charging, and monitoring in one box. Wiring is simple, intuitive, and rock-solid. A 200-watt solar panel on the roof keeps things topped up indefinitely.
Lights, fridge, water pump, and USB ports all run off a fused 12V distribution block.
Water System: Simple, Clean, and Winter-Proof
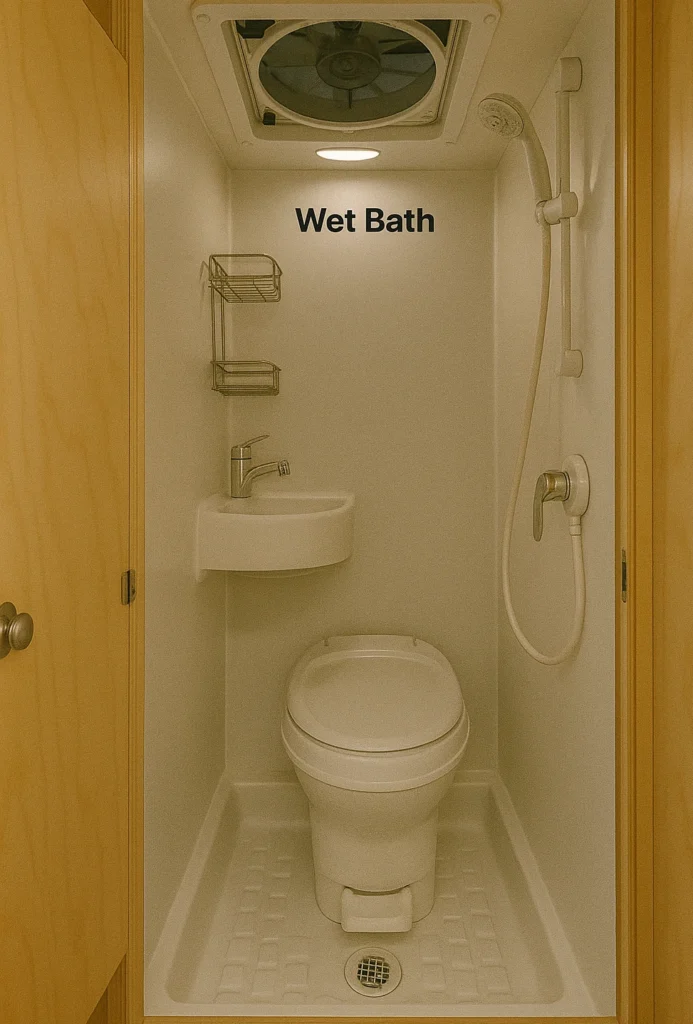
I skipped the typical RV water tank setup to avoid freezing lines, leaks, and complexity. Instead, I use dual 7-gallon Reliance Jumbotainers, plumbed with a 12V Shurflo pump. The tanks are removable, easy to refill, and easy to clean.
Grey water drains through a hole to the outside—unless I want to catch it in a spare tank. For hot water, I use a compact Geyser system, which heats a couple liters of water for sponge bathing or dishwashing in 15 minutes.
Heat: Diesel Stove + Built-in Heater
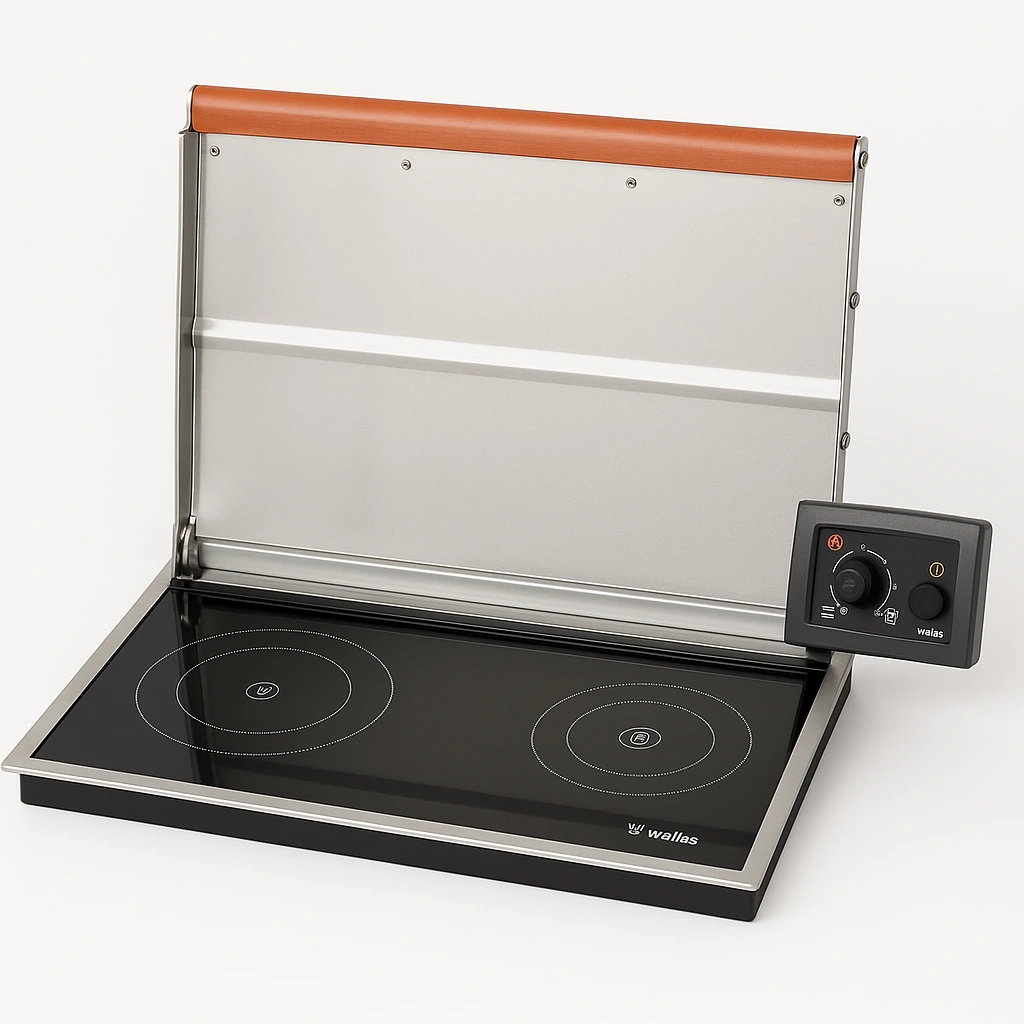
One of the smartest gear decisions I made was installing a Wallas diesel cooktop with integrated heater. It’s just 13 inches wide, burns clean, and takes up almost no space. When the lid’s closed, it heats the camper quietly and evenly.
Diesel is safe, efficient, and easy to carry. I tapped into a small auxiliary fuel tank and mounted the exhaust outside. With the insulation in this camper, we stay warm even in the teens—sometimes just from body heat alone.
Fridge: Cold Food, No Ice Needed
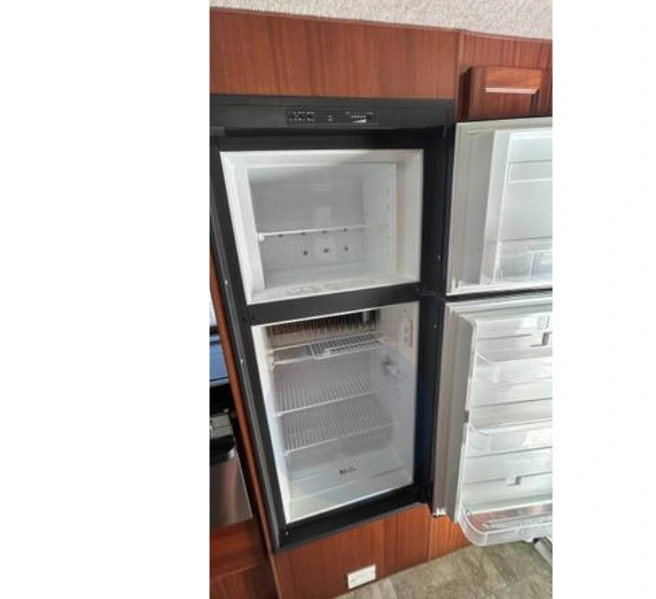
I installed a Dometic CRX 80 fridge under the counter—80 liters of cold storage with a freezer compartment. It runs off the lithium system, draws minimal amps, and takes up less space than a top-loading cooler. It’s completely silent and works great in all temps.
Sleep System and Seating
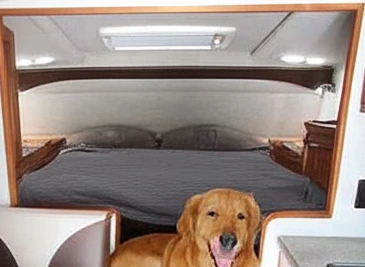
We use a Hest Dually Long mattress that fits perfectly in the cabover portion. For storage, I added netting over the bed and windows for soft gear like ski layers and blankets, plus a tall cabinet in the back corner.
Bench seats are topped with foam cushions and hinged for gear access underneath.
Suspension and Truck Setup
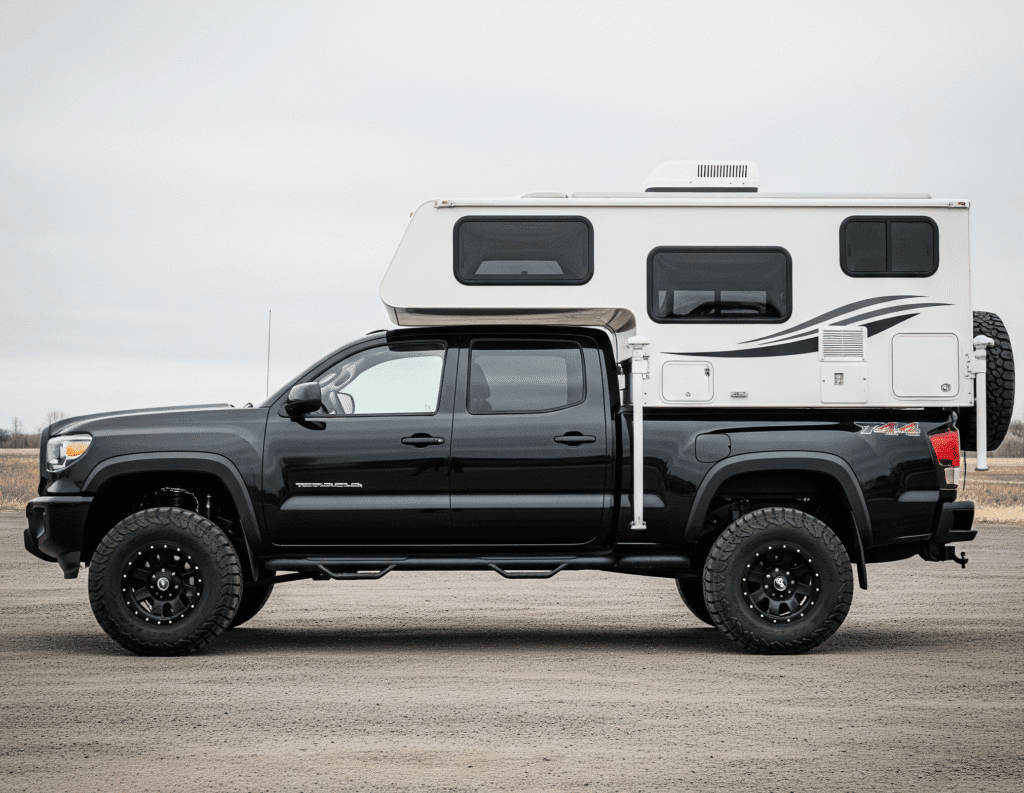
The camper weighs just under 1,300 lbs fully loaded. On my Toyota Tundra, I added:
- Load E Toyo Open Country AT tires
- Firestone RideRite airbags
- Old Man Emu BP-51 suspension kit
- Aftermarket control arms for geometry
That combo handles off-road washboard and trail climbs like a champ, while keeping things level and smooth on pavement.
What It’s Like to Camp In DIY Truck Camper
No setup, no breakdown. Pull into camp, open the door, sleep. When the weather turns, we’re warm. When it’s 90°, the camper stays cool. Everything has a place. No rattles, no shifting. Our dogs curl up on the rug, and we cook without stepping outside.
This thing is more than a camper—it’s a basecamp, a home, a tool that helps us spend more time outside, in more places, more comfortably.
What I’d Change
Honestly? Not much. If I went full-time, I’d probably build out a flatbed version for more storage and possibly a wet bath. But for how we use this—weekend trips, backcountry hunts, ski missions—it’s pretty much perfect.
Final Cost and Thoughts
- Camper Shell: ~$19,000
- Build Materials: ~$7,500 (batteries, heater, fridge, wood, tools, etc.)
- Truck Mods: ~$3,000
All in, I’m well under $30,000—and this camper beats any $100K van I’ve ever tested when it comes to function, comfort, and capability.
If you’re considering building your own, I say go for it. You’ll learn a ton, save money, and end up with a rig that fits you, not someone else’s idea of what you should want.


