Build Your Own DIY Truck Camper In One Day
Camping is more comfortable when you build a truck camper with personal customization compared to built-in campers. This is because building a camper is versatile, cost-efficient, convenient, fuel-efficient, has more space, and is self-contained for every man and his dog.
So let your hair down. If you’re unfamiliar and don’t know how to build a truck camper easily, I’ve prepared a complete step-by-step guide for beginners who want to build something unique. Look over the instructions and make your mind swift.
How to Build a Truck Camper?
Before starting, you must determine the design, materials, plumbing, and electrical system. Follow the several instructions for better output results in a short period of time.
Step 1: Choose Design
Your first step is figuring out what you need. Most people want a comfy bed and storage for camping gear. Some prefer a TV, toilet, fridge, sunroof, and solid roof to protect from rain and sun.
If you are planning your space, try to eliminate extra weight as much as possible. Choose a design allowing a full standing position, which is only sometimes necessary. Make sure your camper is in good lighting condition. Decide if you want to install an electrical system and what type.
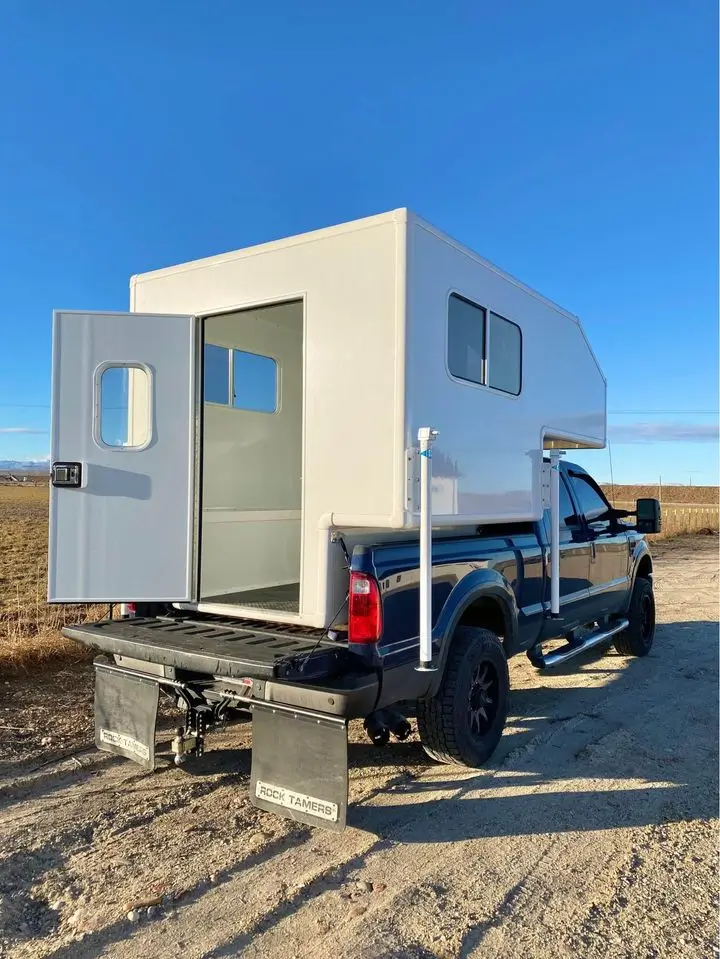
Finally, you will need to determine whether the camper will fit entirely inside the truck bed wall or if you will add lift jacks. When lifting, you must ensure sufficient overhang on the side to drive the truck underneath.
Step 2: Build Frame
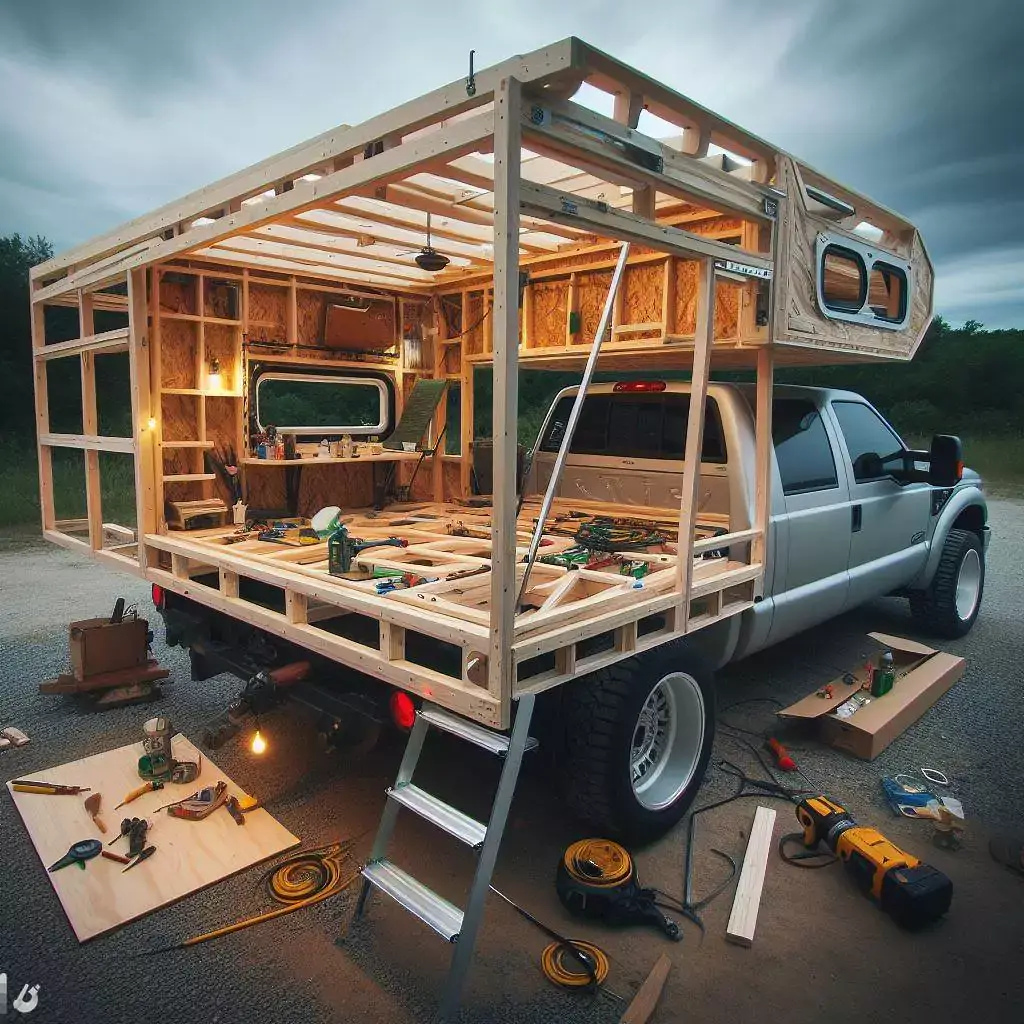
It is necessary to build your frame according to your design plan. Many people use 2×2 or 2×4 lumber for their frames. If budget is not an issue, aluminum framing, which is lightweight and durable, can be used.
Alternatively, you may build the structure free-standing in a garage. If you choose to make the structure free-standing, you may be required to use props to stabilize the structure while your lift and stabilization jacks are installed.
Ensure you use quality screws and adhesive when joining your framing to prevent it from buckling under bumps and vibrations.
Step 3: Use Plywood
The next step is to cover the structure with plywood. Plywood is durable and helps to improve the rigidity of your somewhat wobbly frame, which will eventually become the base of your camper.
You will have a longer-lasting camper if you secure the plywood firmly to the frame with adhesive and screws. Before you add insulation, you will cut out any window and door openings according to your original design. Once the siding is complete then you’ll be ready to install the windows and doors.
Step 4: Electrical System
In truck campers, you need to select the foremost electrical system including solar powered, 12-volt batteries, and employing 110-volt systems. Plus, If you choose to have power, now is the time to install your wiring.
During travel, your truck engine can charge your battery bank, or you can use a converter and an external 110-volt outlet to charge it while parked. Some campers use a bank of batteries and an inverter to convert 12-volt battery power into 110-volt power to run standard items such as a coffee maker or phone charger.
It’s easier to wire your camper like a house with a breaker box and other components and plug it in when you get to your campsite if you’re camping exclusively at locations with an external power source. You can purchase adapters to convert a campsite’s 30-amp outlets to a standard plug if it only offers 30-amp outlets.
You must install solar-power system components before finishing off the inside of your camper walls unless you prefer to see exposed wiring inside. Solar power systems can be a great power source for campers off the grid.
Step 5: Plumbing System
If you want to add plumbing to your truck camper, the ball is in your court.
Many people choose to avoid having a toilet when they build their campers. A small sink can be handy. If you need hot water, you must use precious space and power to run a water heater.
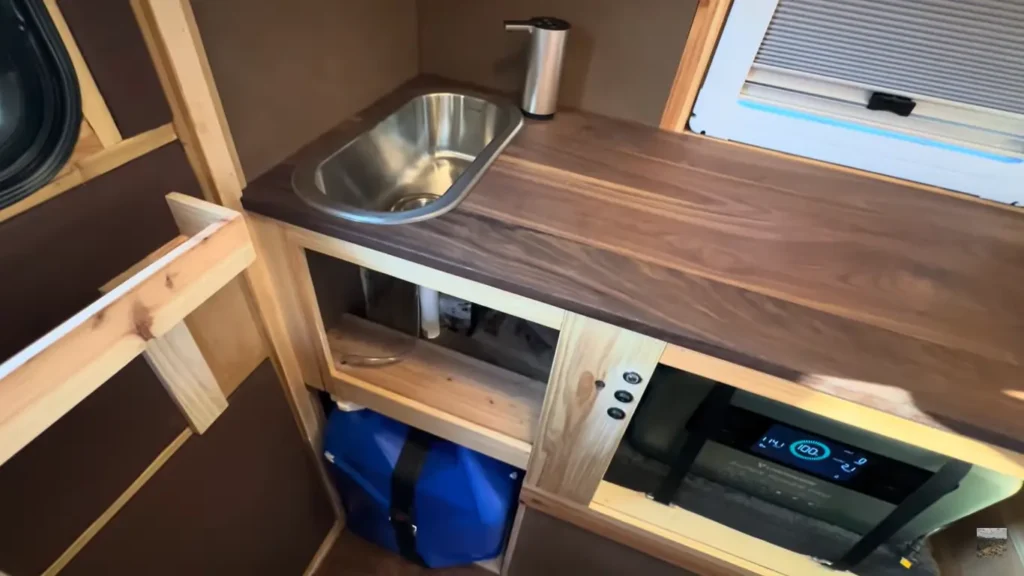
Several camper sinks are available, including electric and manual pumps, or you can pour water directly from a bucket or jug into the basin. The water from camper sinks can be disposed of safely just about anywhere.
This container is designed for outdoor use and is ideal for camping. To drain the sink water directly into a five-gallon bucket, dump it outside or use it in a particular bucket for outdoor use like this.
PEX plumbing pipes are used for most recreational vehicles because they are easy to install and can handle temperature fluctuations and vibrations.
During your RV toilet’s design, ensure space for a black tank to hold wastewater. The tank should be fitted with fittings, allowing you to dump it at an approved station when you’re done.
Step 6: Use Insulation
Camper insulation keeps out the cold or heat, making camping a whale of a time. You can use traditional fiberglass insulation if your walls are thick enough, but many people prefer foam panel boards.
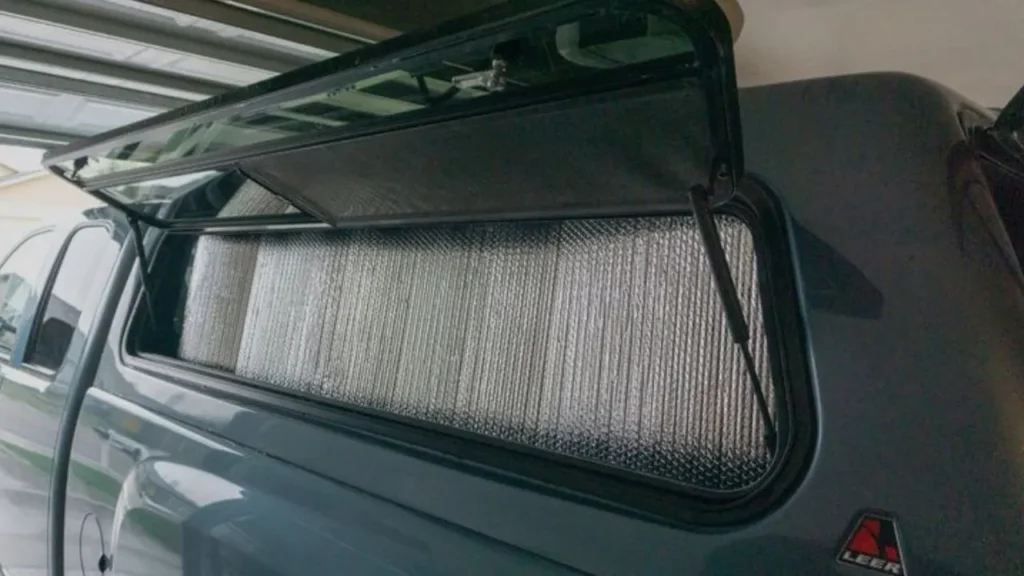
Ensure you run all wiring (or conduits) before insulating the walls, leaving open spaces where window or door frames will be installed. In this stage, you can panel the interior walls and floor entirely or leave open areas until you install the framing for storage and seating.
Step 7: Finish Your Exterior
You must finish your truck camper build by installing the roof and final siding materials.
Complete Siding:
Many siding finishes are available, such as wood, metal, and split logs, which can show off your personality. People usually choose fiberglass panels (also known as Filon) attached to the plywood using a strong adhesive. Fiberglass siding is most commonly sold by the foot, in rolls similar to the one below:
In addition to aluminum panels, you can also choose textured or flat aluminum panels. Follow the instructions from the manufacturer of the siding material you choose for the best results in installing the siding on your truck camper.
It is crucial that your siding is fitted correctly and attached to the house. It must be free from bubbles and withstand high winds from highway travel or severe storms. Caulk every visible seam with quality silicone caulk to prevent water or wind penetration.
Focus on Roof:
You can use corrugated tin to create an arched roof like this one: Most truck campers have a plywood roof, with solid rubber or aluminum sheeting material to keep the weather out.
You can seal roof edges with weather-proof tape, available through camping supply stores or online. Roofing materials and weather-proof tape will last years and are readily available at camping supply stores.

Step 8: Doors and Windows Installation
It is recommended to use windows and doors made for recreational vehicles for your truck camper. These are built to last. They also fit nicely into the thin walls made when framing is done using 2x2s.
The windows on RVs are thin, lightweight, and are installed from the outside.

When constructing a camper, most builders recommend high-quality exterior doors to withstand the elements. Standard windows may be used if the frame is built from 2x4s.
Ensure that your windows and doors are well secured with screws. Caulk liberally around the edges of the frame to prevent leaks.
Step 9: Finish Interior Space
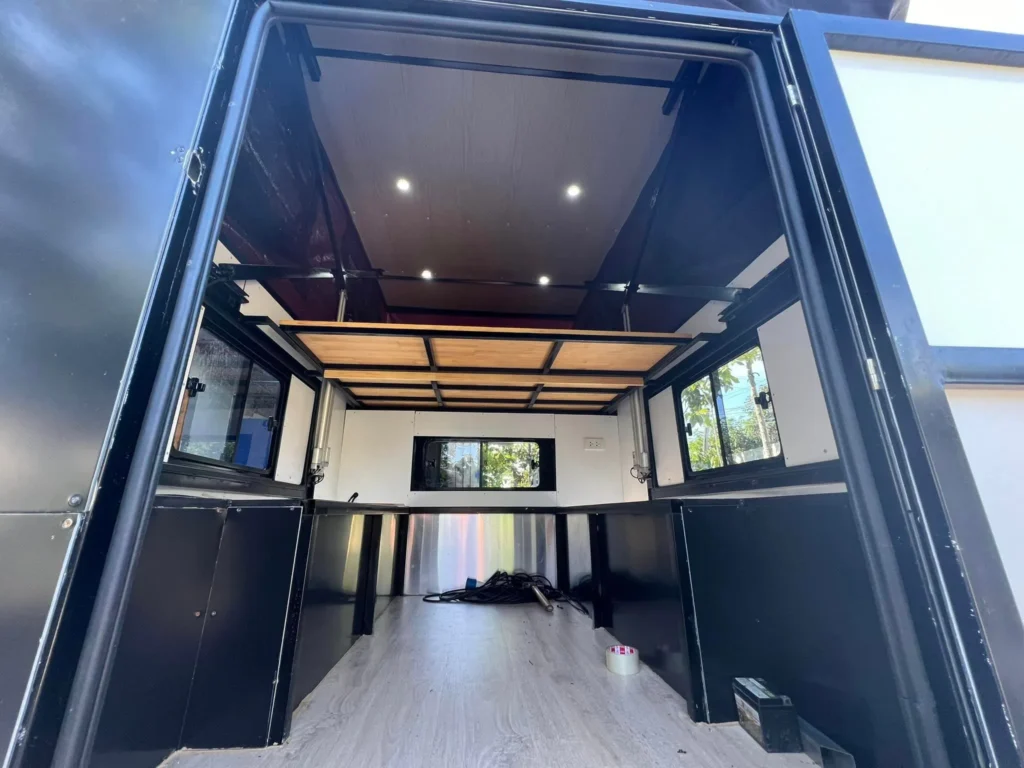
You must build or install the amenities you wish to add to your interior space. Storage can be done by using standard cabinetry or by creating custom items that can double-duty, such as benches with flip-up tops for additional storage below. Cushions make it comfortable for seating. Choosing toilets and sinks that are suitable for campers and the best route for you will be challenging.
Also read our article on truck camper interior, for some awesome interior build ideas.
Wrapping Up
By following these instructions, you can efficiently and quickly transform a basic truck cap into a comfortable living space. From my side, the electrical and plumbing systems are too vital for every man and his dog. After that, focus on roof, window, and door installation.
Moreover, many people try to avoid Insulation due to their high budget, but while camping, it’s too necessary for better room freshness because they keep out cold or heat. If you are not confident, consult a professional and refer to any local building codes or regulations before starting construction.

